Uploading Artwork
Where do you upload files...
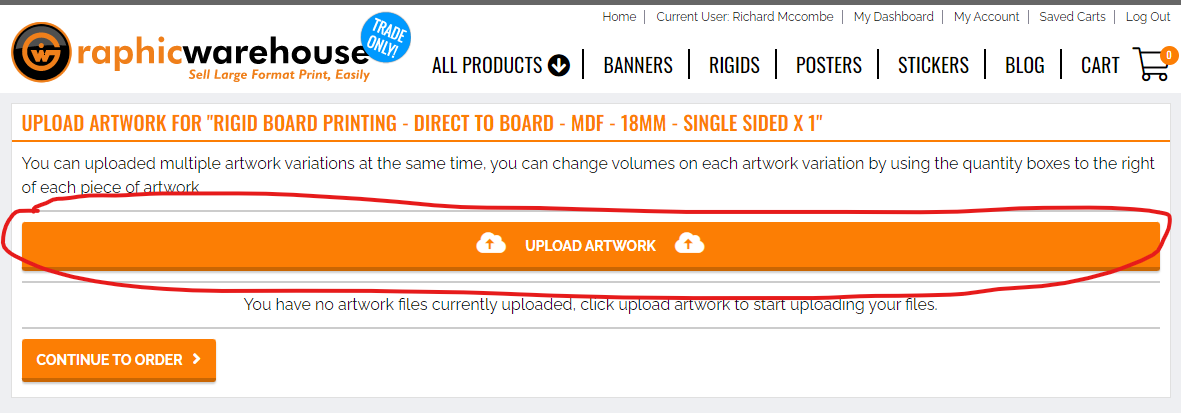
You can upload files on the artwork management screen. This is accessible from the Customer Portal Cart Screen or the Customer Viewing Quote Screen.
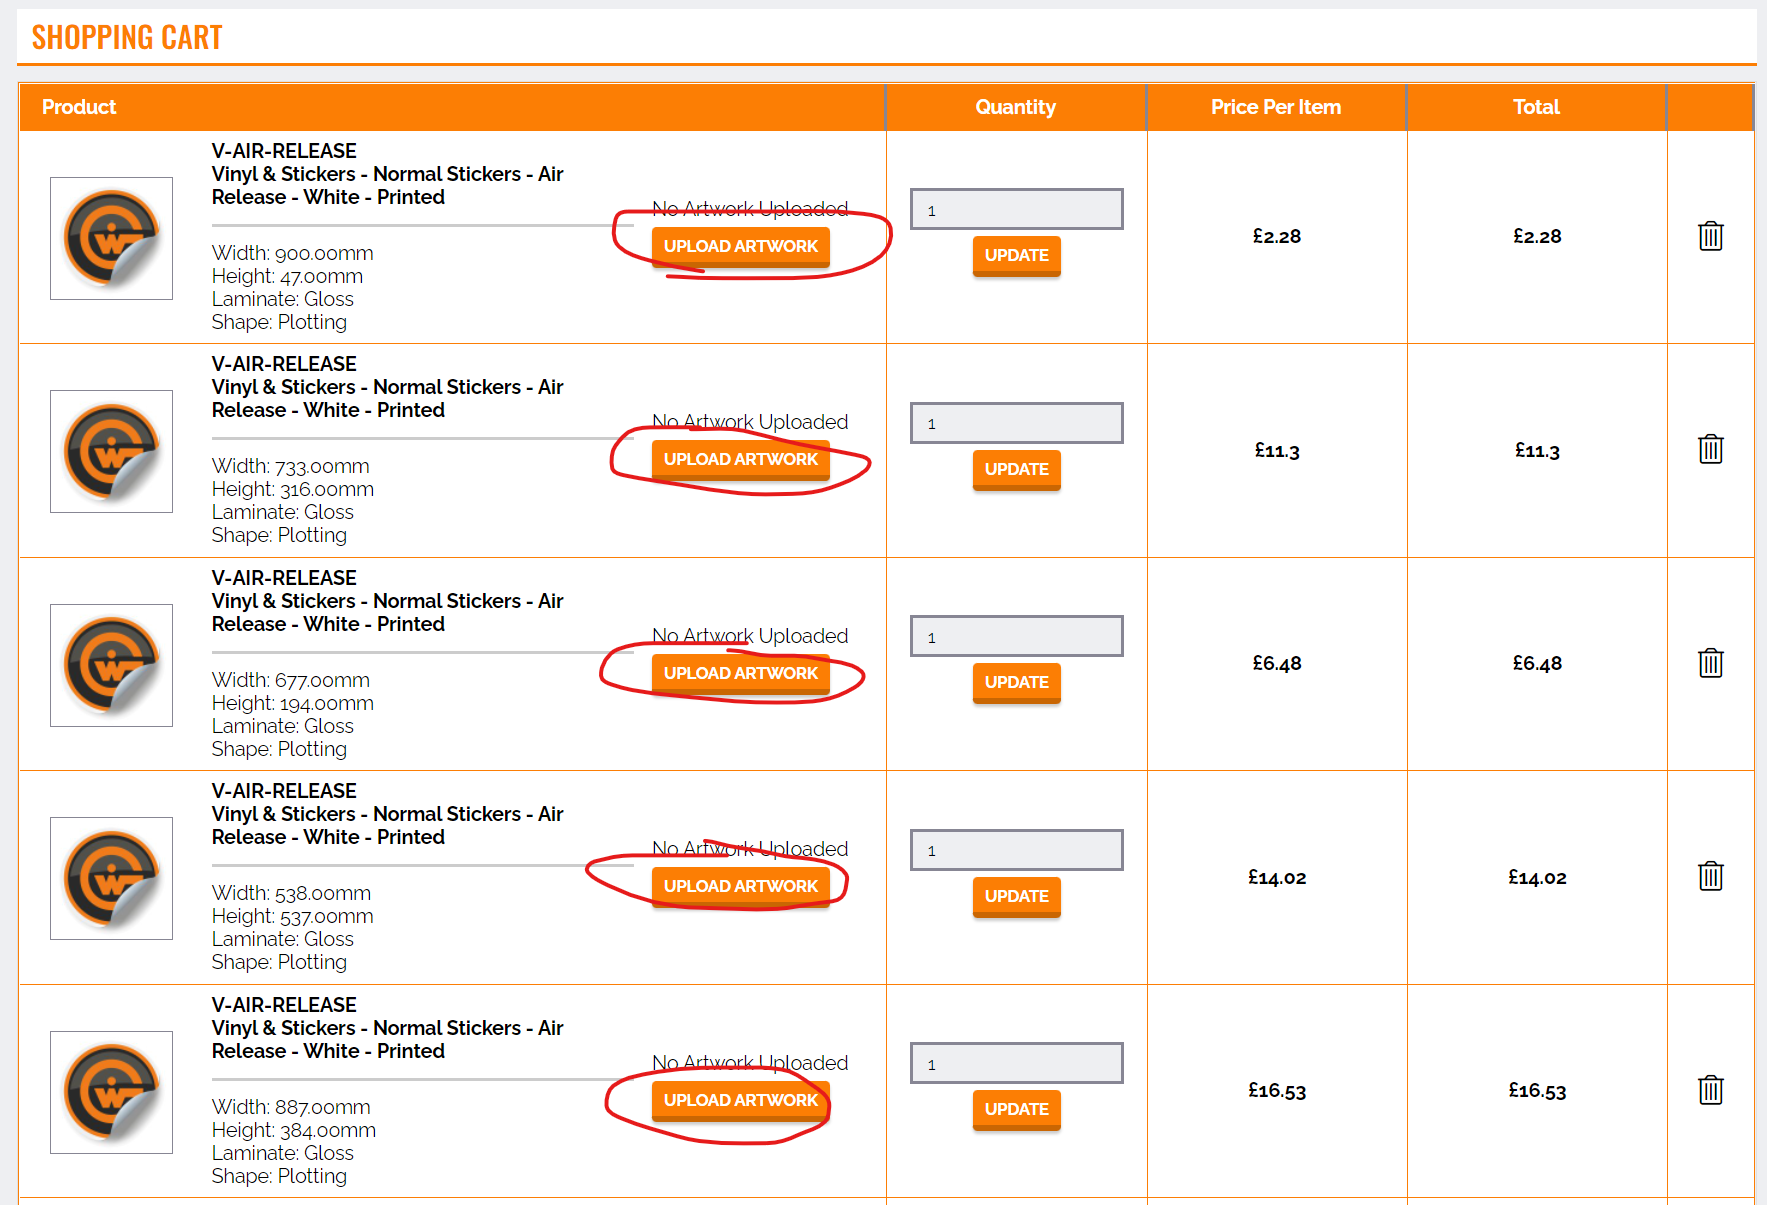
How to get to the Customer Cart Screen
- Go to a Cart the MaticTrack
- Click on the "Cart View" button
- Click on the "Edit Artwork" button on the size you want to upload/edit artwork on
EACH SIZE HAS ITS OWN EDIT ARTWORK BUTTON
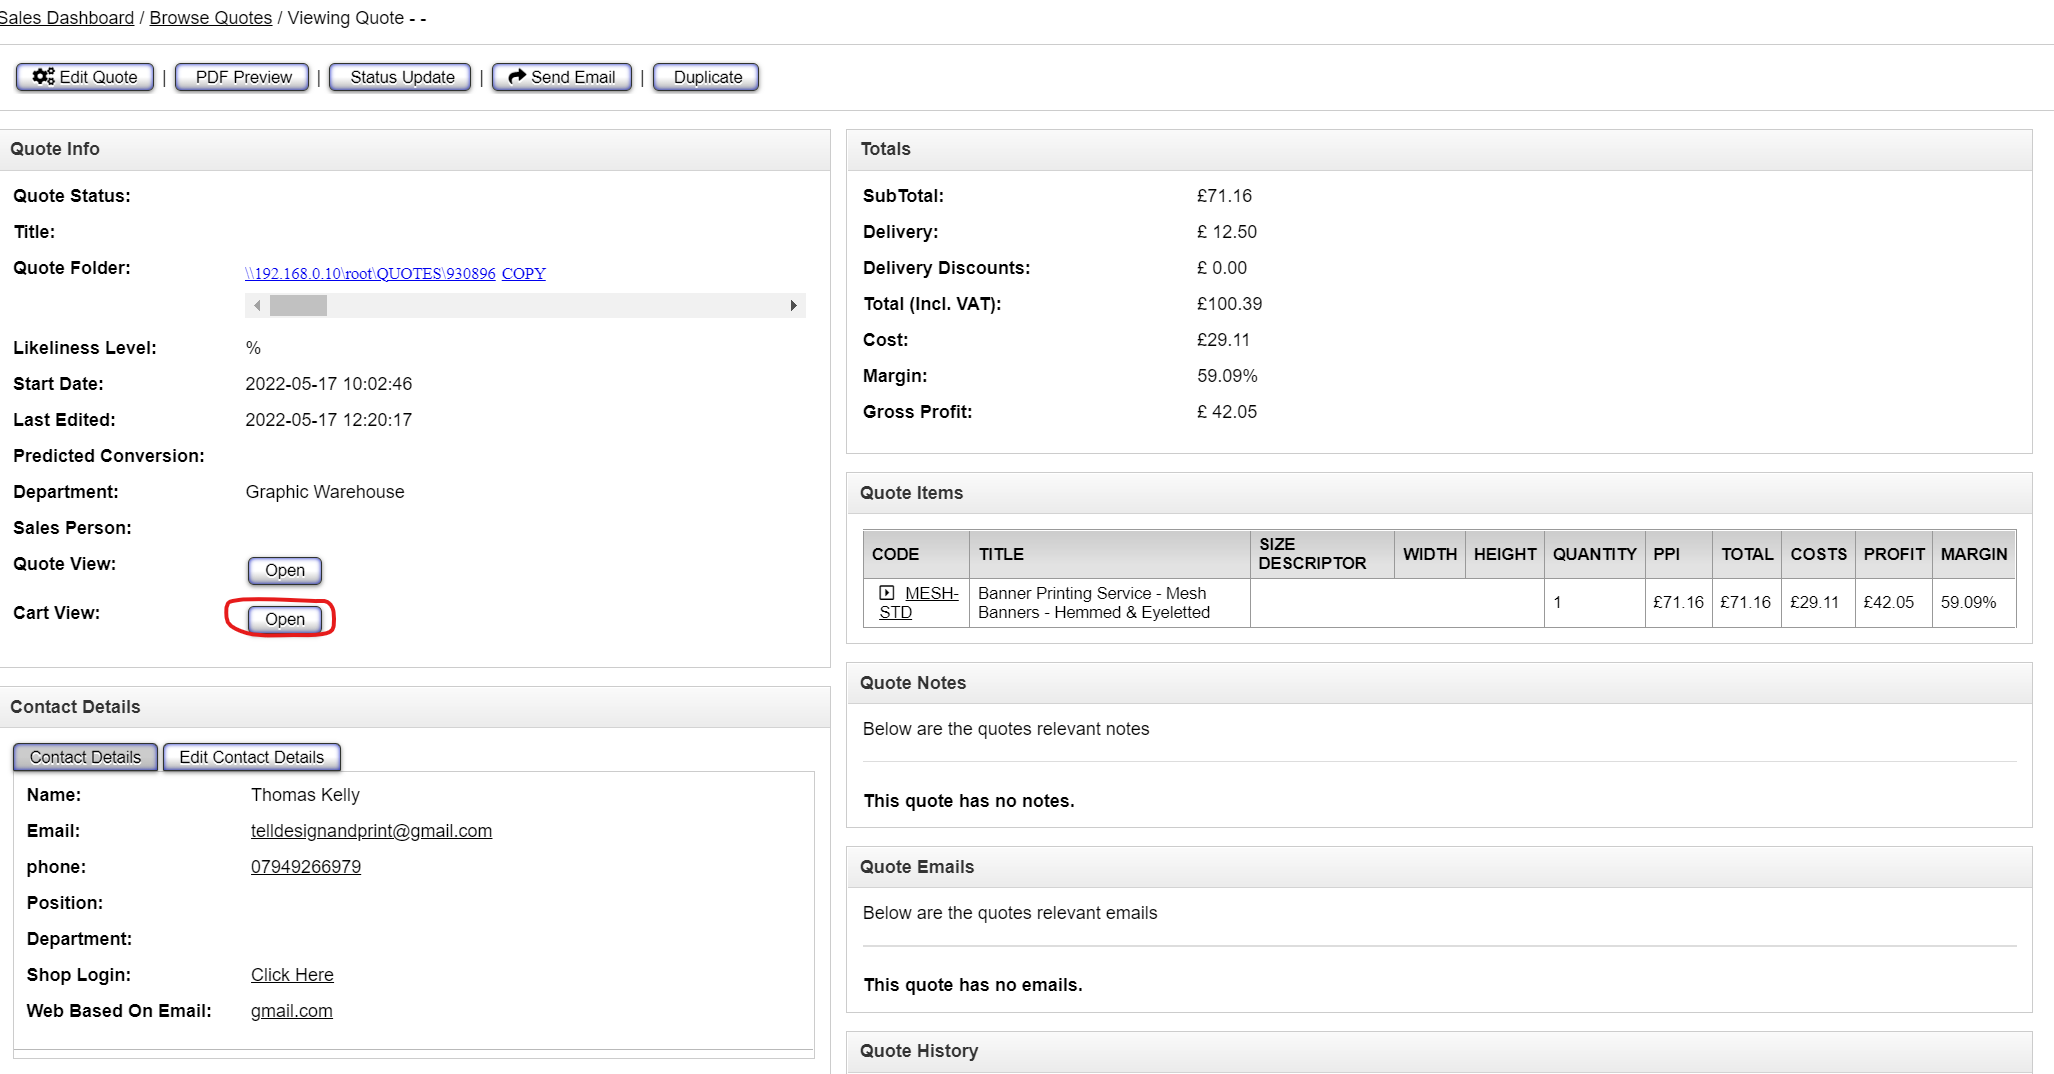
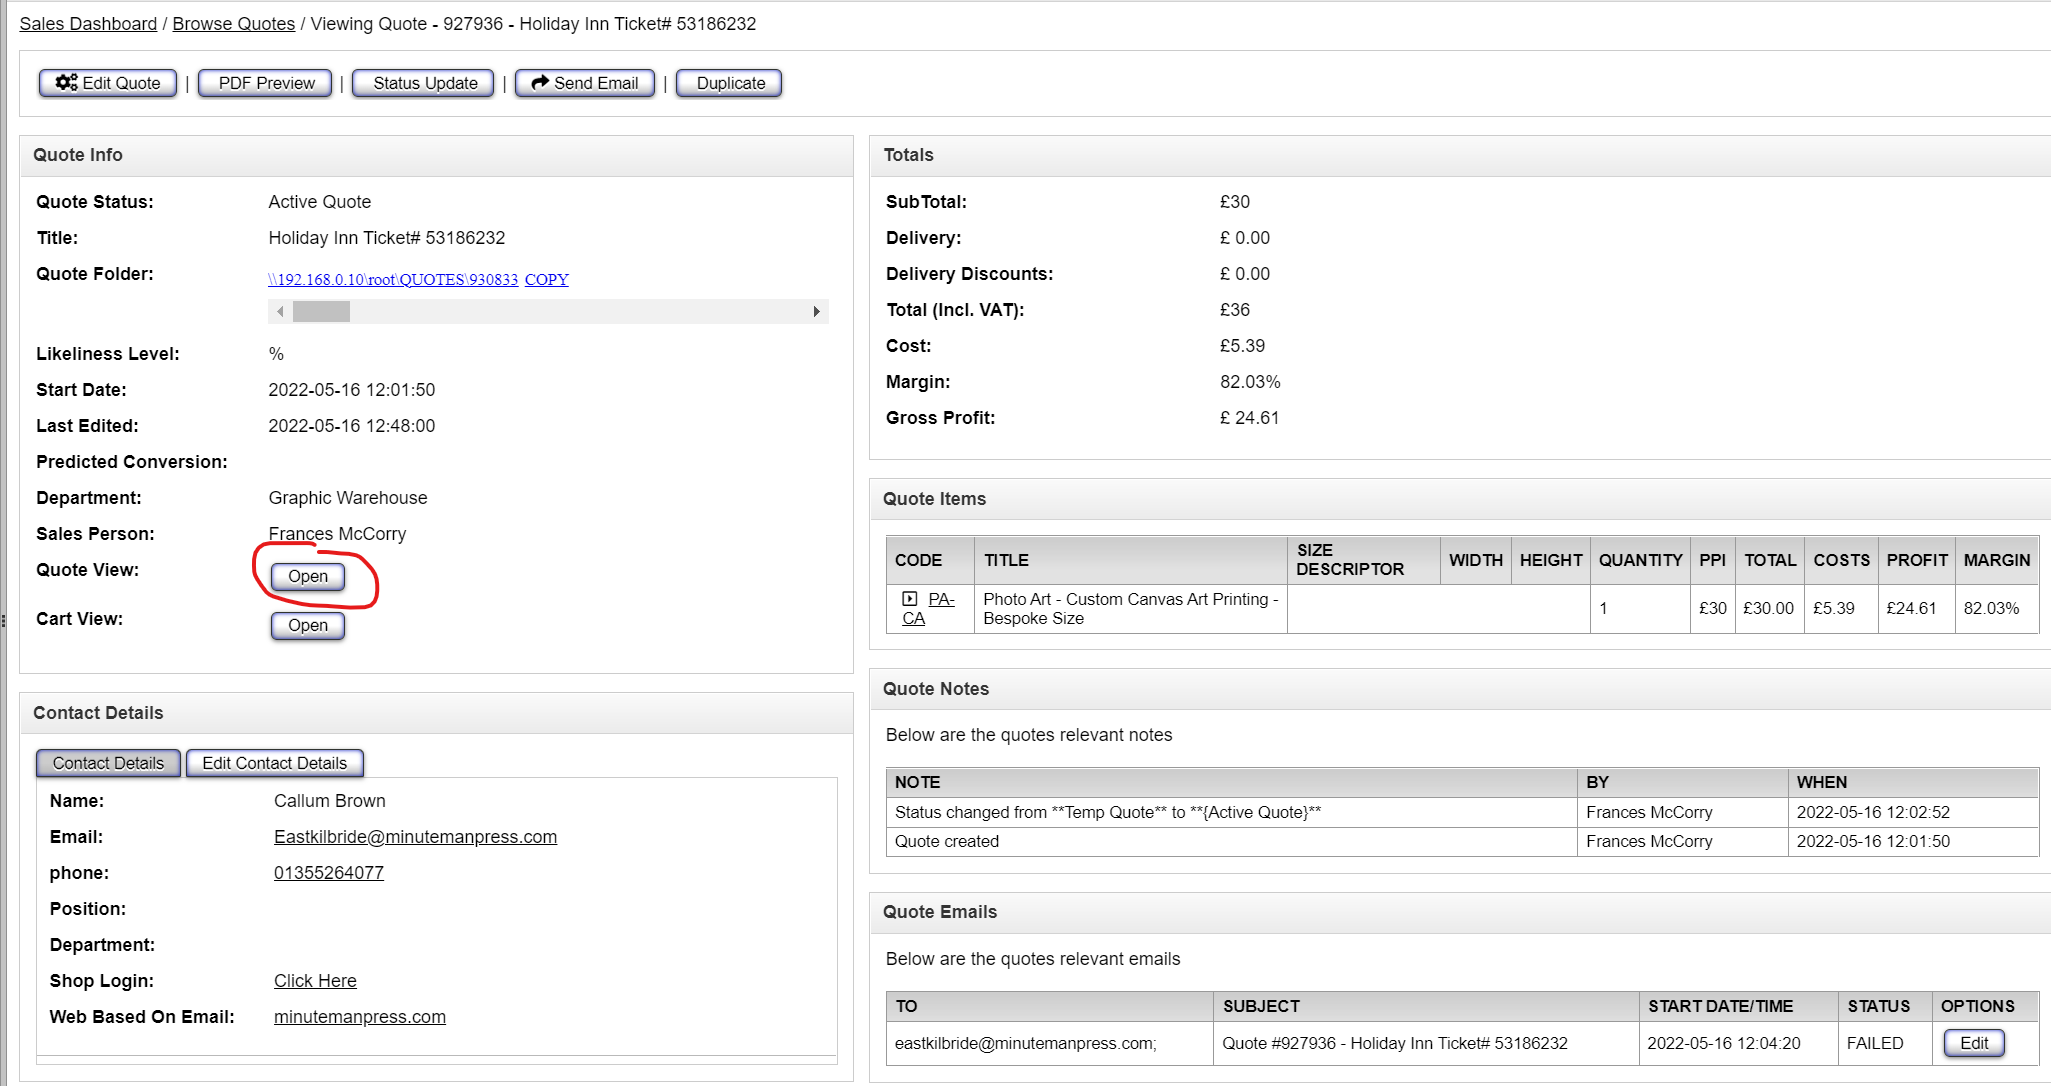
How to get to the Customer Quote Screen
- Go to a Quote on the MaticTrack
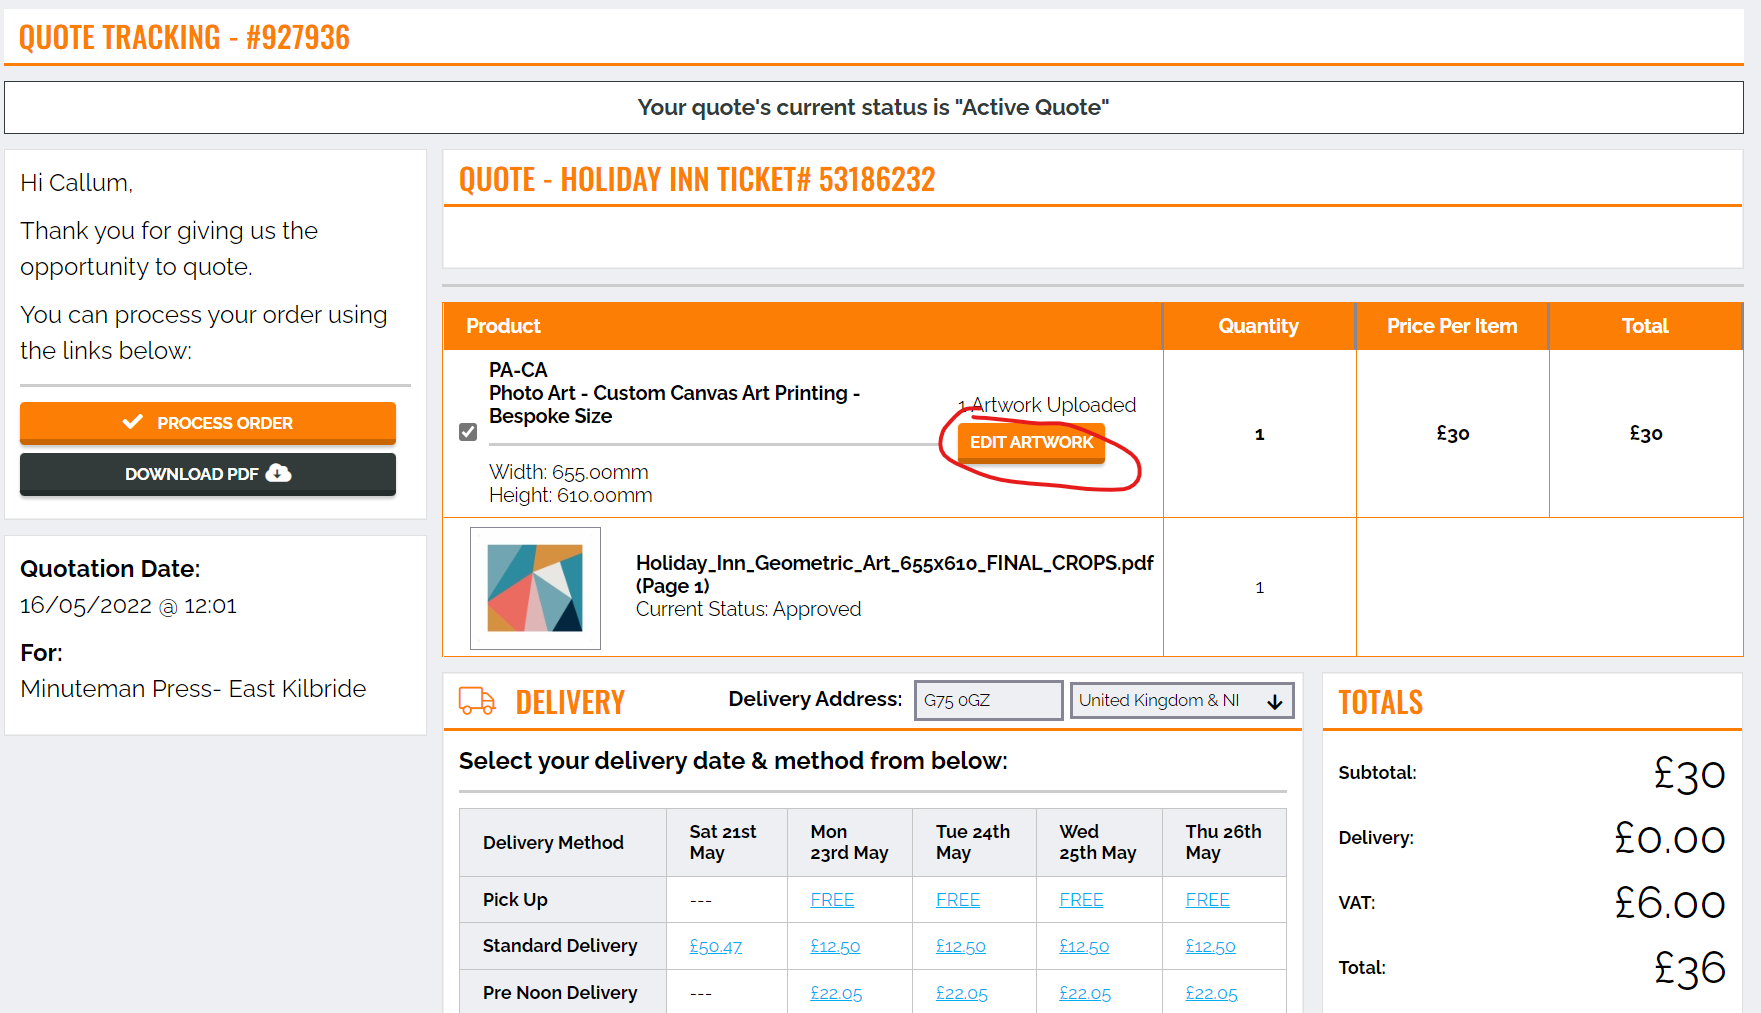
- Click the Quote View button as below
- Click on the "Edit Artwork" button for the item you want to upload the artwork for.
EACH SIZE HAS ITS OWN EDIT ARTWORK BUTTON
What kind of files can you upload...
The MaticTrack accepts the following file types
| EPS | PNG | |
| JPEG (JPG) | TIFF | WORD |
| PPT (Powerpoint) |
Maximum File Size
The system will accept file uploads of up to 1 Gigabytes in size.
What happens when you upload a file...
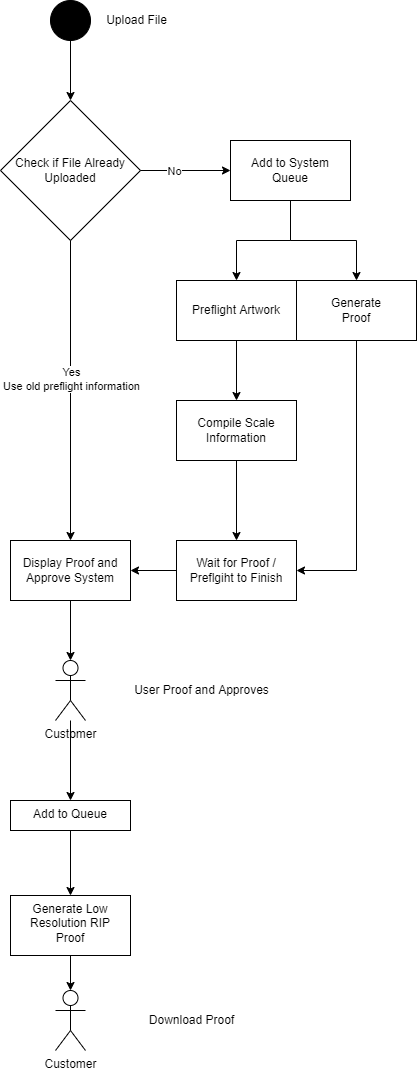
The Queue
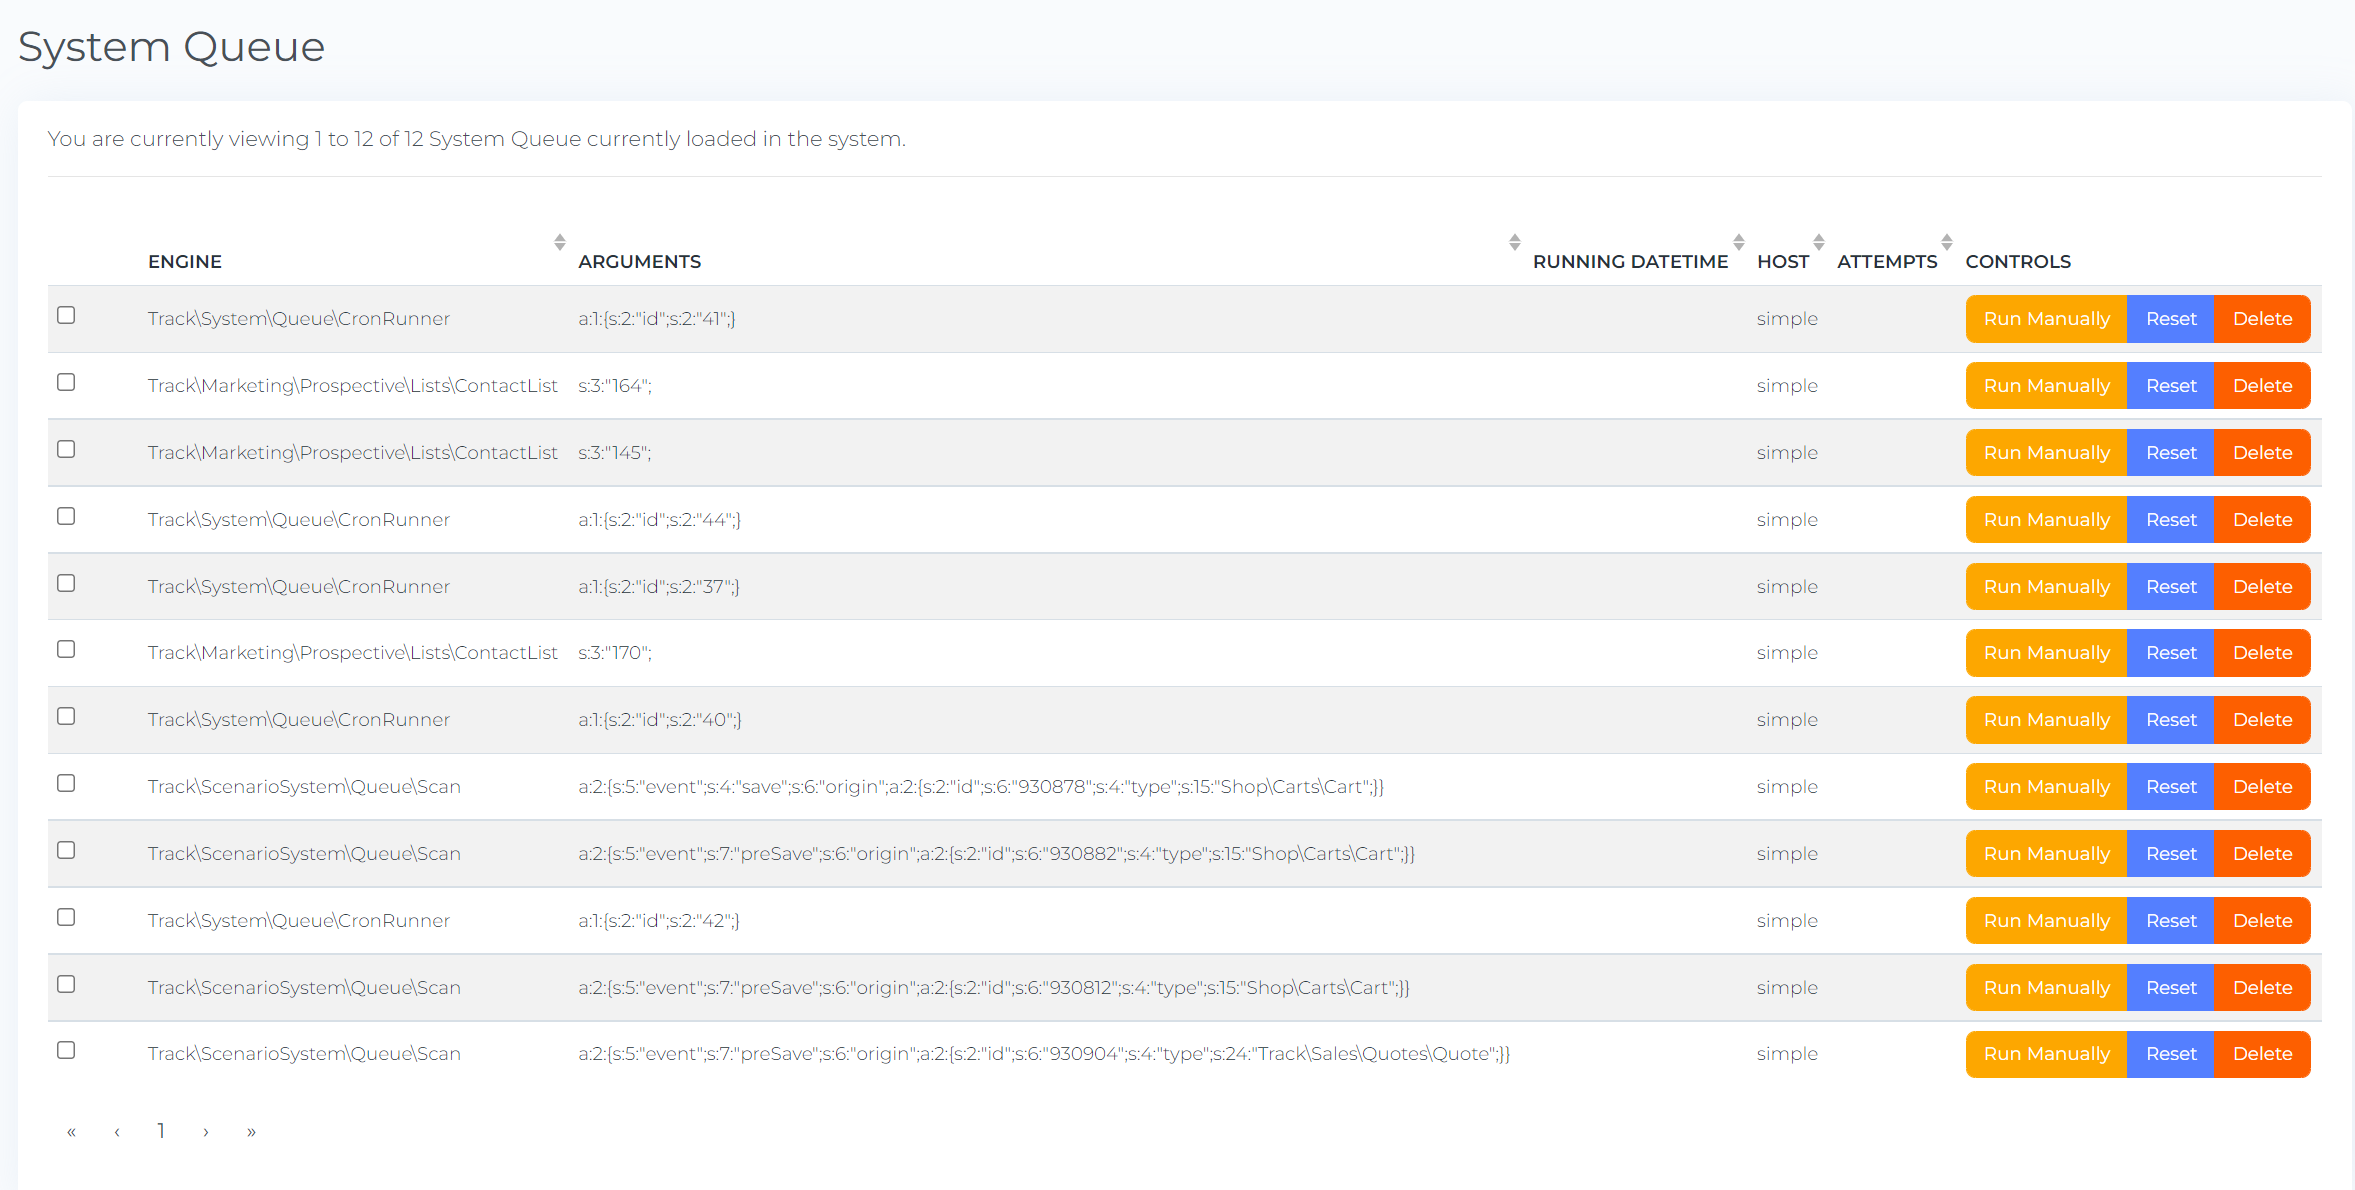
The system queue is exactly that, a queue of jobs that the system processes in the background. Examples are sending emails, preflighting artwork, generating proofs, generating print files.
This keeps the system running fast as it runs in the background.
Monitoring the Queue
If you have the proper permissions you can monitor the queue from here: System Queue - MaticTrack (maticmedia.co.uk)
What Does Pre-Flighting Artwork Mean?
When uploading a file your file will be put into a processing queue where it will be automatically split into individual pages and then checked for quality against these parameters...
- Page Width
- Page Height
- Estimated Scale
- Maximum Recommended Scale
- Includes Images
- If images are included it will calculate DPI
- Fonts
- Minimum Font Size
- RGB mix Colours
- Spot Colours
- CMYK mix Colours
- Bleeds
At the same time it'll generate a CMYK jpeg proof for display in the artwork approval process.
Depending on the size / complexity of the file this can be quite an intensive process and may take up to 5 minutes.
What Does Proofing Artwork Mean?
This basically means converting the artwork into a jpeg that can be displayed to the user. This is also known as Image Rasterization.
Depending on the size / complexity of the file this can be quite an intensive process and may take up to 5 minutes.
Size vs Complexity
Just because a file is small does not mean it is not complex, an architecturual drawing is a much more complex than a 1 gigabyte image.
Uploading Artwork
- Artwork Status
- File Proof
Artwork Proofing and Approving (Artwork Approval Process)
Step 1: Scale & Position
Artwork Scale
| Method | What it does... |
| Scale to Bleed Width | Scales the artwork up to the width of the artboard including the bleed |
| Scale to Bleed Height | Scales the artwork up to the height of artboard including the bleed |
| Scale to Finish Width | Scales the artwork up to the width of the artboard, not including the bleed |
| Scale to Finish Height | Scales the artwork up to the width of the artboard, not including the bleed |
| A Paper Scale up 1 | Scales the artwork 141% used for scaling A Sized documents e.g. A2 to A1 |
| A Paper Scale up 3 | Scales the artwork 283% used for scaling A Sized documents e.g. A4 to A1 |
| 100% | Does not scale the artwork |
| 400% | Scales the artwork 400% |
| 1000% | Scales the artwork 1000% |
| Custom Scale | Allows you to pick the width and height of the artwork |
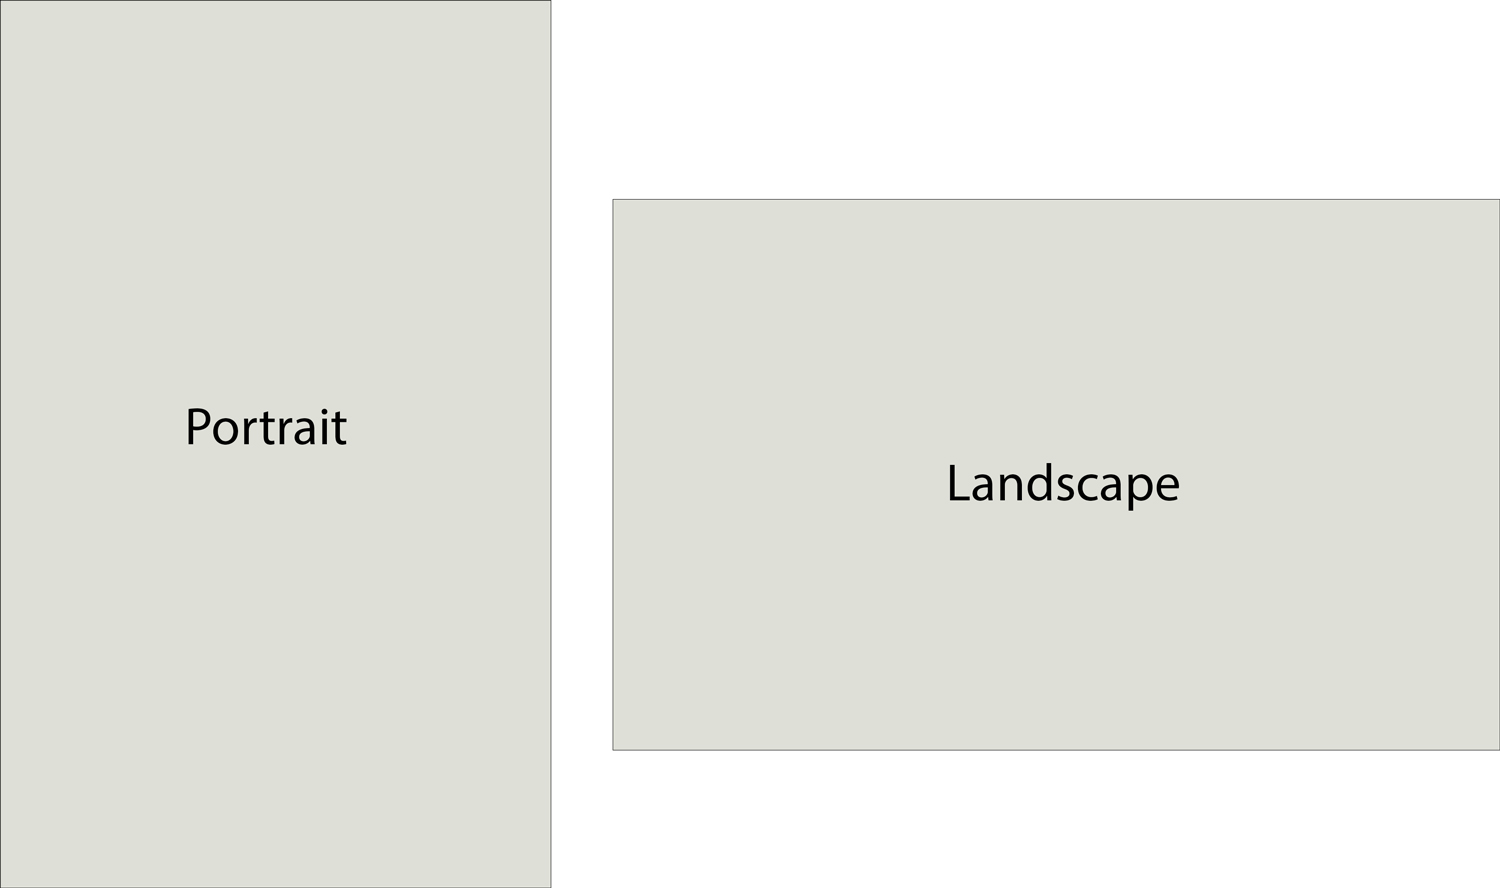
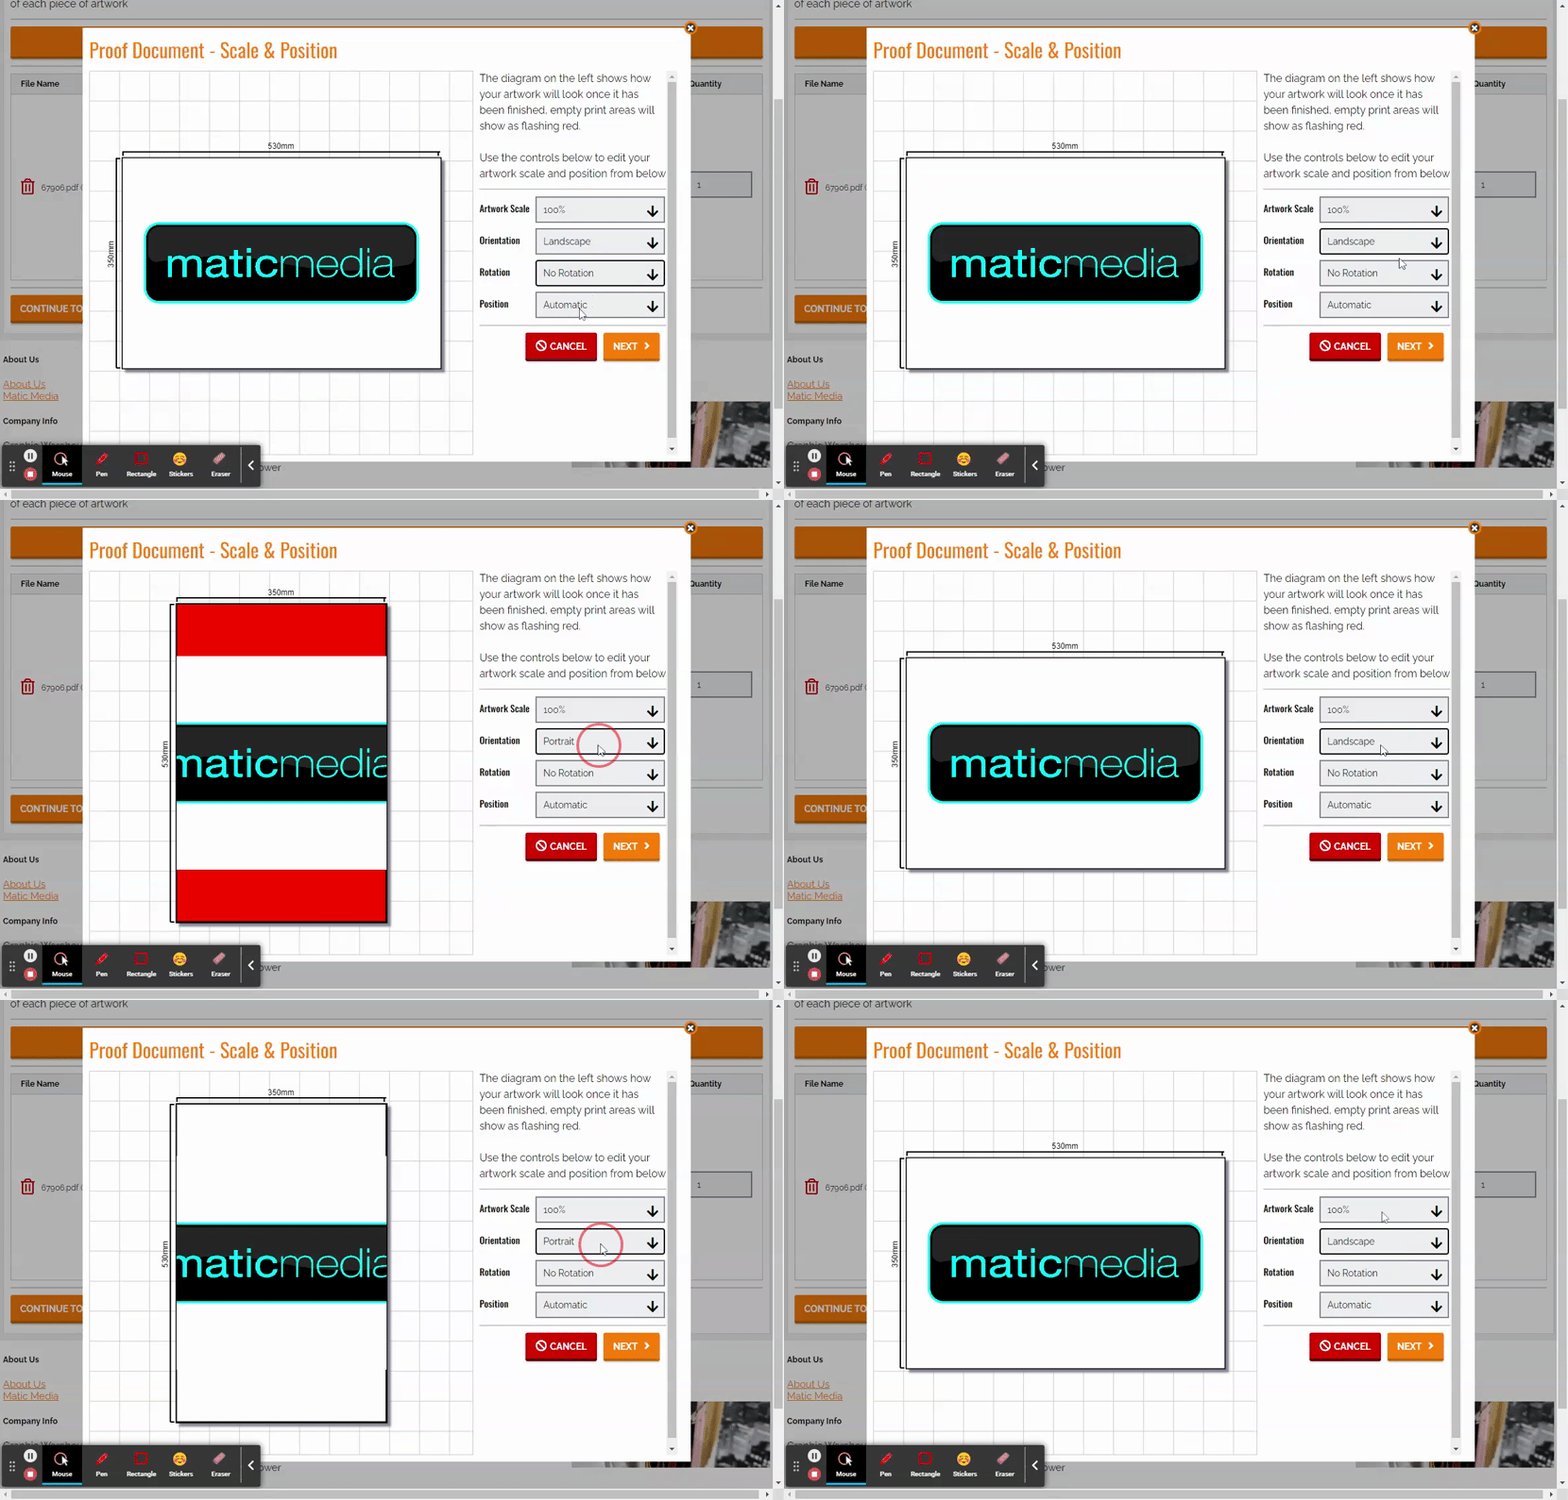
Orientation
Allows you to select the orientation of the ARTBOARD.
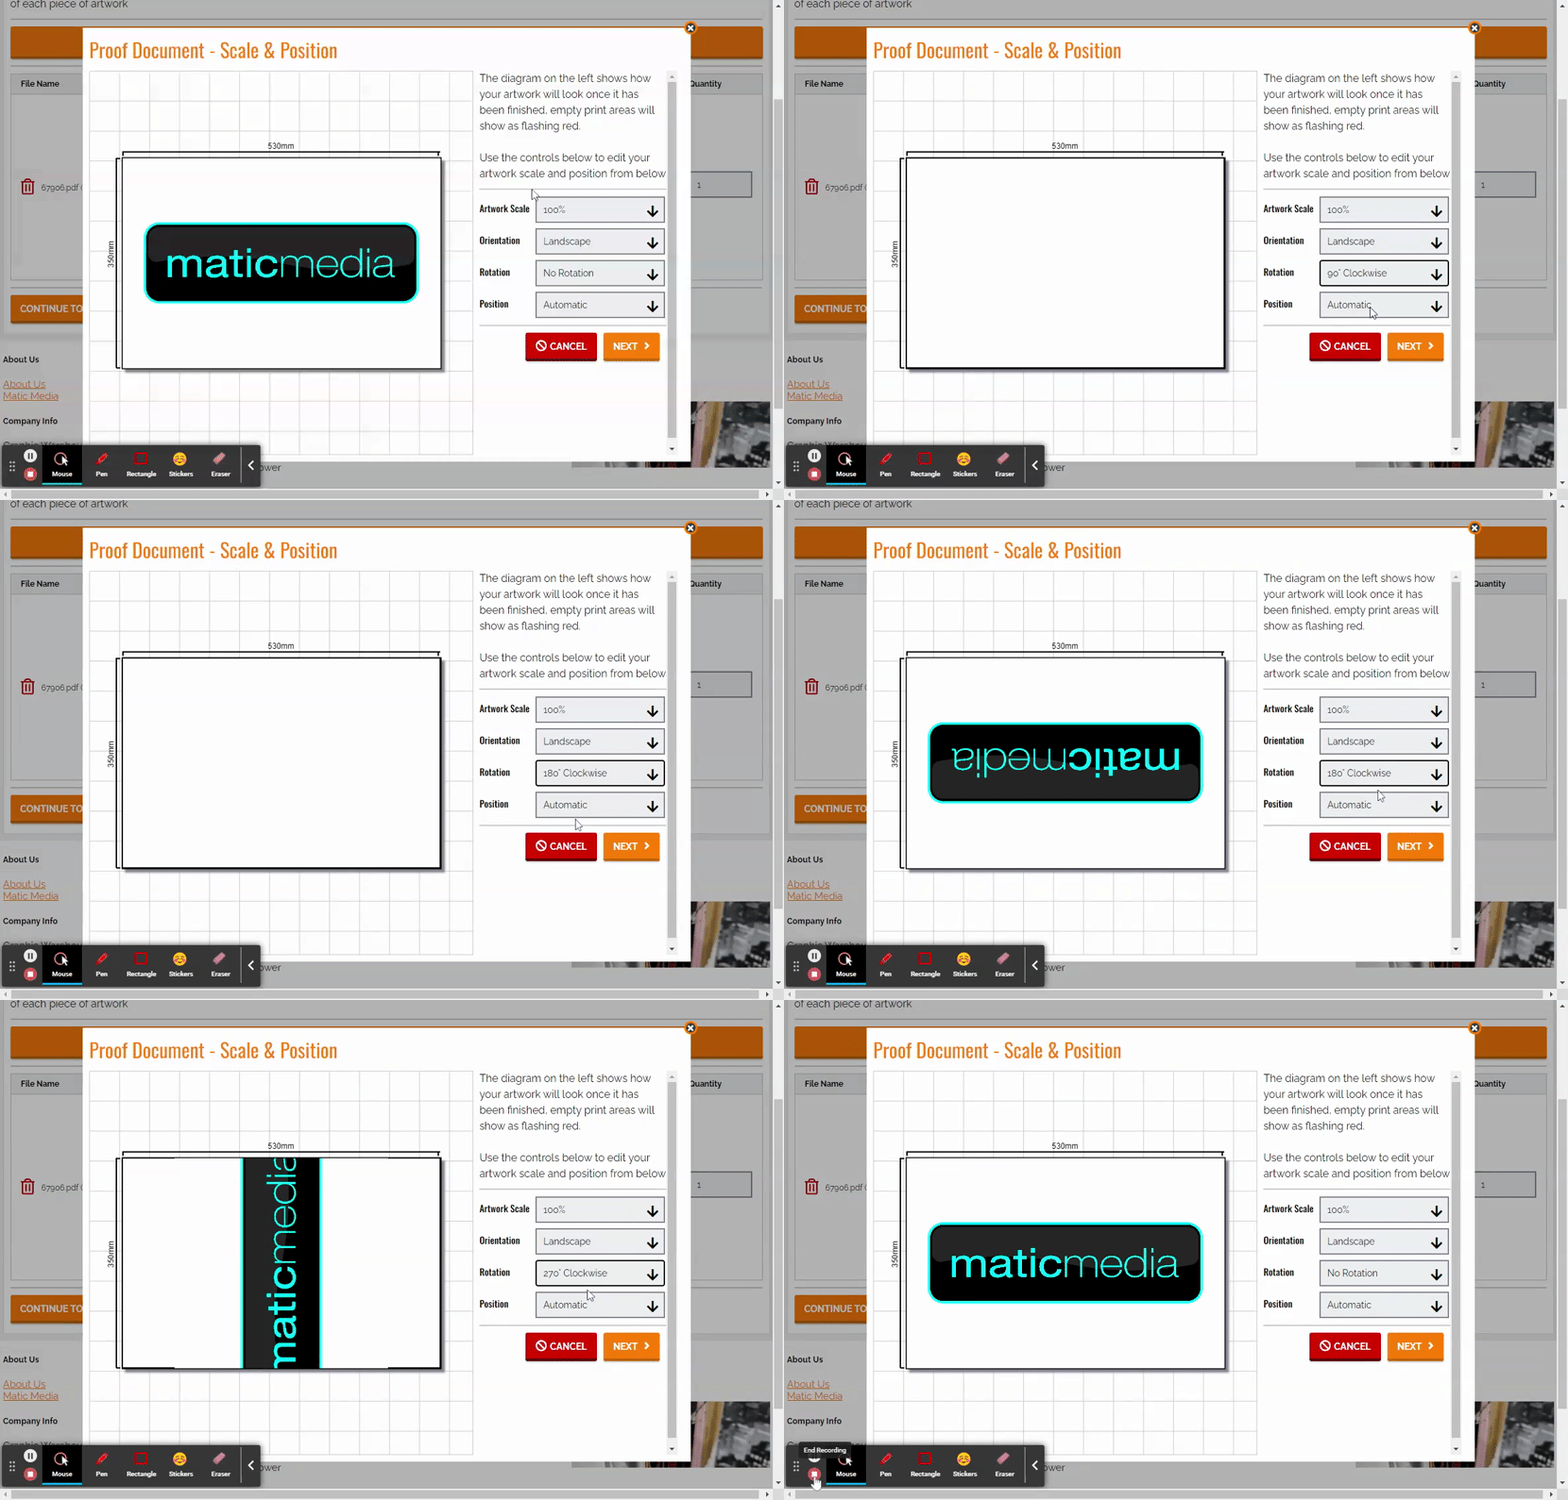
Rotation
Rotates the ARTWORK
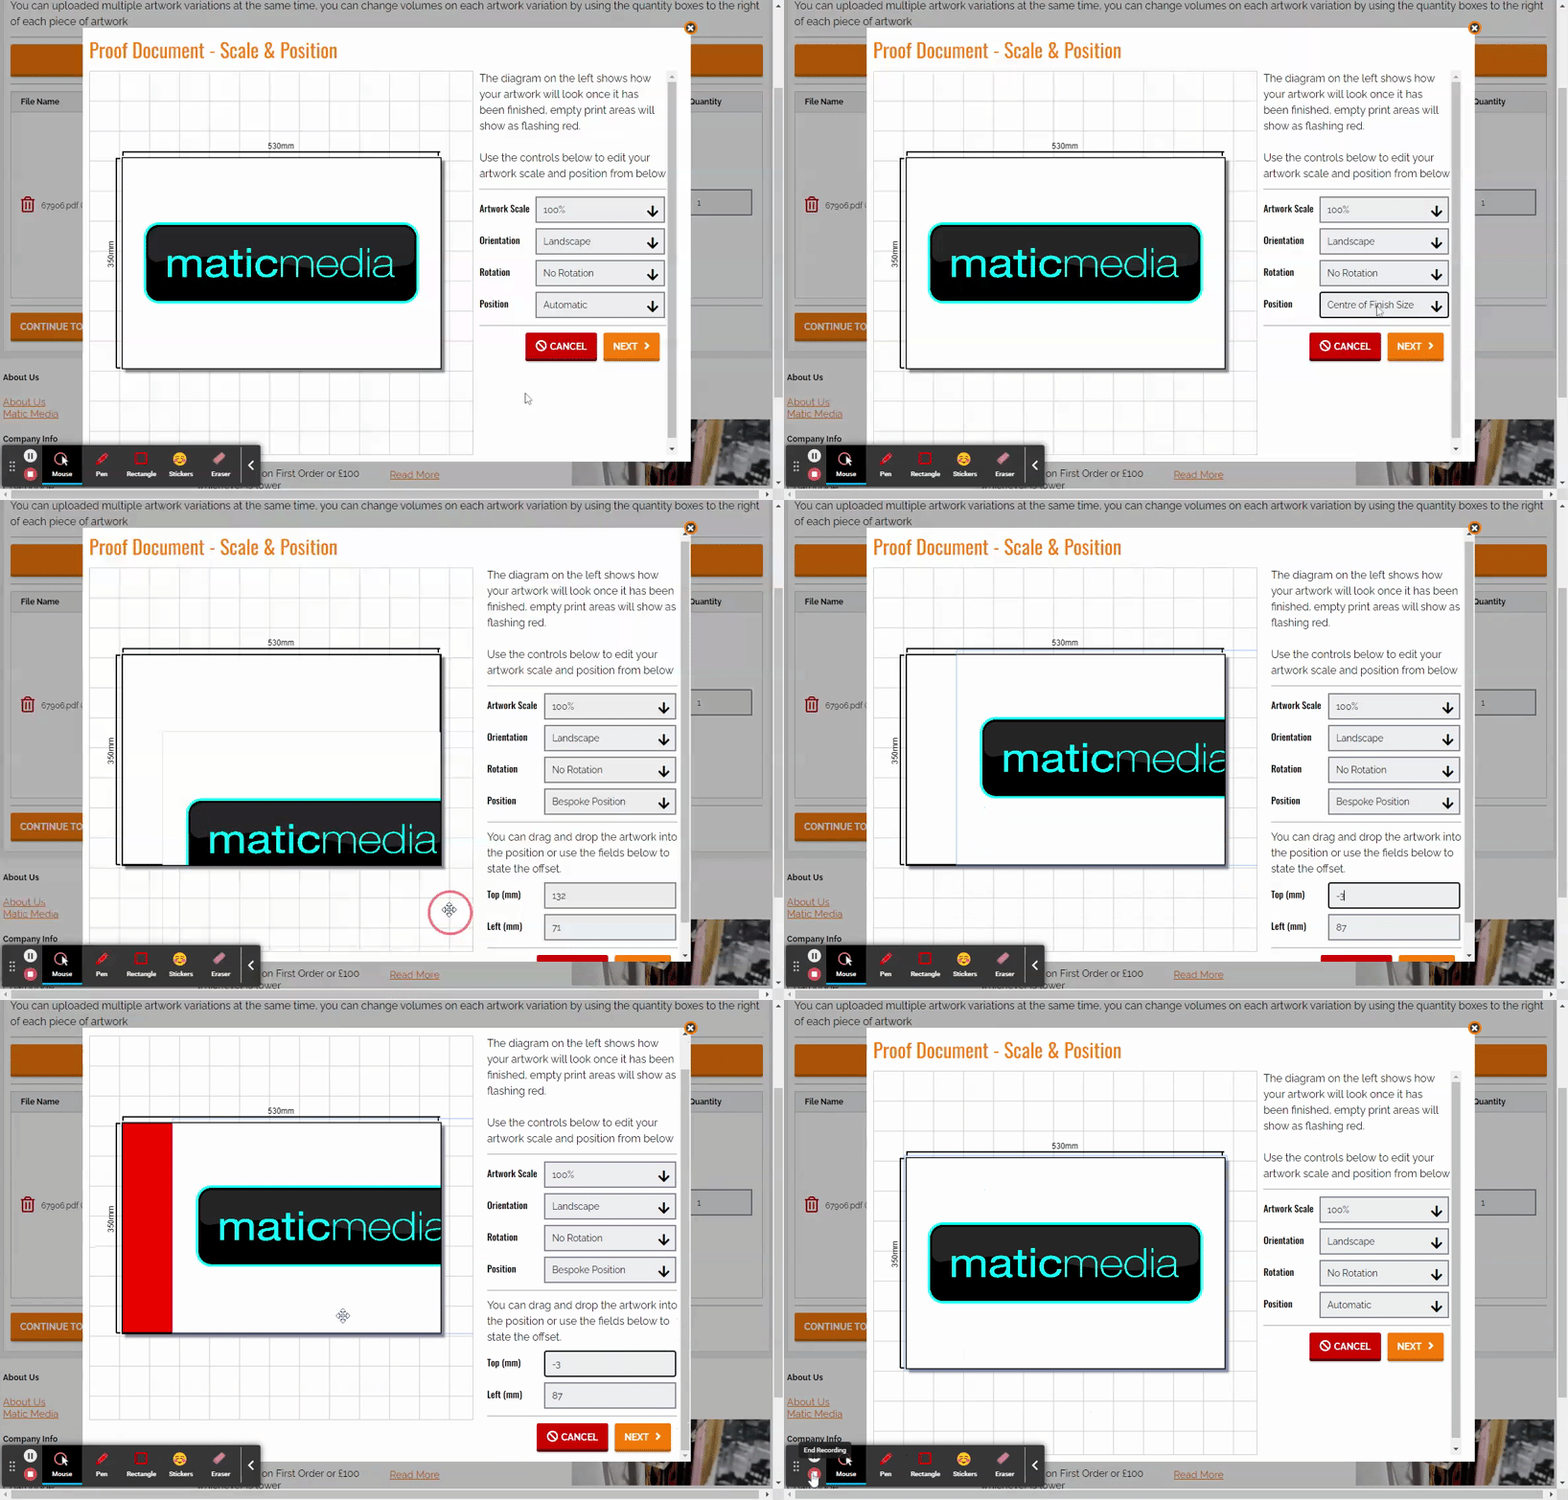
Position
| Operation | What it does.... |
| Automatic | Automatically tries to calculate where the artwork should be placed assuming equal registration points around the artwork. |
| Centre of Bleed Size | Centers the artwork in the middle of the artboard including the bleeds |
| Center of Finish Size | Centers the artwork in the middle of the artboard not including the bleeds |
| Bespoke | Allows you to drag and drop the artwork where you want or put in a specific X and Y Coordinate (0,0 is at top left) |
Step 2: Artwork Bleeds
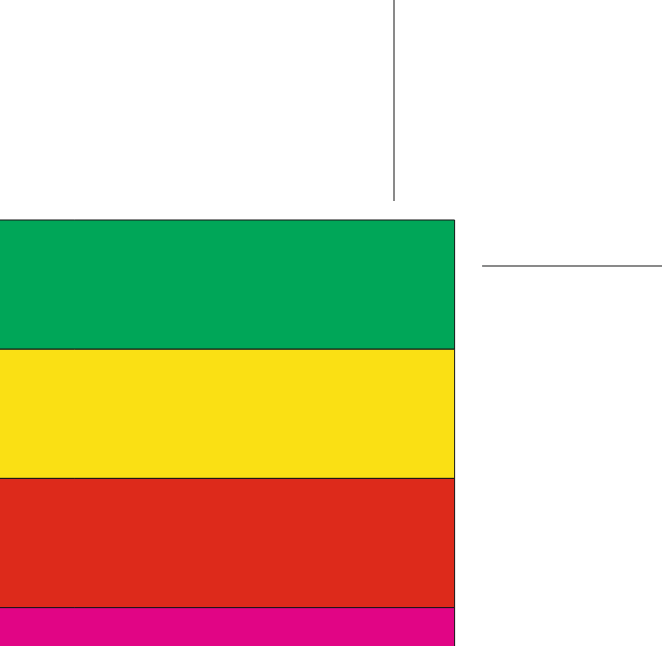
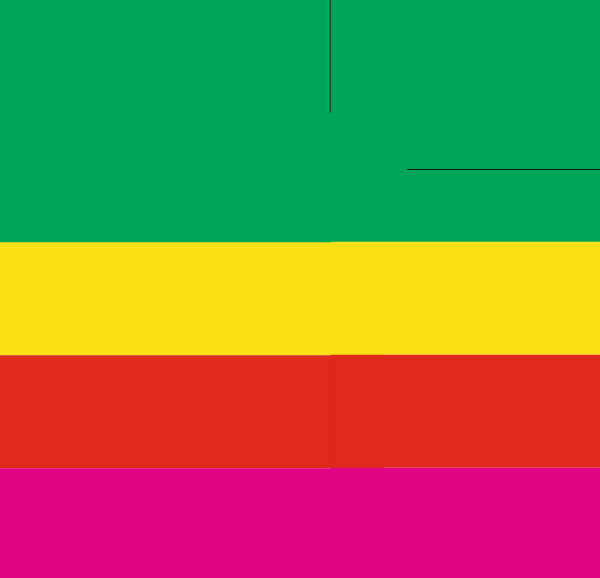
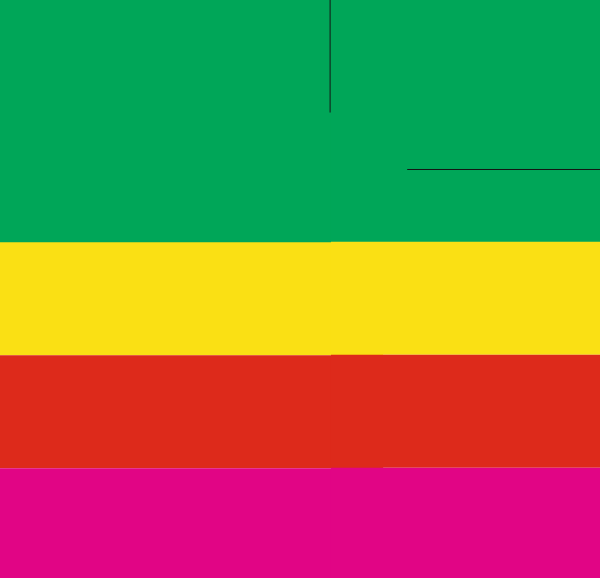
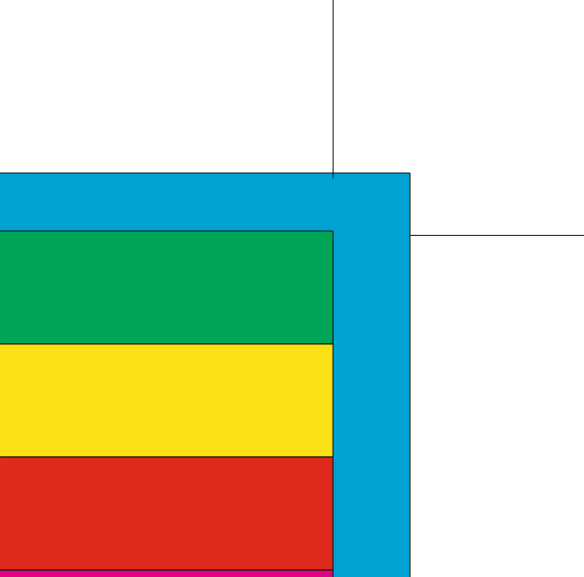
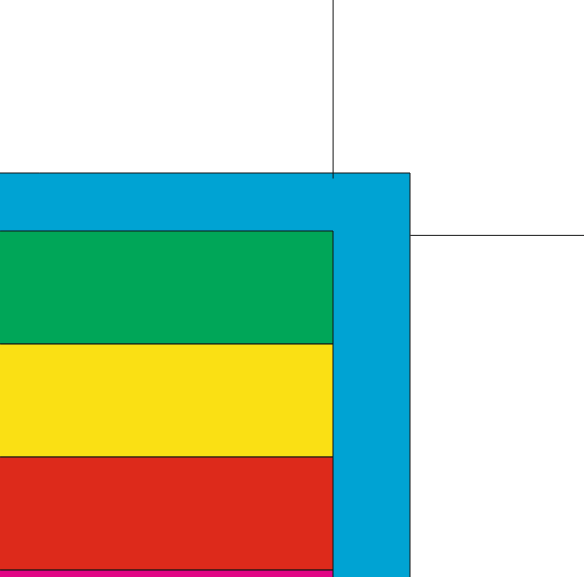
| Method | What it means.... | Image Example |
| Print File has Bleed In It | The artwork already has enough bleed in it | |
| Mirror Bleed | Reflect the artwork at the edge of the finished size | |
| Edge Stretch | Take the last 1pt of the artwork at the edge of the finished size and stretch it to the end of the bleed | |
| CMYK Colour | Take a CMYK Colour reference as the bleed | |
| RGB Colour | Task an RGB Colour reference as the bleed | |
| Spot Colour Pick | Take the colour at the point selected and make that the bleed |
Step 3: Preflight Warnings
Shows any warnings, hover over the information icon to find out what each warning means
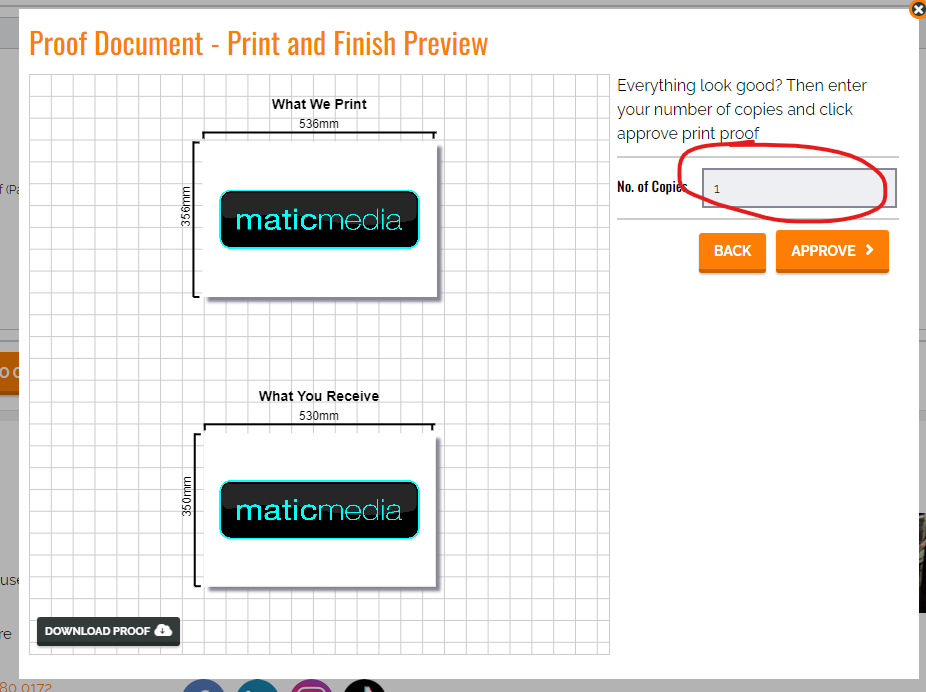
Step 4: Prepress Proof and Quantity
Shows you what we are going to print and what is going to be finished.
You can enter the quantity of each artwork here too.


No Comments