Setting up artwork with White Ink
How to add White Ink to a Print Job...
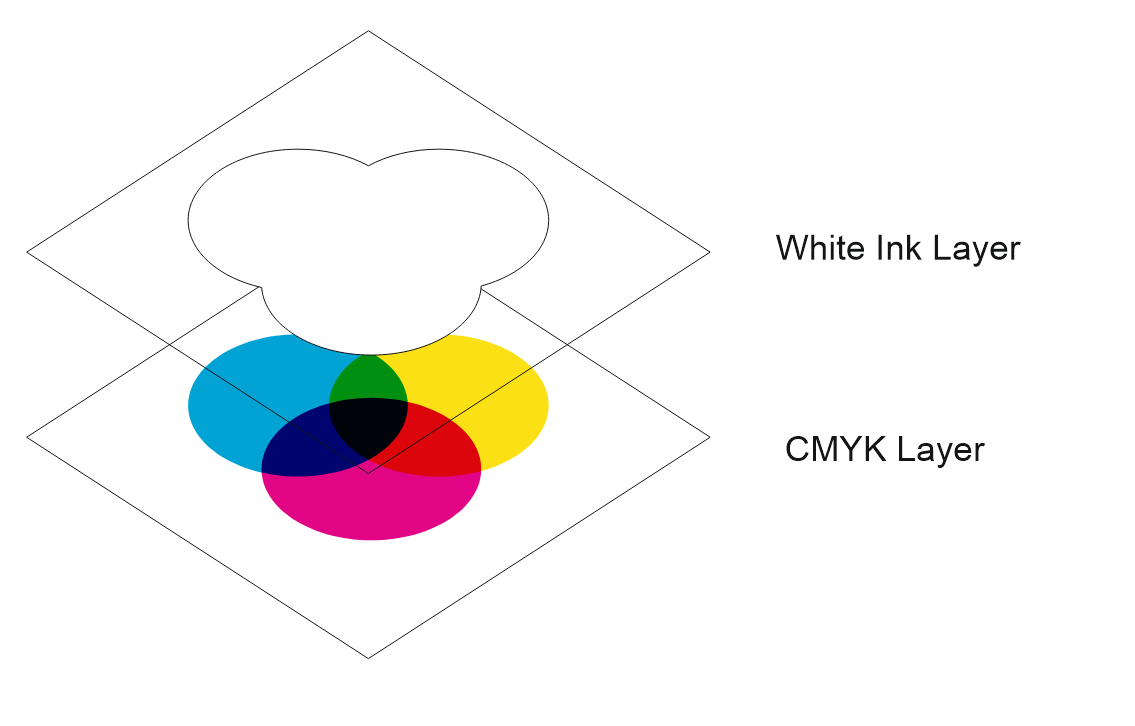
White ink jobs are setup on the same file as your artwork but on a new layer as a spot colour.
Rules for white ink jobs
- White Ink should be represented with the spot colour "Spot1"
- White Ink can be a gradient or solid colour by adding a 50% on to the spot colour
- White Ink layer must always be placed at the very top of the CMYK prints and named "Spot1"
- White Ink must be set to "Overprint Fill" and "Overprint outline" to true
White Ink = Spot1
White ink must be named a spot colour with the exact naming "Spot1" for Onyx Thrive to recognise it.
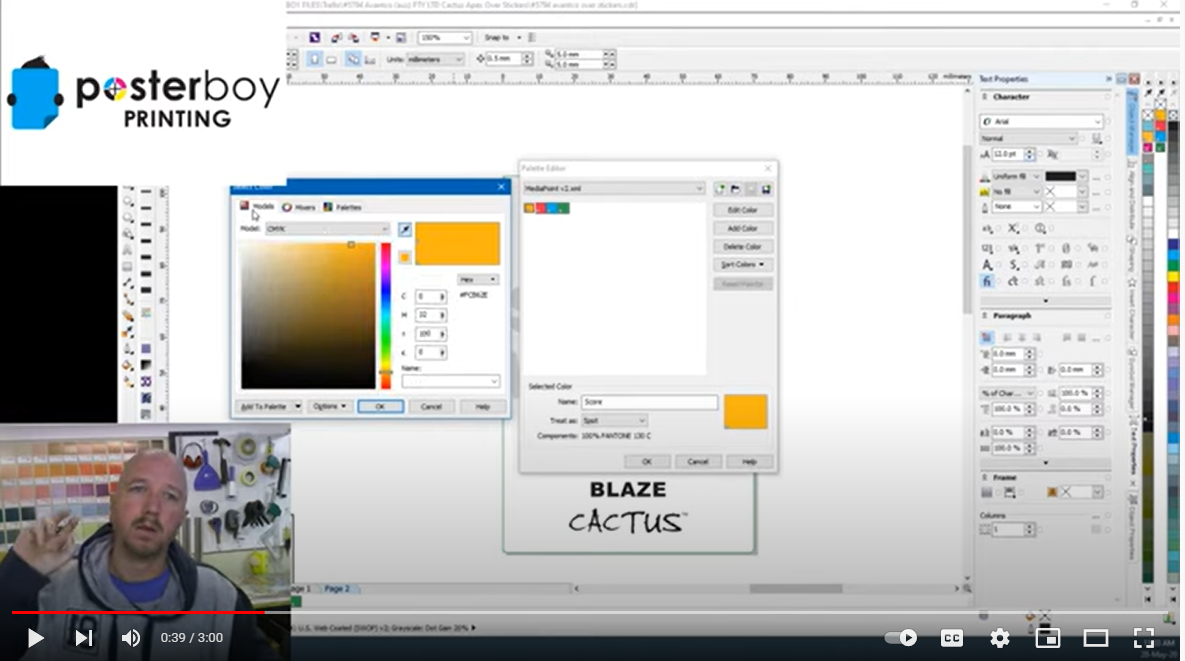
Creating Spot1 in CorelDraw
Watch the video here: https://www.youtube.com/watch?v=l4nOxxnj8-E
White Ink must be the top layer
The white ink layer must be the top layer even if the white ink is being printed below the CMYK layer.
White Ink must be set to Overprint Fill and Overprint Outline
Overprints in Corel Draw
Overprints in Illustrator
Example PDF Setup for White Ink
The example Graphic Warehouse logo would be printed onto wood.
Expected Finished Output when printed on to Wood
Example White Layer
Example CMYK Layer
Example Downloadable PDF
You can download the above example as a PDF here:




No Comments