
EACH SIZE HAS ITS OWN EDIT ARTWORK BUTTON
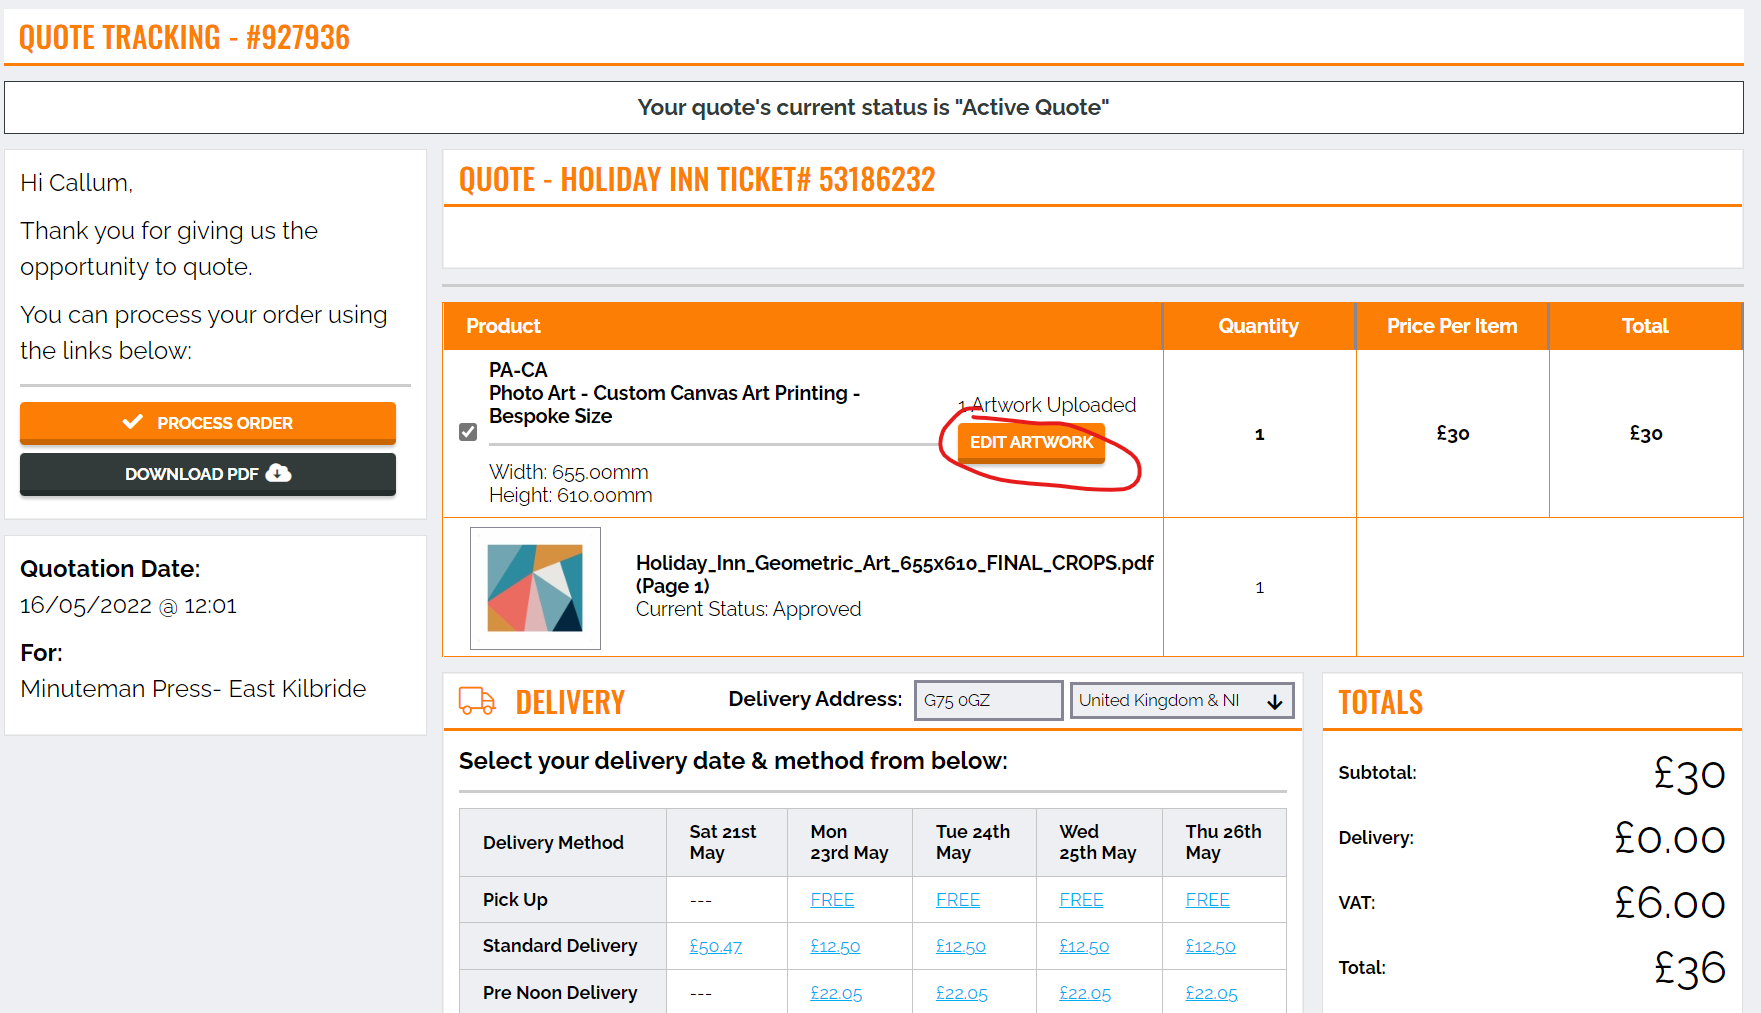
[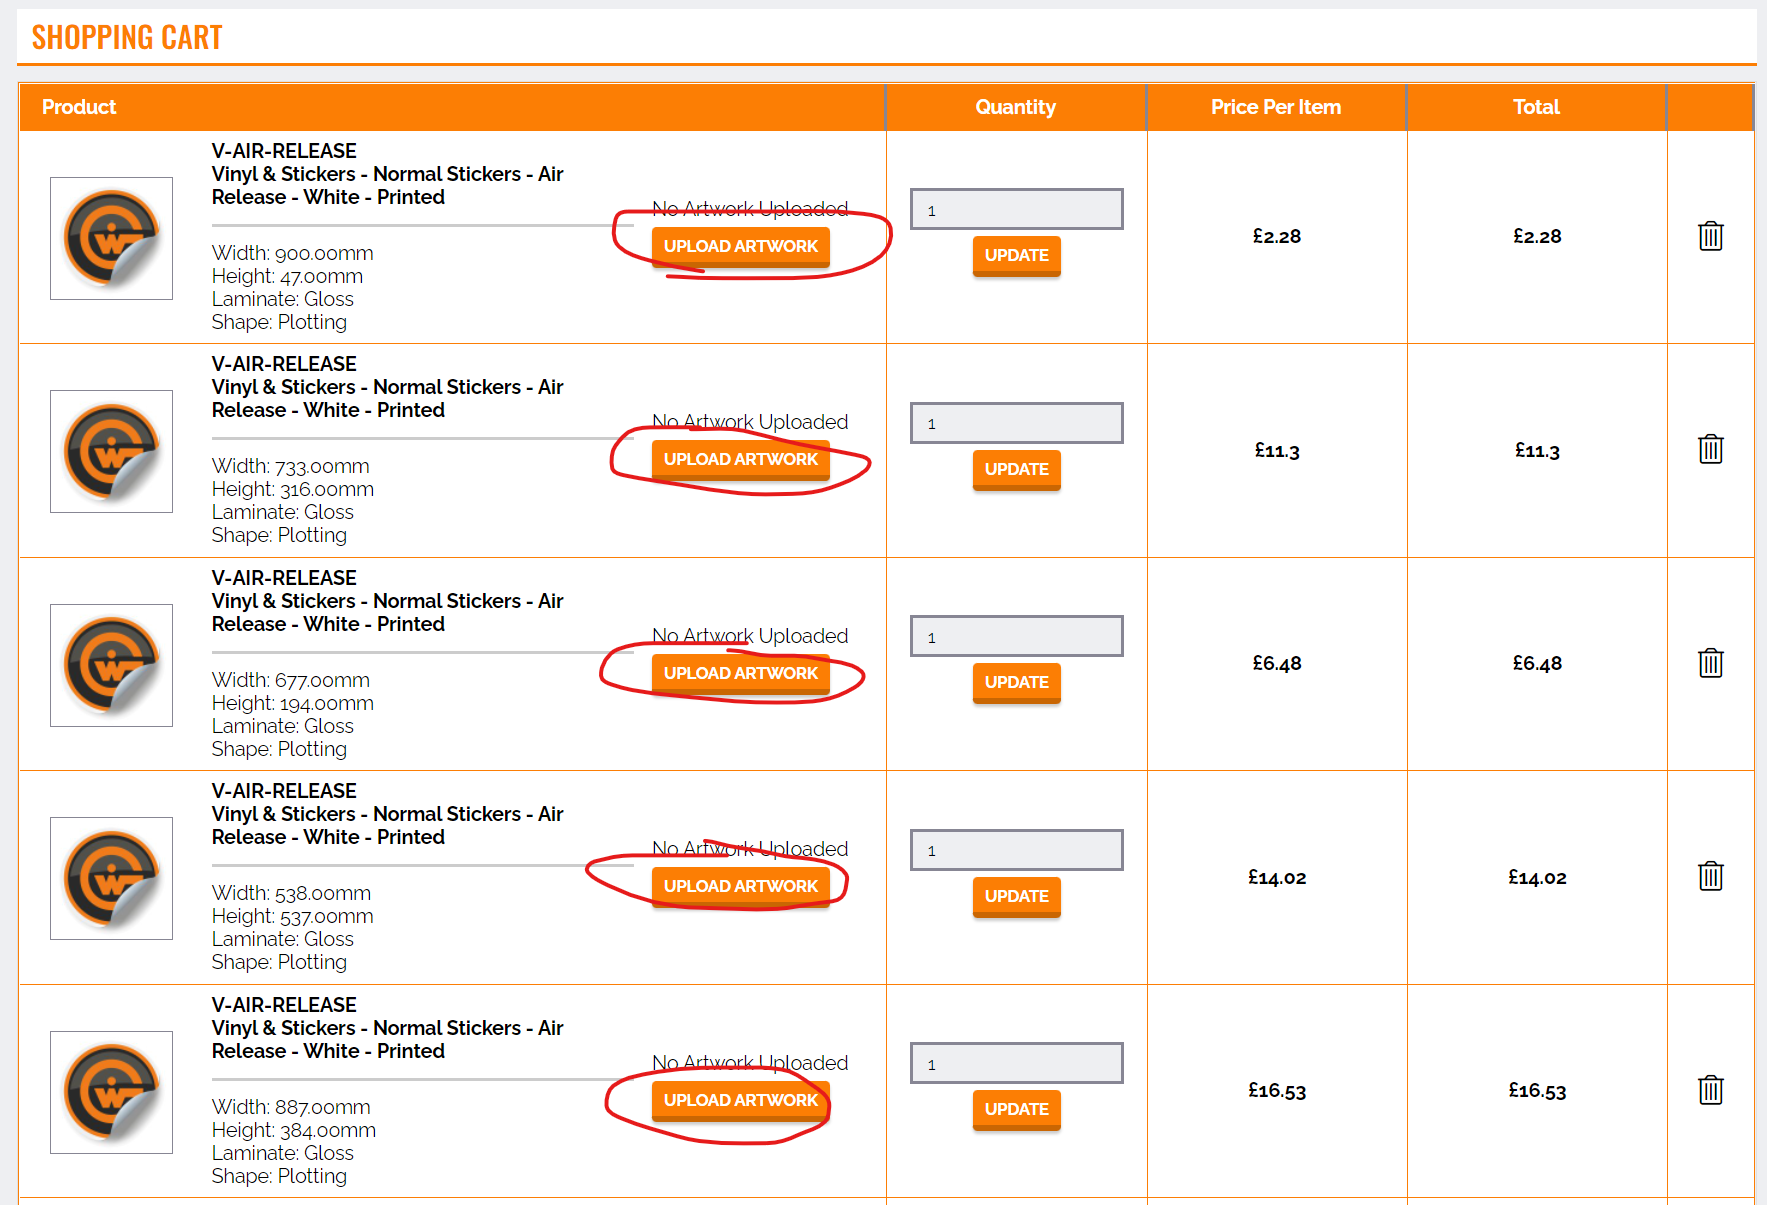](https://manual.maticmedia.co.uk/uploads/images/gallery/2022-05/image-1652787054296.png) #### How to get to the Customer Quote Screen 1. Go to a Quote on the MaticTrack 2. Click the ****Quote View button as below**** [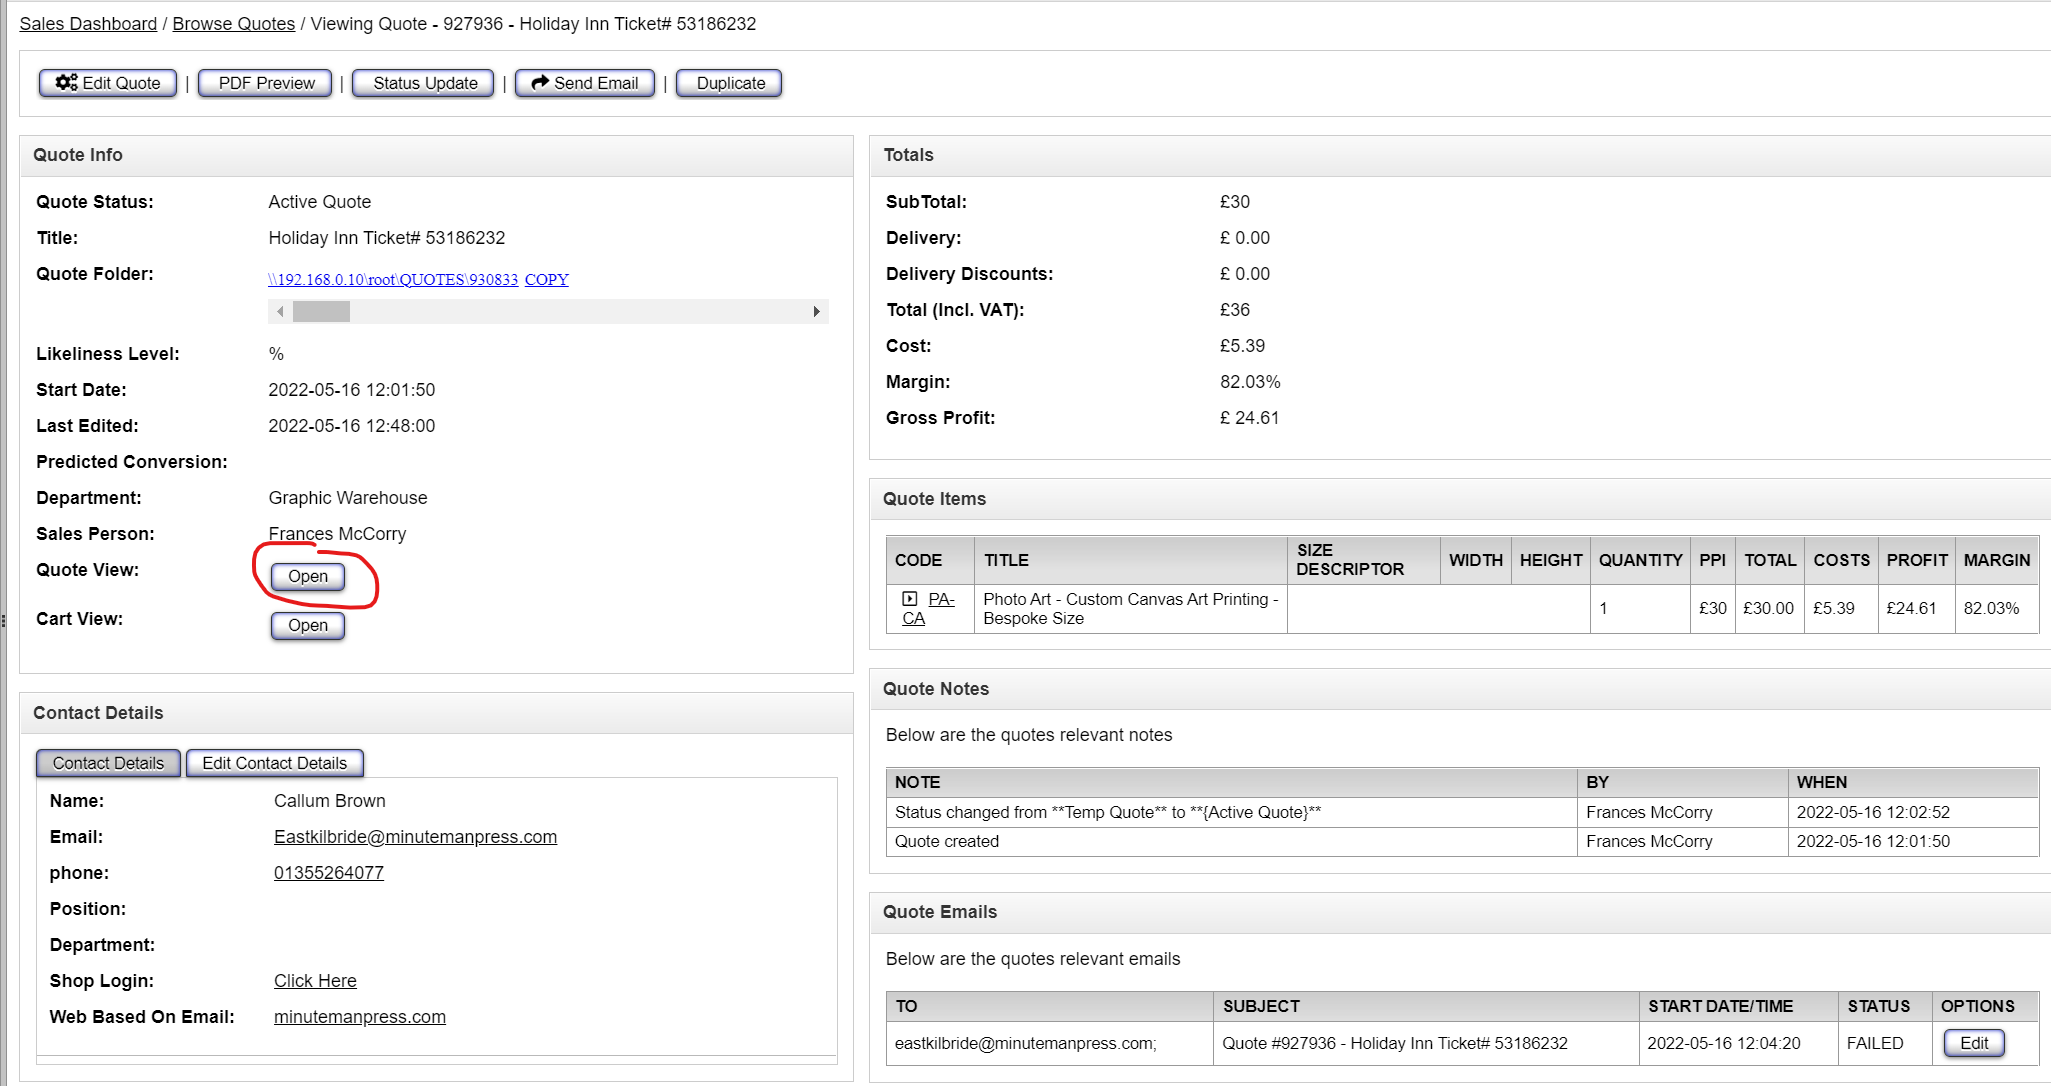](https://manual.maticmedia.co.uk/uploads/images/gallery/2022-05/image-1652786481157.png) 3. Click on the **"Edit Artwork" button** for the item you want to upload the artwork for.EACH SIZE HAS ITS OWN EDIT ARTWORK BUTTON
[](https://manual.maticmedia.co.uk/uploads/images/gallery/2022-05/image-1652786544366.png) ### What kind of files can you upload... The MaticTrack accepts the following file types| EPS | PNG | |
| JPEG (JPG) | TIFF | WORD |
| PPT (Powerpoint) |
Depending on the size / complexity of the file this can be quite an intensive process and may take up to 5 minutes.
### What Does Proofing Artwork Mean? This basically means converting the artwork into a jpeg that can be displayed to the user. This is also known as Image Rasterization.Depending on the size / complexity of the file this can be quite an intensive process and may take up to 5 minutes.
#### Size vs ComplexityJust because a file is small does not mean it is not complex, **an architecturual drawing is a much more complex than a 1 gigabyte image.**
### Uploading Artwork [](https://manual.maticmedia.co.uk/uploads/images/gallery/2022-05/image-1652866190708.png) [](https://manual.maticmedia.co.uk/uploads/images/gallery/2022-05/image-1652866287957.png) 1. Artwork Status 2. File Proof ### Artwork Proofing and Approving (Artwork Approval Process) #### Step 1: Scale & Position ##### Artwork Scale| **Method** | **What it does...** |
| Scale to Bleed Width | Scales the artwork up to the width of the artboard including the bleed |
| Scale to Bleed Height | Scales the artwork up to the height of artboard including the bleed |
| Scale to Finish Width | Scales the artwork up to the width of the artboard, not including the bleed |
| Scale to Finish Height | Scales the artwork up to the width of the artboard, not including the bleed |
| A Paper Scale up 1 | Scales the artwork 141% used for scaling A Sized documents e.g. A2 to A1 |
| A Paper Scale up 3 | Scales the artwork 283% used for scaling A Sized documents e.g. A4 to A1 |
| 100% | Does not scale the artwork |
| 400% | Scales the artwork 400% |
| 1000% | Scales the artwork 1000% |
| Custom Scale | Allows you to pick the width and height of the artwork |
| **Operation** | **What it does....** |
| **Automatic** | Automatically tries to calculate where the artwork should be placed assuming equal registration points around the artwork. |
| **Centre of Bleed Size** | Centers the artwork in the middle of the artboard **including the bleeds** |
| **Center of Finish Size** | Centers the artwork in the middle of the artboard **not including the bleeds** |
| **Bespoke** | Allows you to drag and drop the artwork where you want or put in a specific X and Y Coordinate (0,0 is at top left) |
| **Method** | **What it means....** | **Image Example** |
| **Print File has Bleed In It** | The artwork already has enough bleed in it | [](https://manual.maticmedia.co.uk/uploads/images/gallery/2022-05/image-1652868457609.png) |
| **Mirror Bleed** | Reflect the artwork at the edge of the finished size | [](https://manual.maticmedia.co.uk/uploads/images/gallery/2022-05/image-1652868525693.png) |
| **Edge Stretch** | Take the last 1pt of the artwork at the edge of the finished size and stretch it to the end of the bleed | [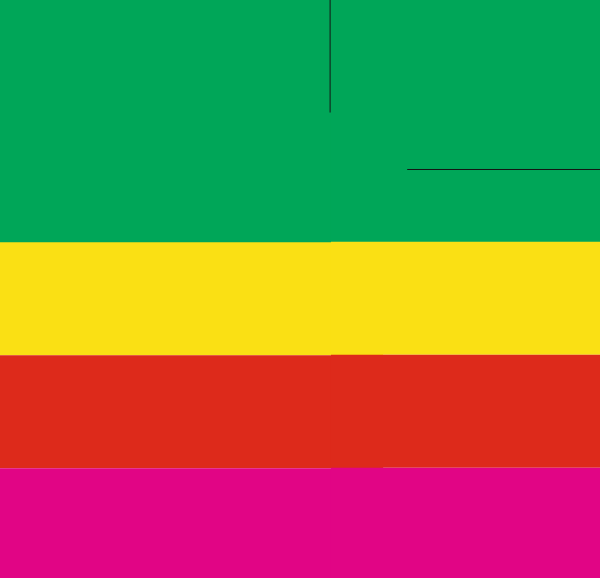](https://manual.maticmedia.co.uk/uploads/images/gallery/2022-05/image-1652868535118.png) |
| **CMYK Colour** | Take a CMYK Colour reference as the bleed | [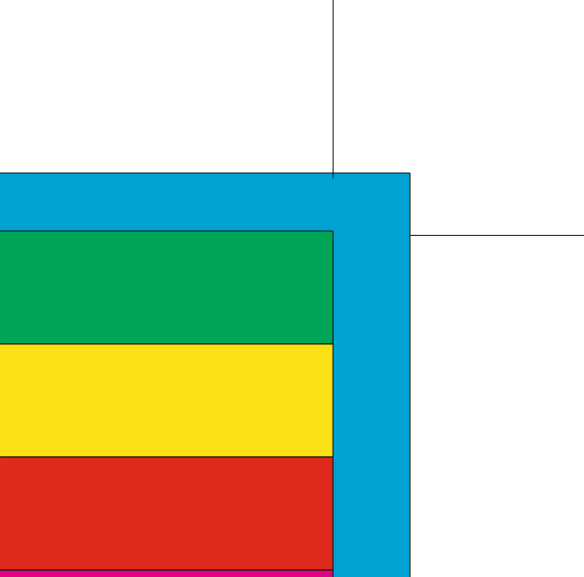](https://manual.maticmedia.co.uk/uploads/images/gallery/2022-05/image-1652868578973.png) |
| **RGB Colour** | Task an RGB Colour reference as the bleed | [](https://manual.maticmedia.co.uk/uploads/images/gallery/2022-05/image-1652868581350.png) |
| **Spot Colour Pick** | Take the colour at the point selected and make that the bleed | [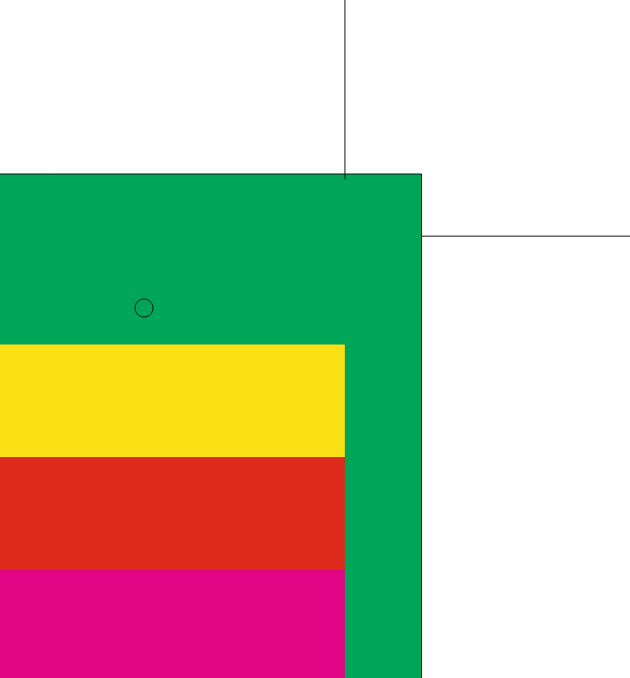](https://manual.maticmedia.co.uk/uploads/images/gallery/2022-05/image-1652868613647.png) |