Loading a Roll on the Feeding Unit to Print
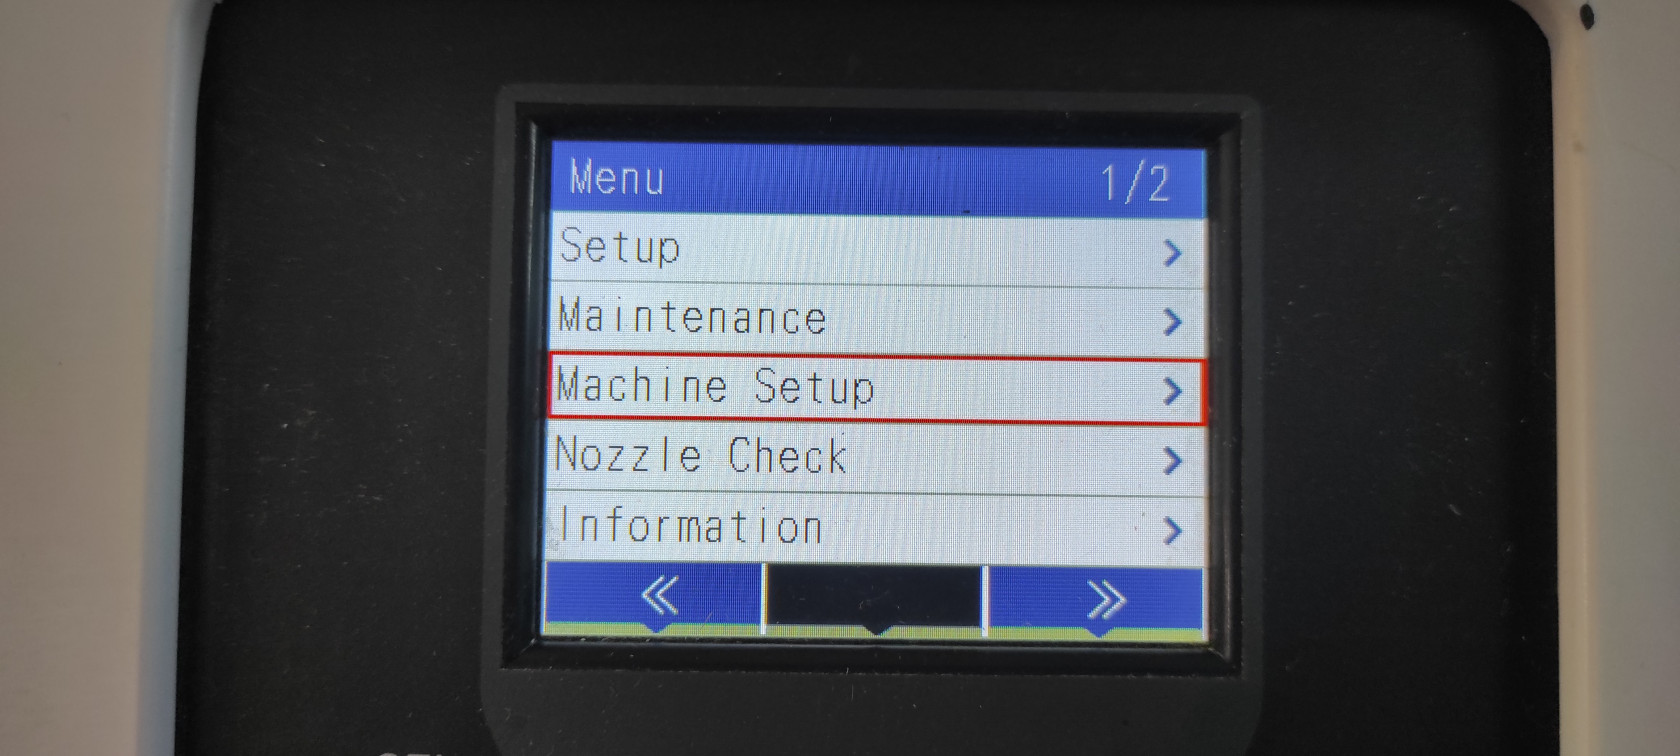
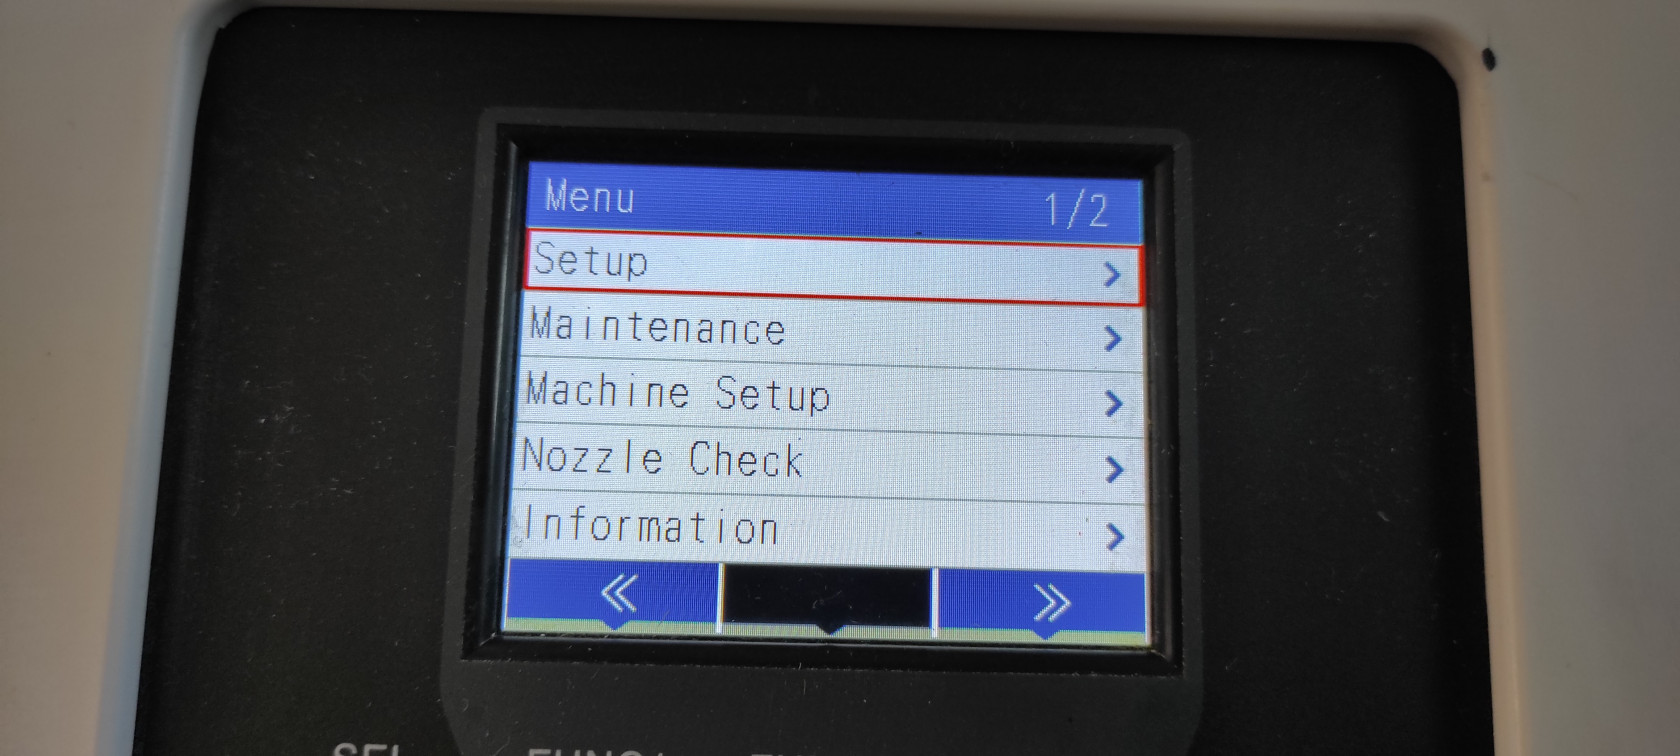
Starting from the menu.
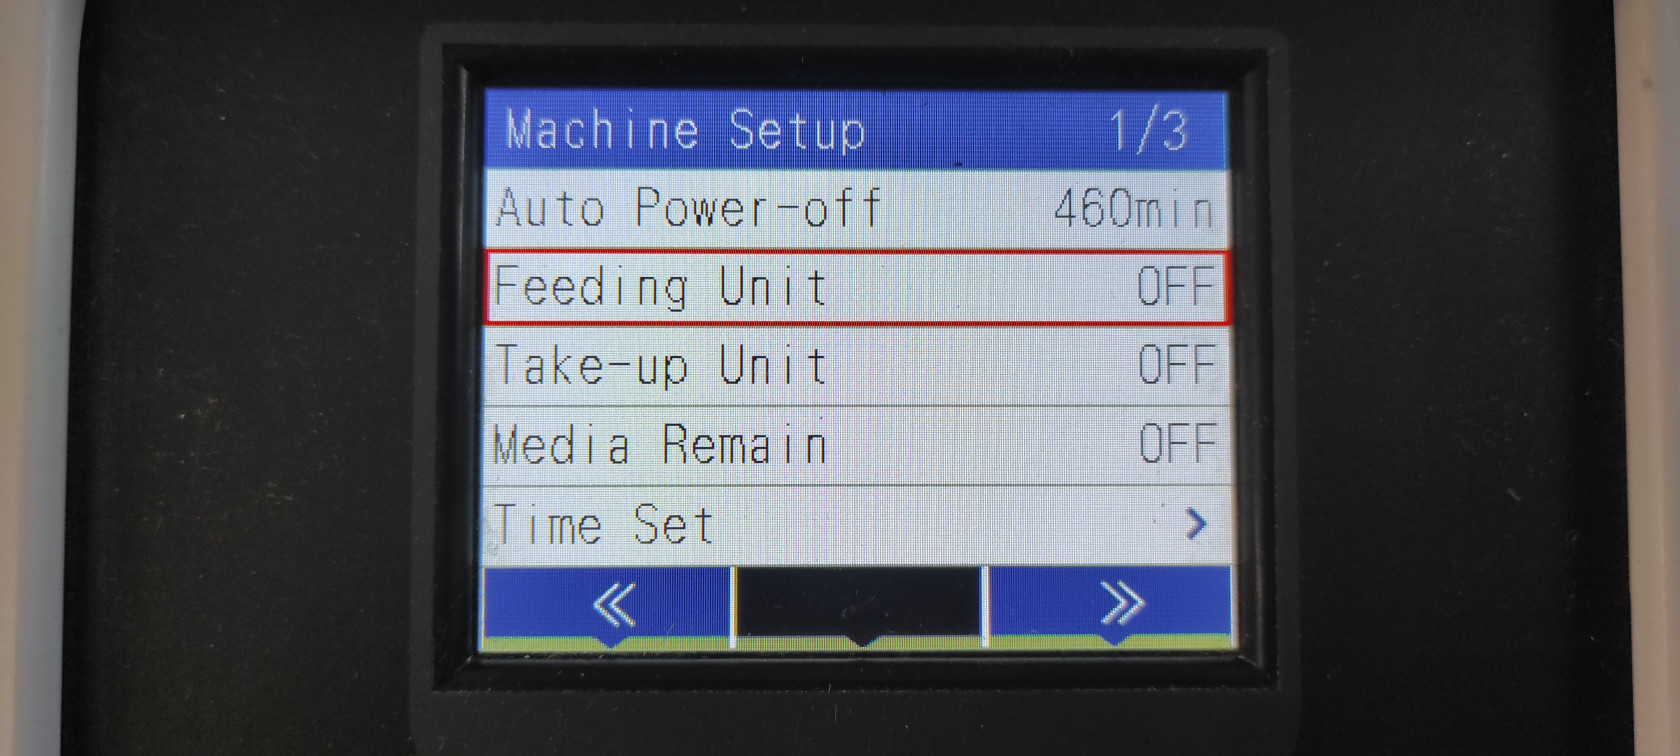
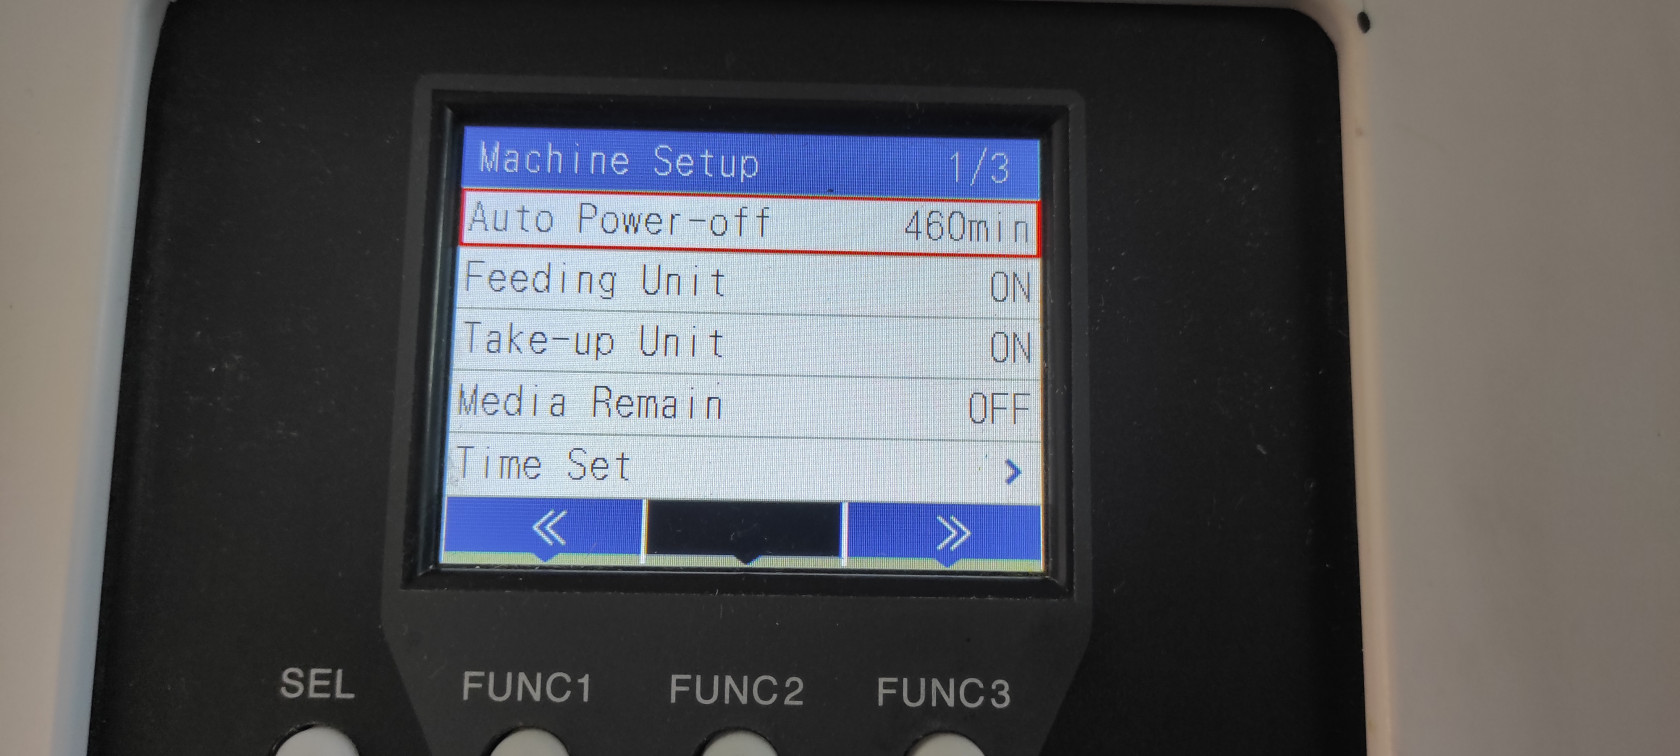
Select machine setup
Turn on the feeding unit.
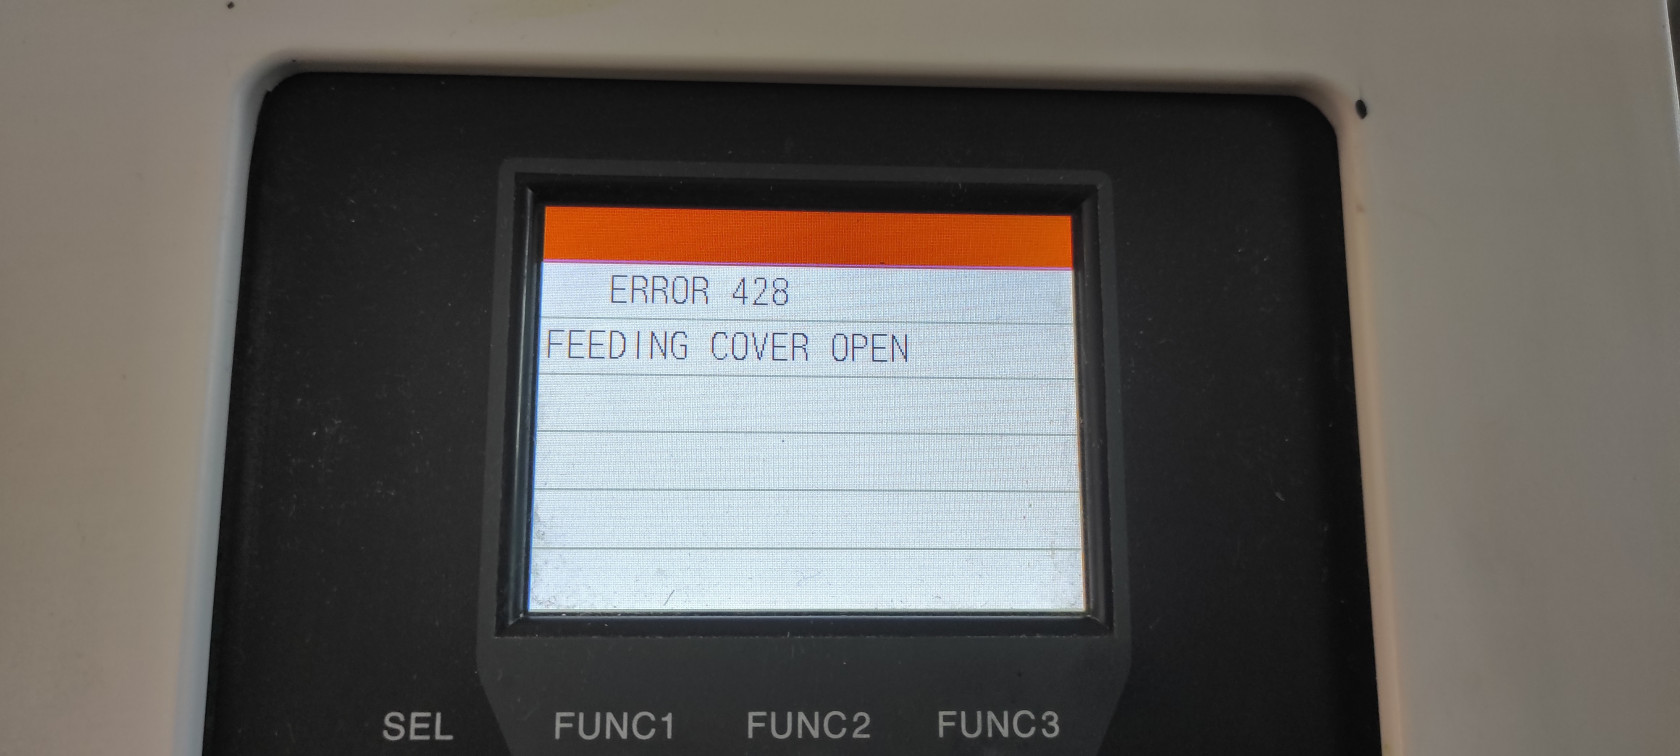
If the error 428 feeding cover open appears, you'll need to go to the rear left to close it to go further.
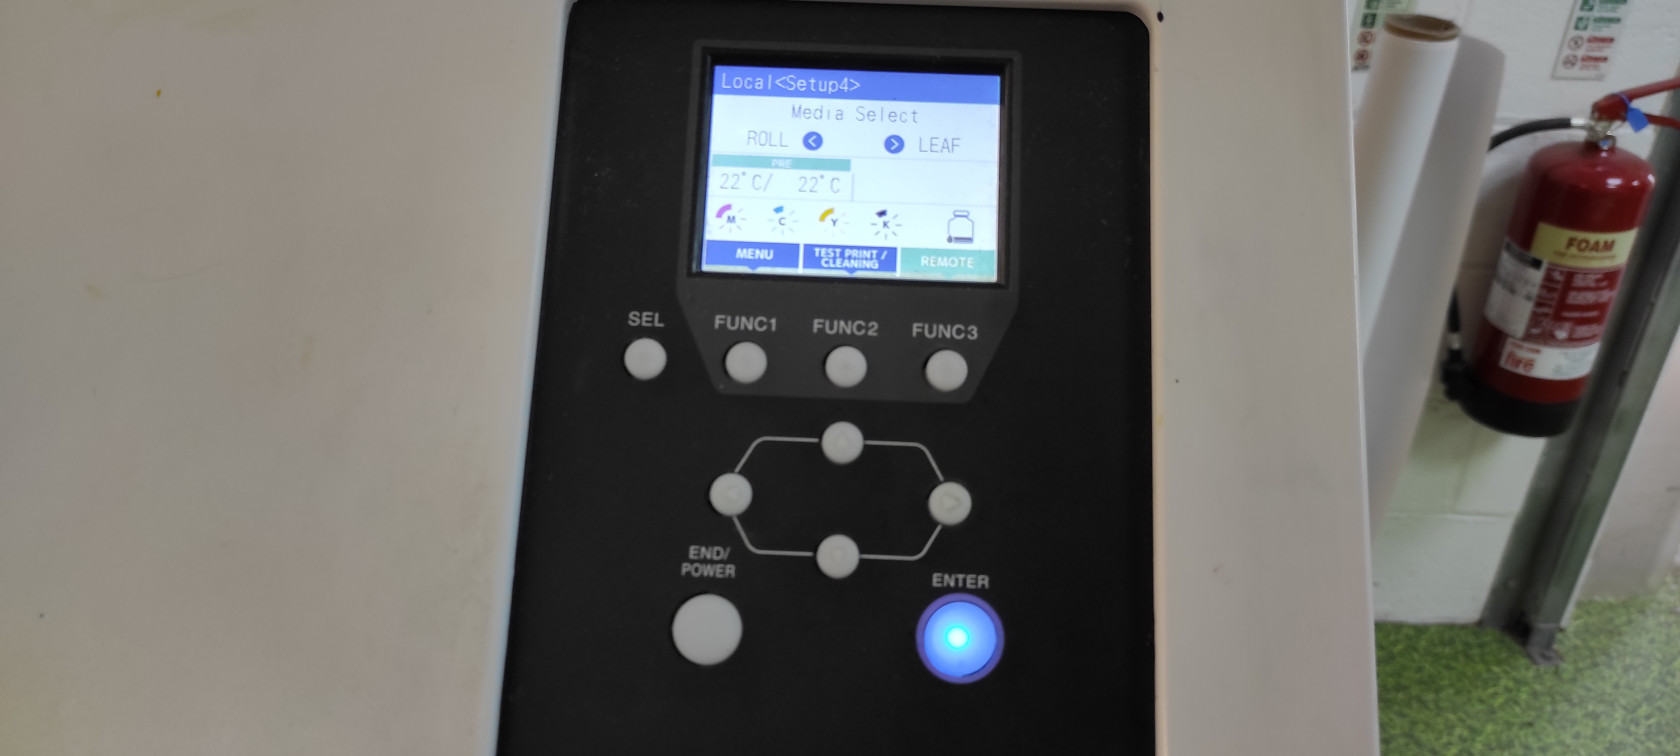
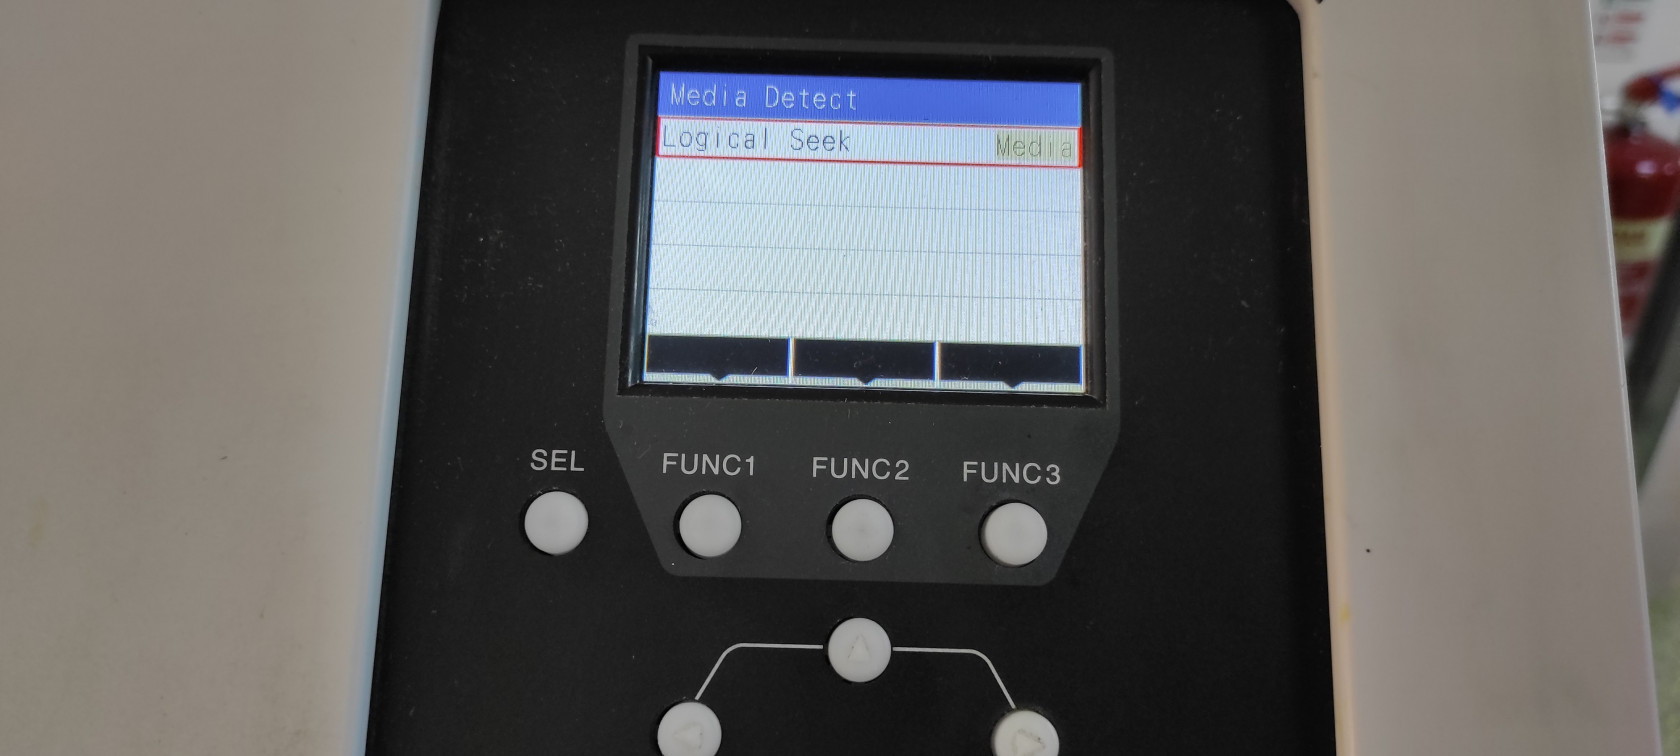
Select Roll and select enter.
- Select Enter
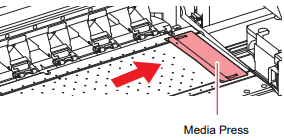
- Place the Media Press to the outside as a preparation.
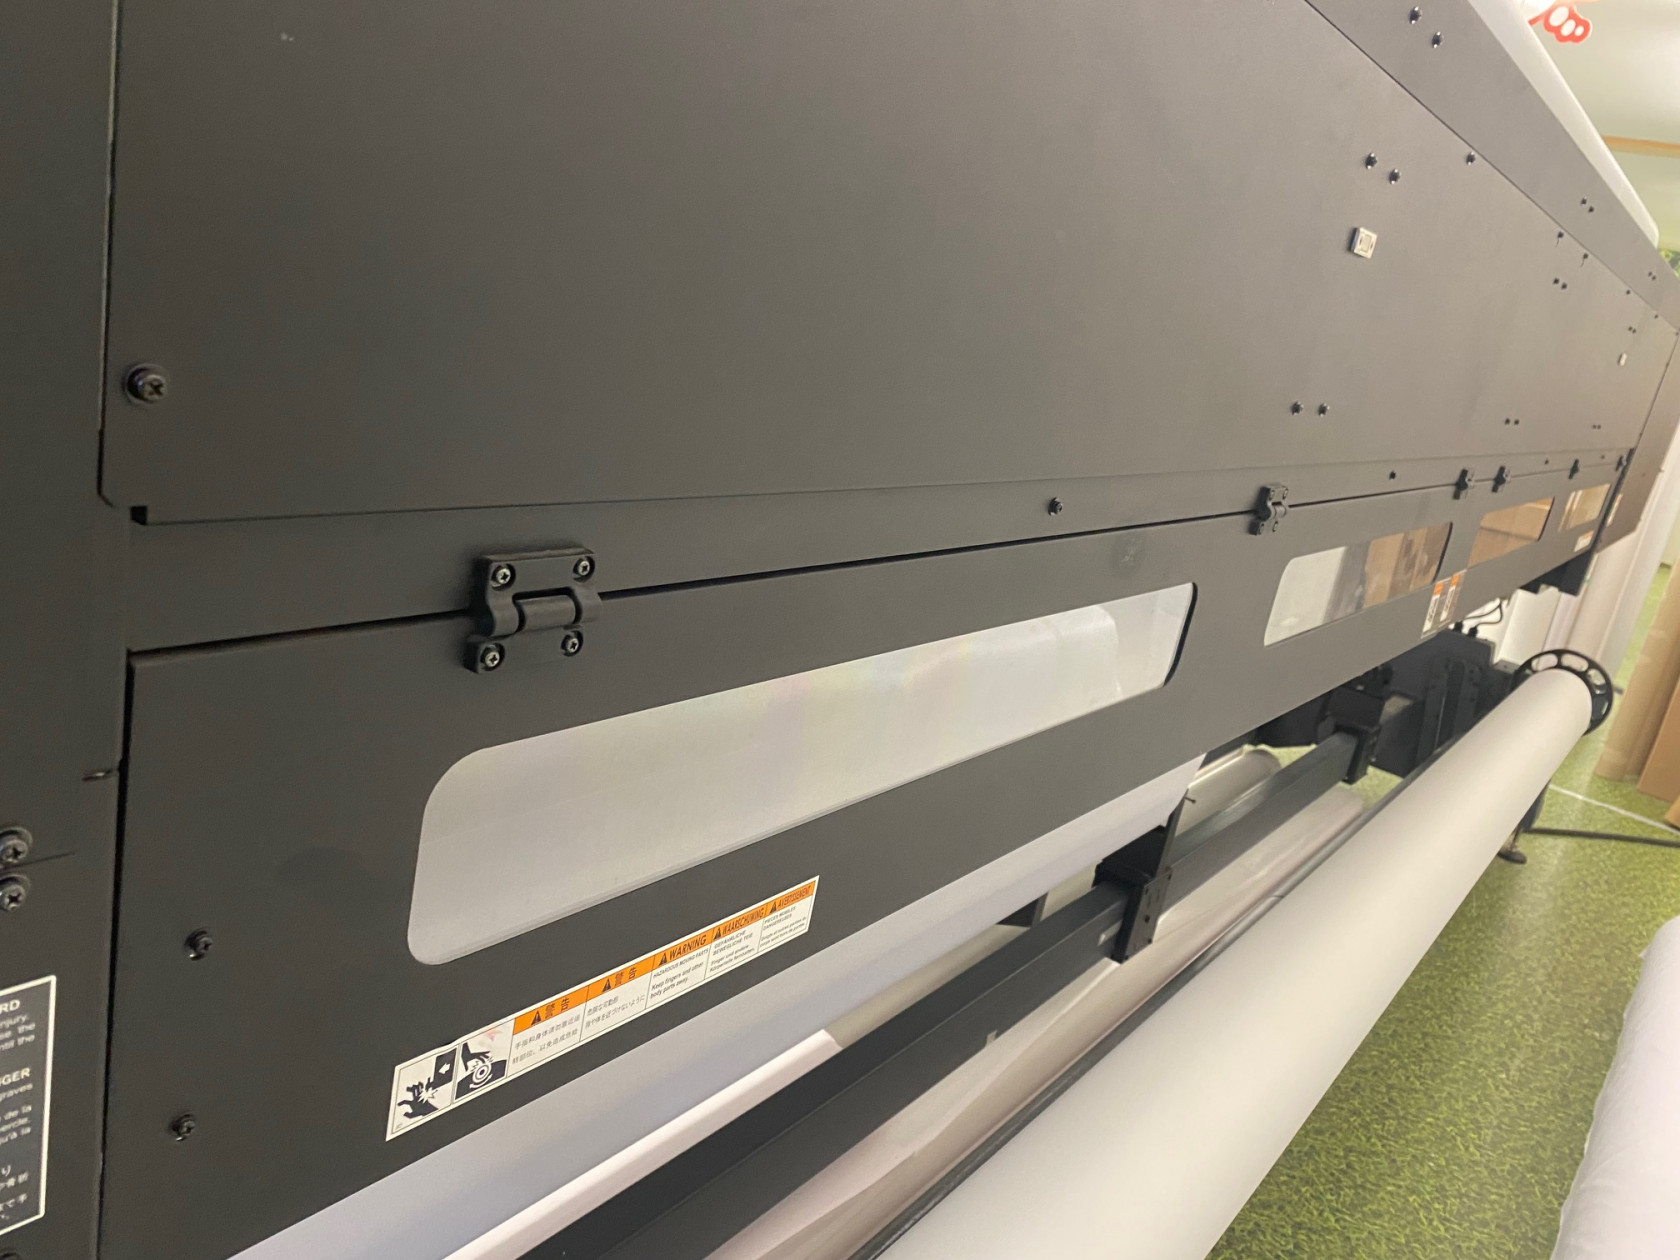
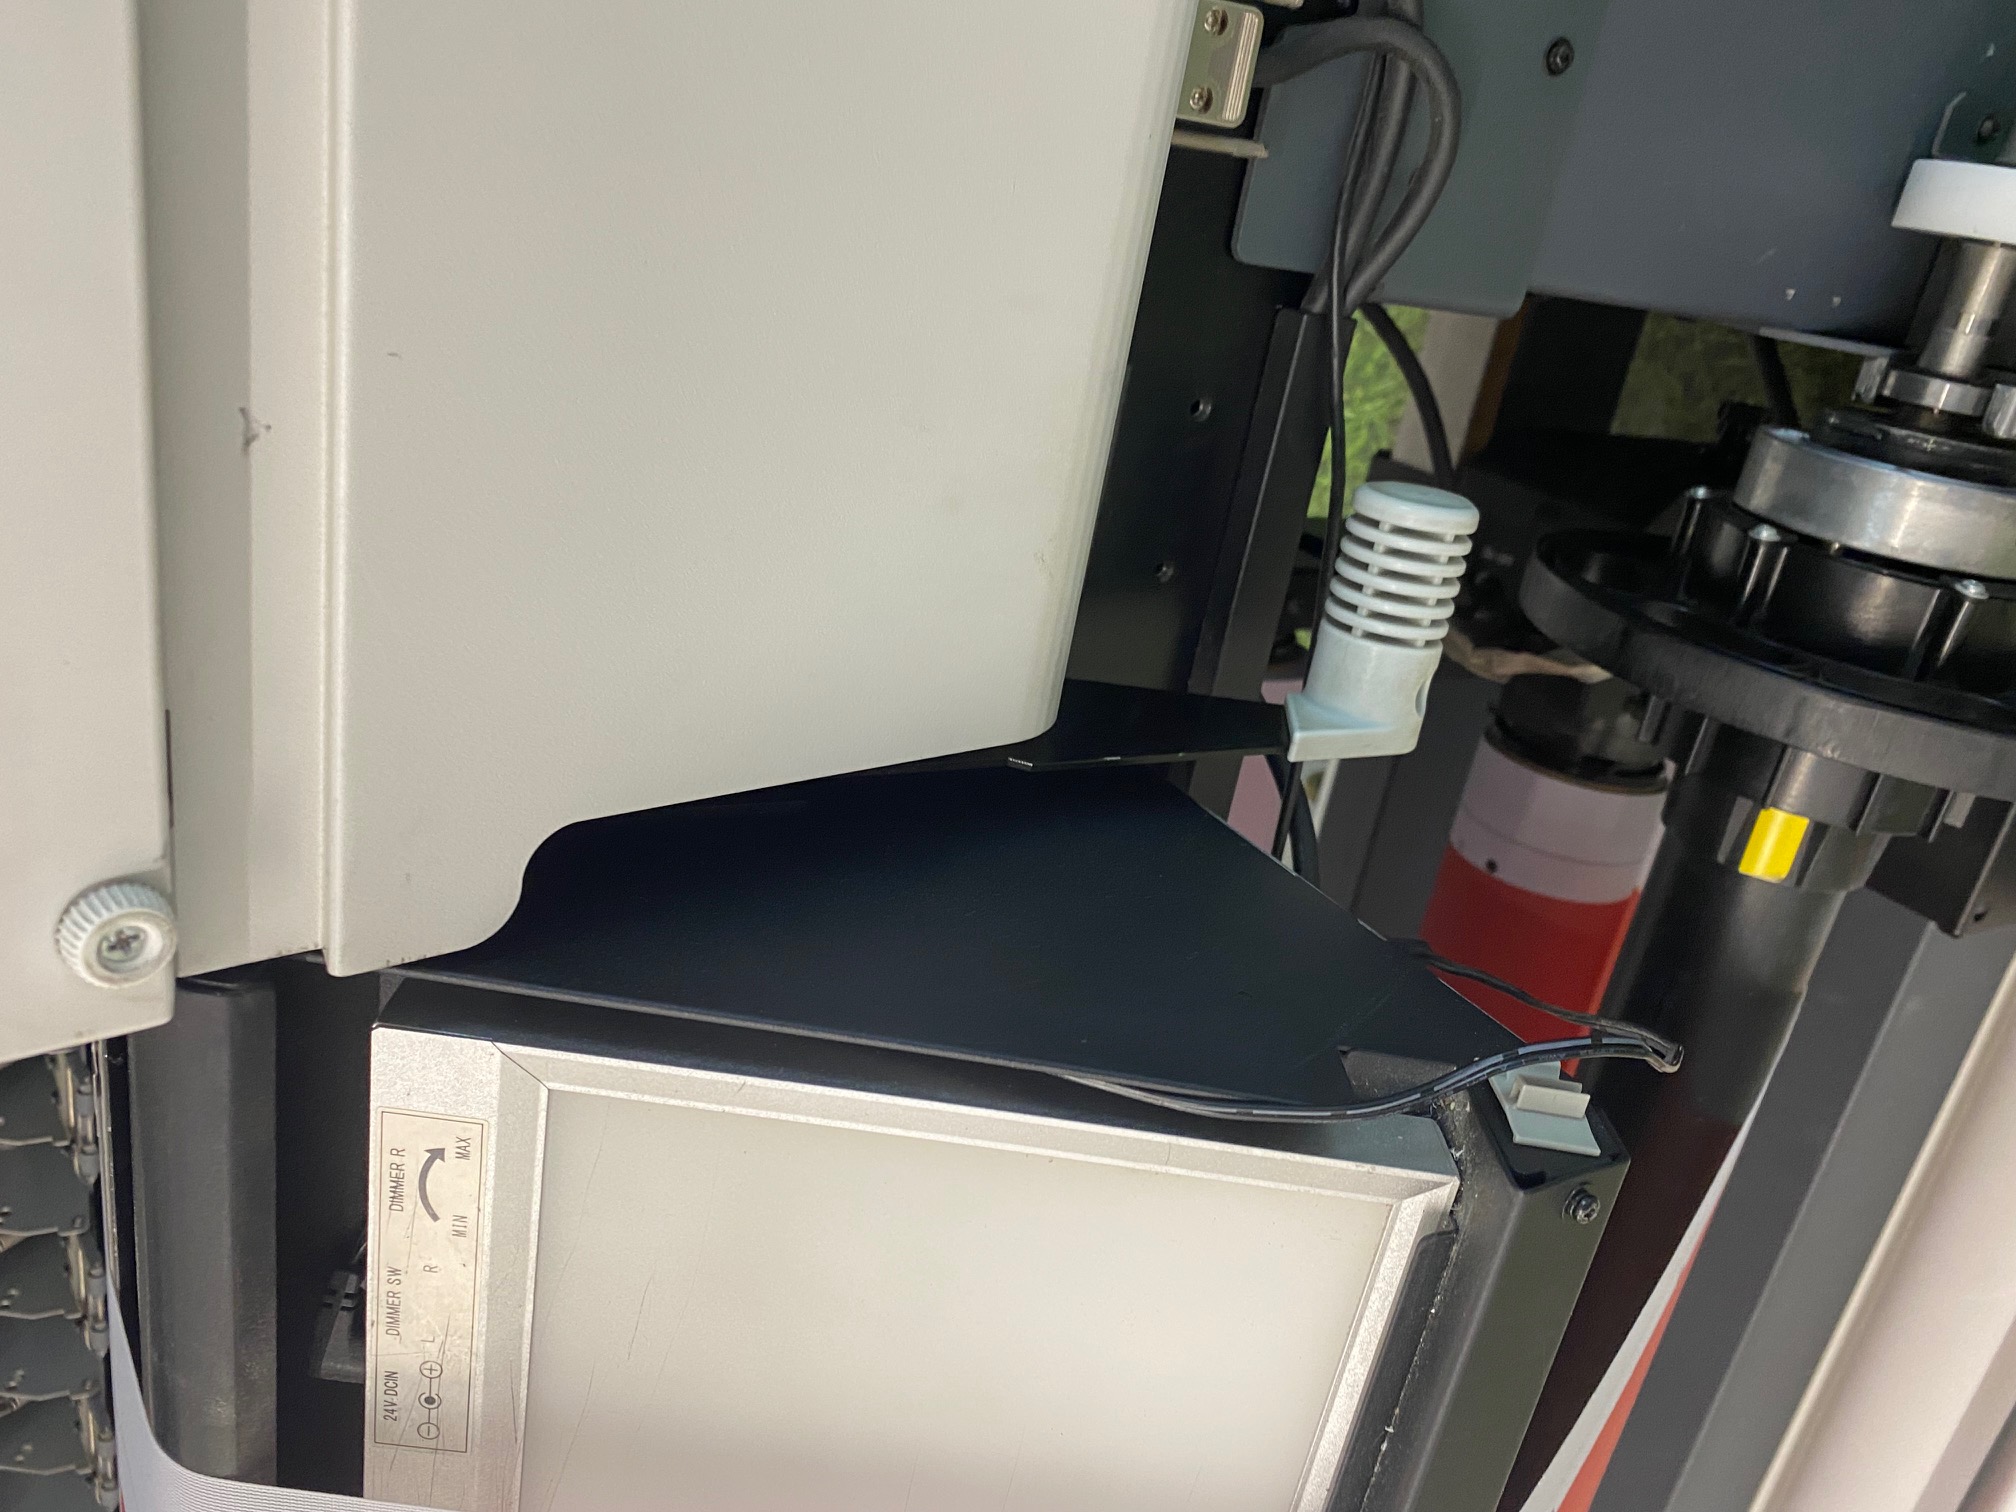
- To begin loading a roll, start by opening the rear covers on the back by pulling at the bottom.
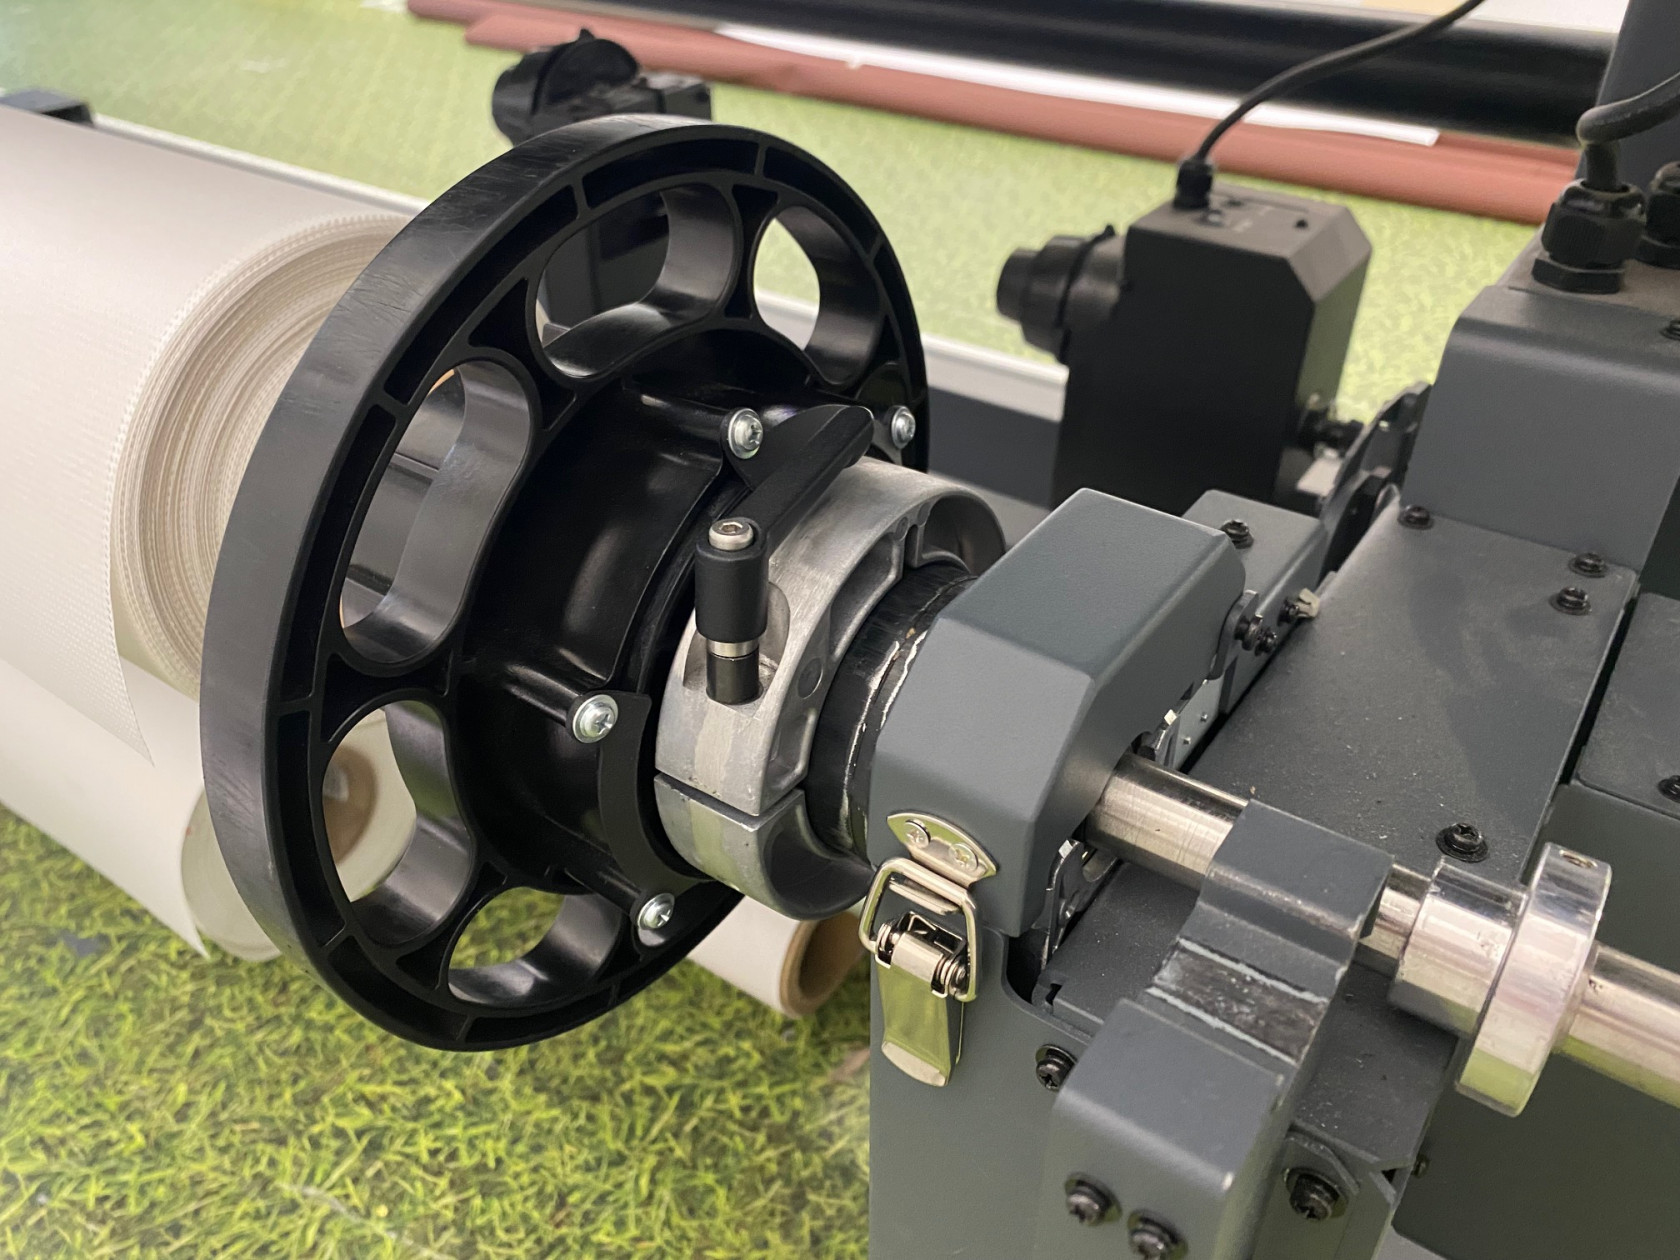
- Then unclip the feeding cover on the feeding unit [rear side of the printer]
- Lift the feeding unit out one side at a time [easier with 2 people].
- If there is already media on the unit then it will need to be slid down one side and put back into the stock storage.
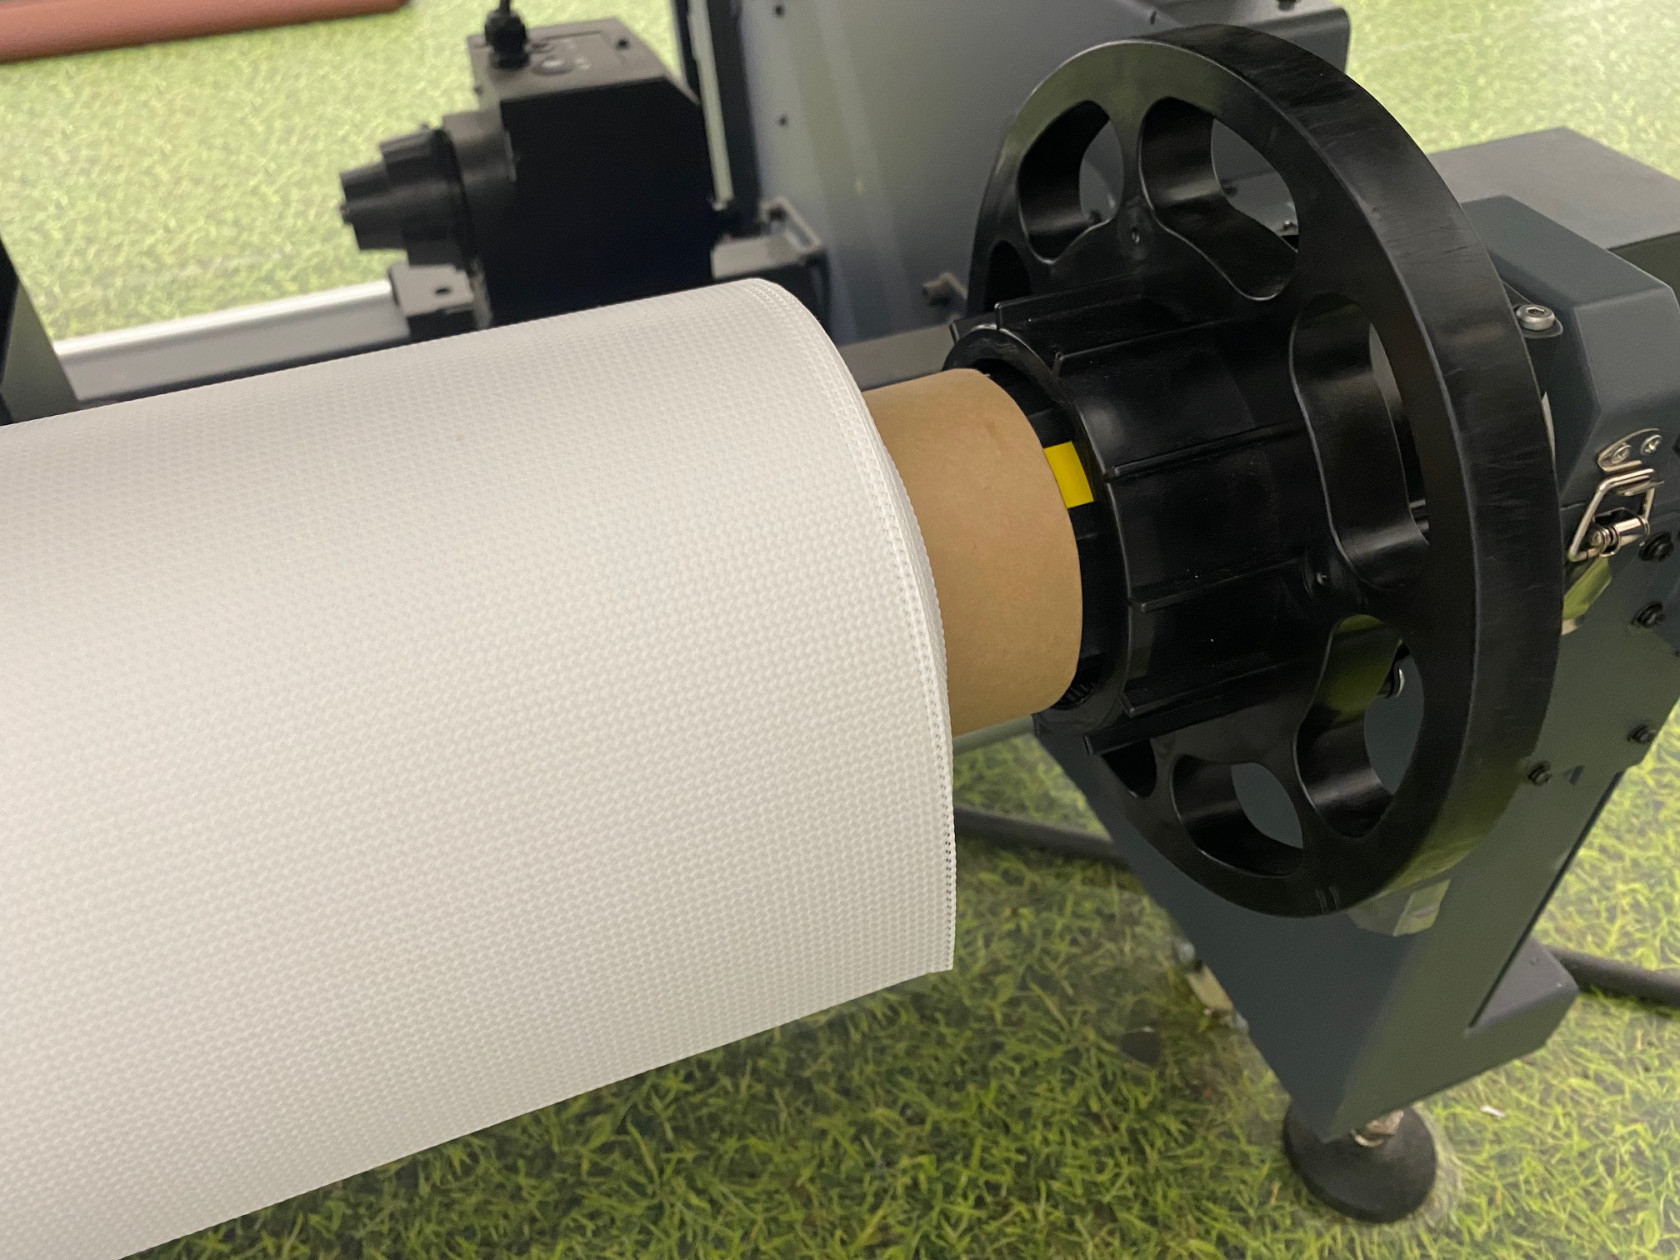
- Take the roll of media you wish to use and slide it down the feeding unit to sit in the middle of the media feed area. [this can be roughly in the middle, using a measuring tape can help].
- Push the Roll Guide onto each end of the media to secure it in place.
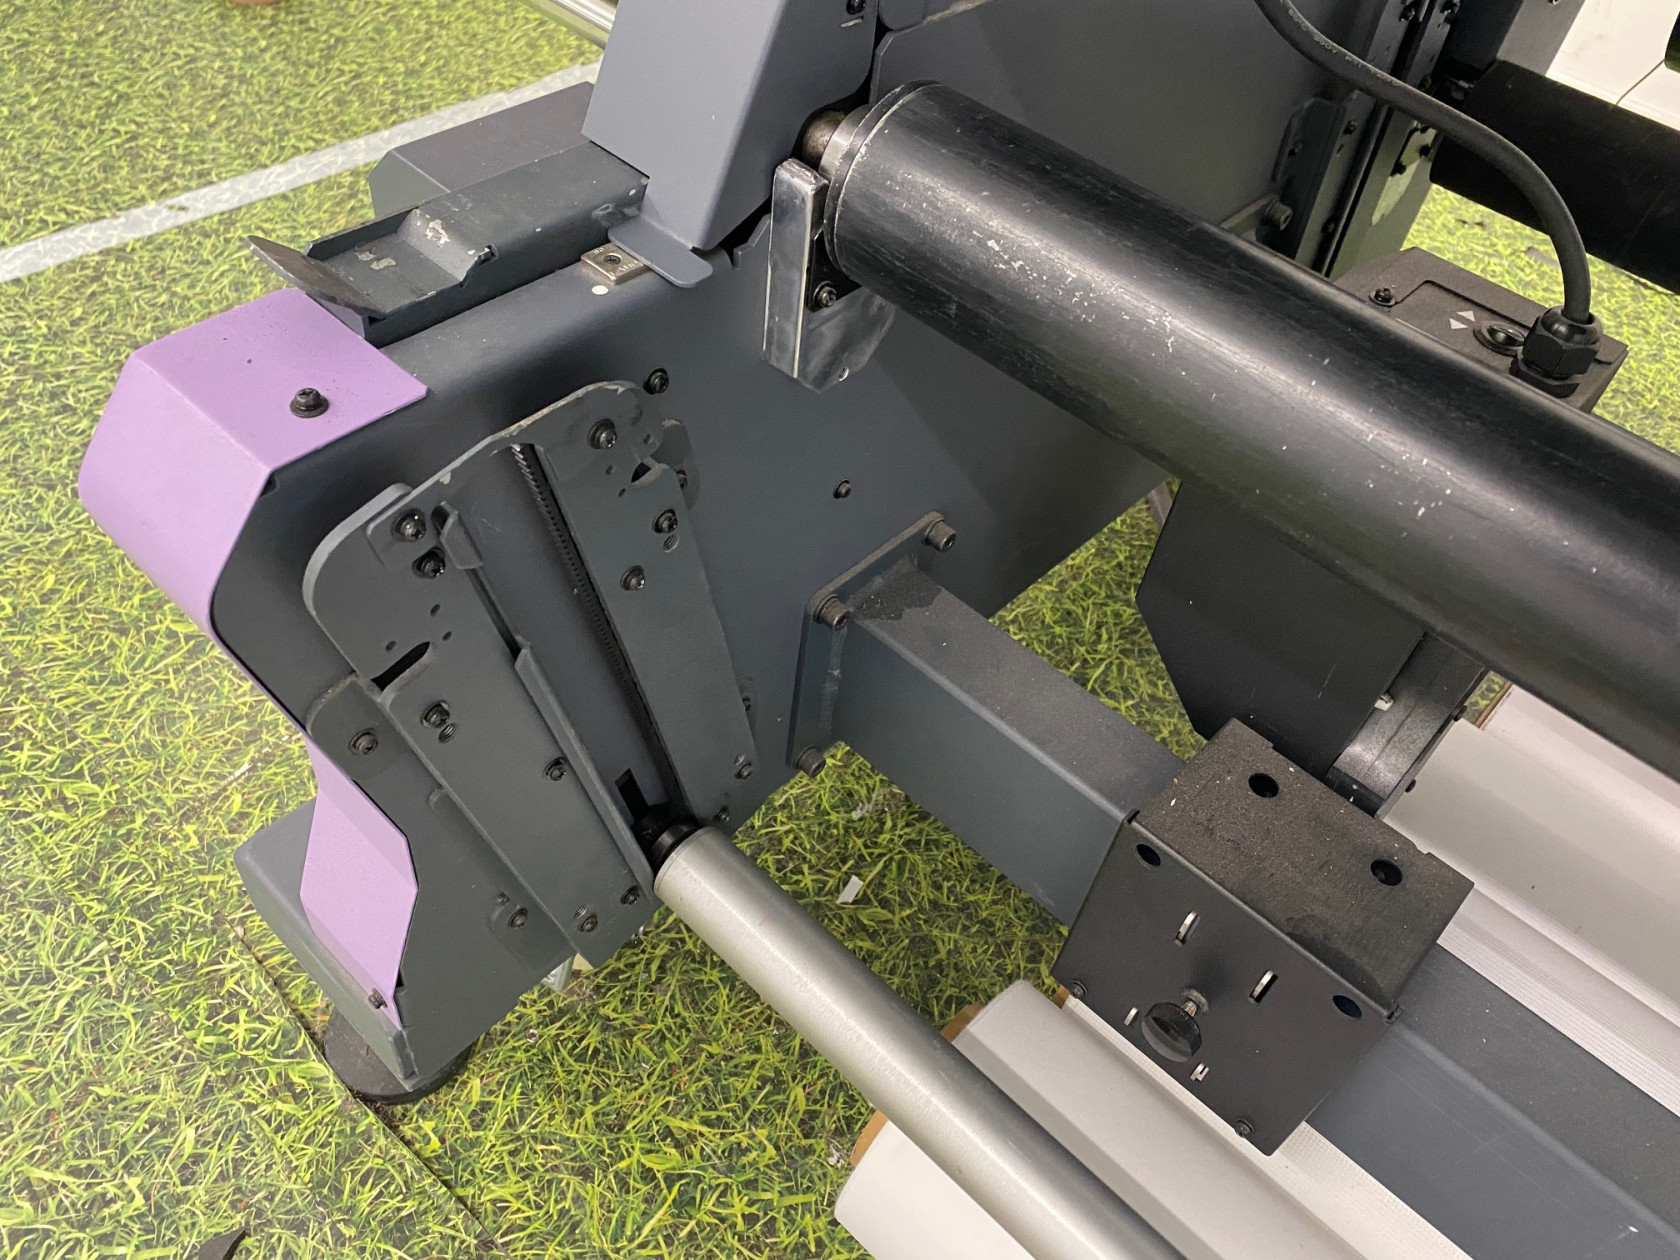
- Place the feeding unit back onto the roll resting spot on either side, before then slotting the side with the feeding cover into the gears.
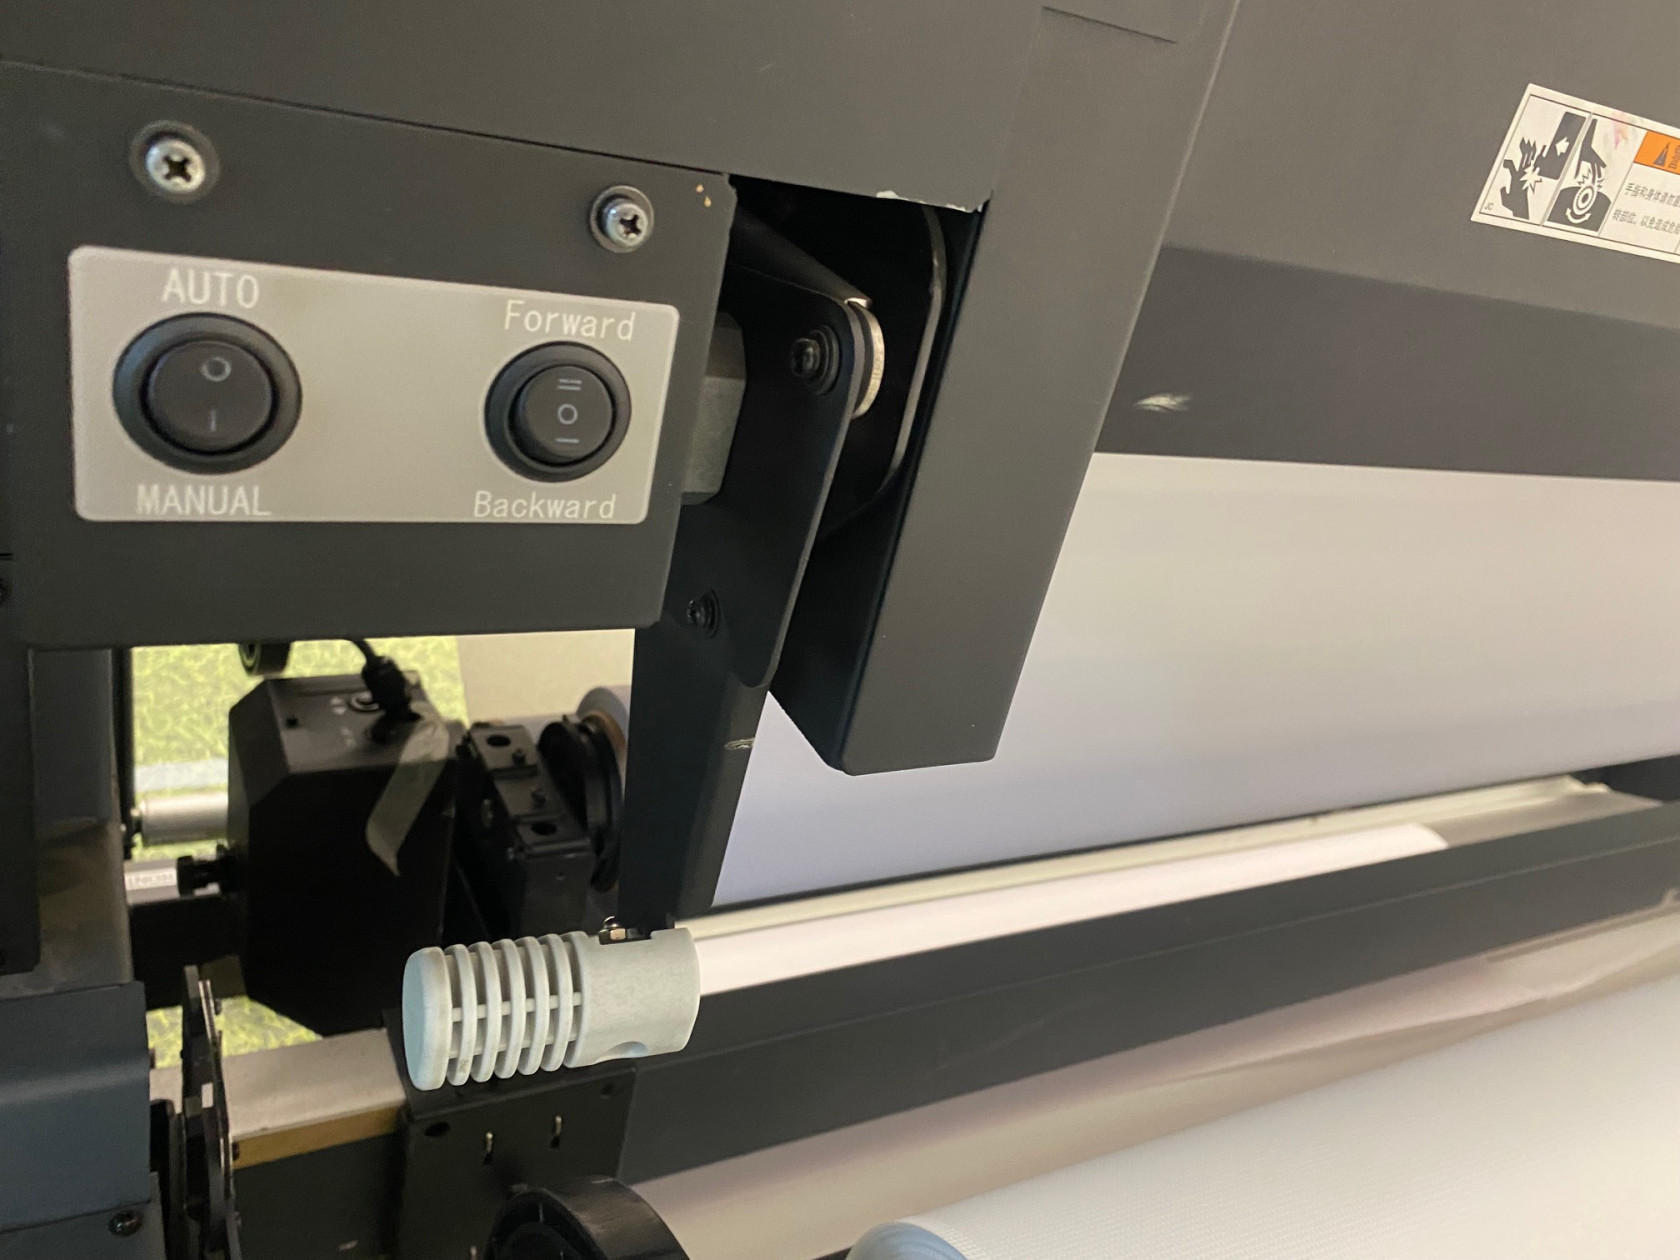
- Once the feeding unit is secured in place with the feeding cover clipped down, you can begin to feed the media down under the tension bar and back up into the pinch rollers, using the auto button and forward button as long as you need to get it into position on the platen.
- You can use the pinch rollers to grab the media whilst you go around to the front of the Mimaki to hold the media and use the grey lever on the front to release if you need to adjust it.
- Using the arrows on the display, you can move the feed-forward to secure it to the tension bar [silver] on the front which can be lifted up so you use less material to set it up. [Some materials you can start printing first before this process is started, to use less material.]
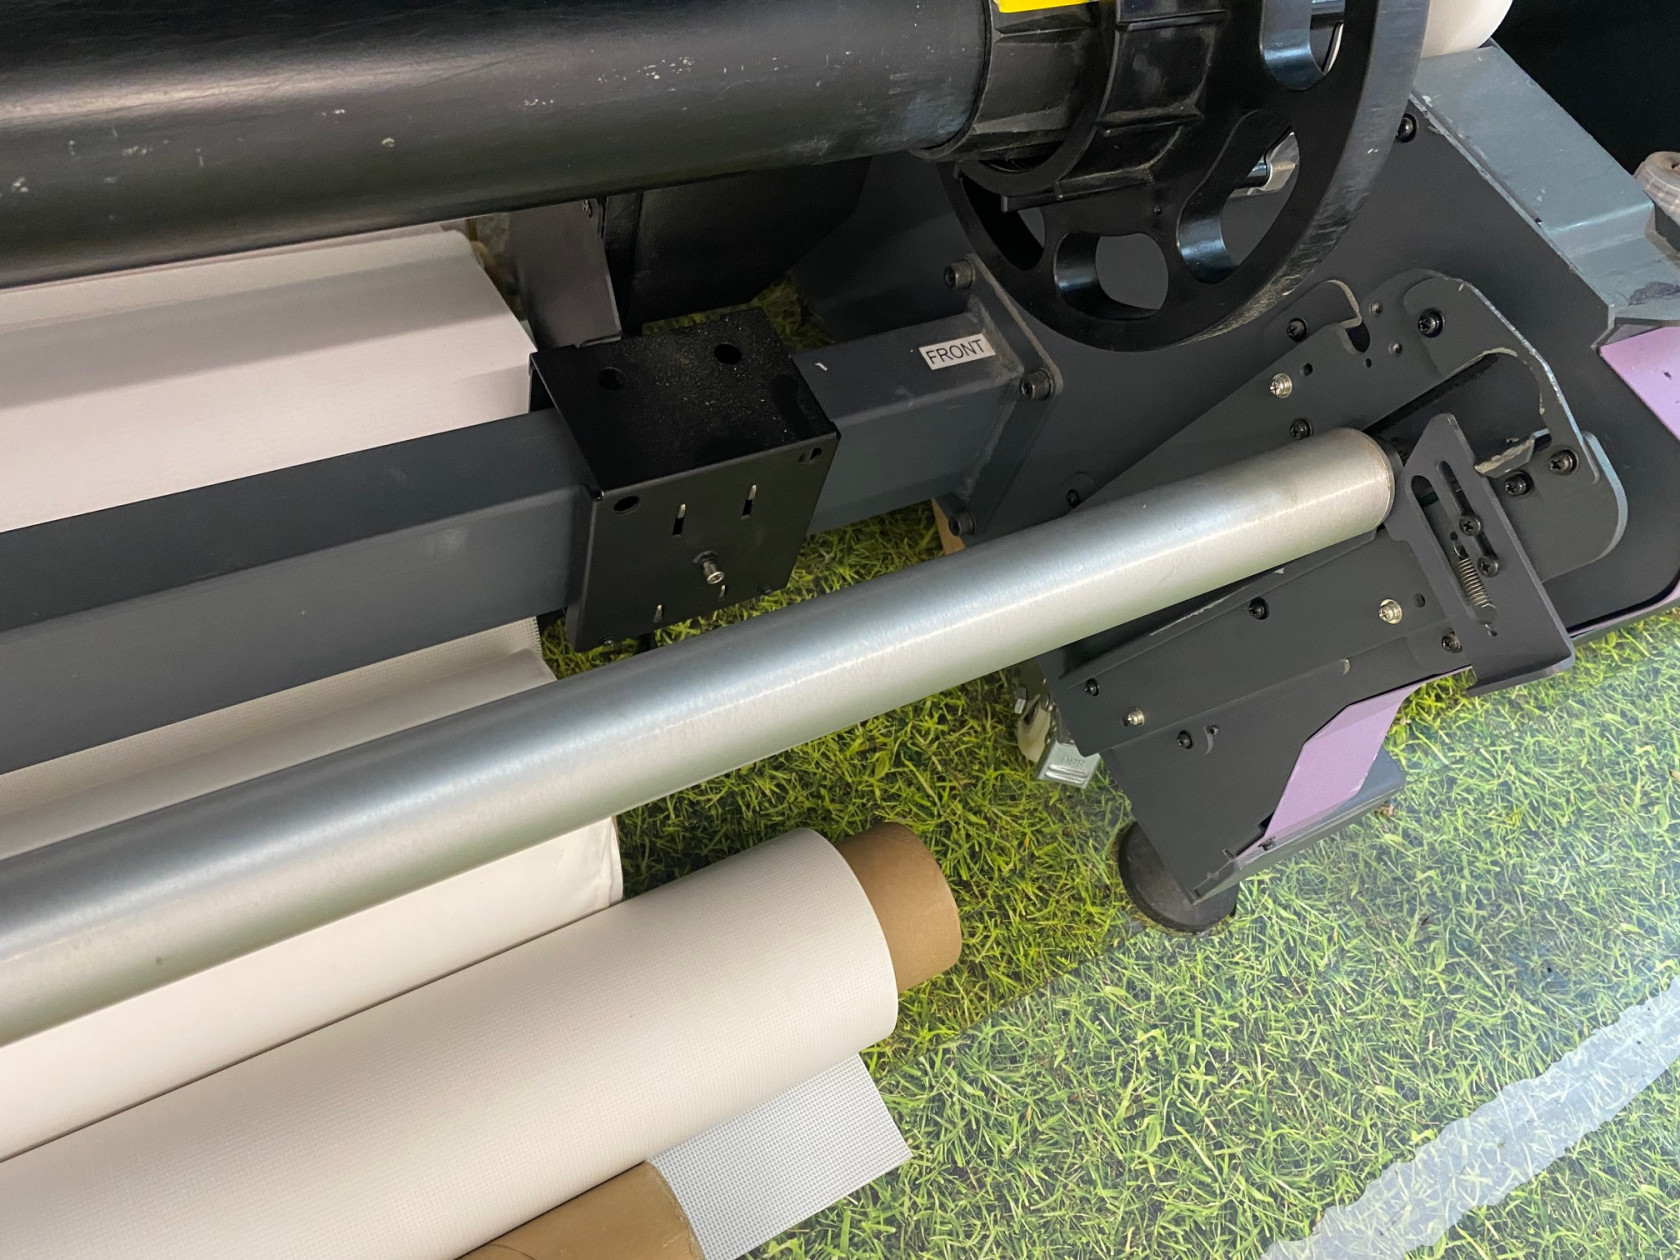
- Then attach it to the take-up unit [black] at the front using masking tape to keep the tension tight.
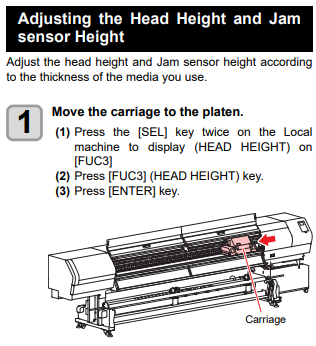
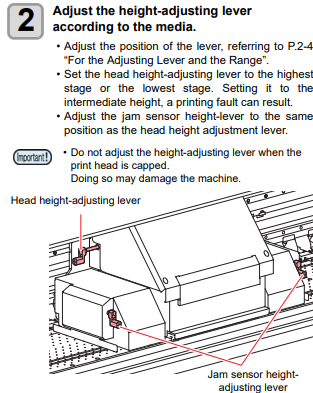
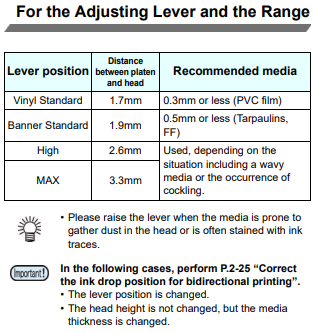
- Adjust the head height and jam sensor heights depending on the material.
Correct the media feed amount to match the type of media you are using. If the correction value is not appropriate, stripes may appear on the printed image, thus resulting in a poor print.
- Set a media.
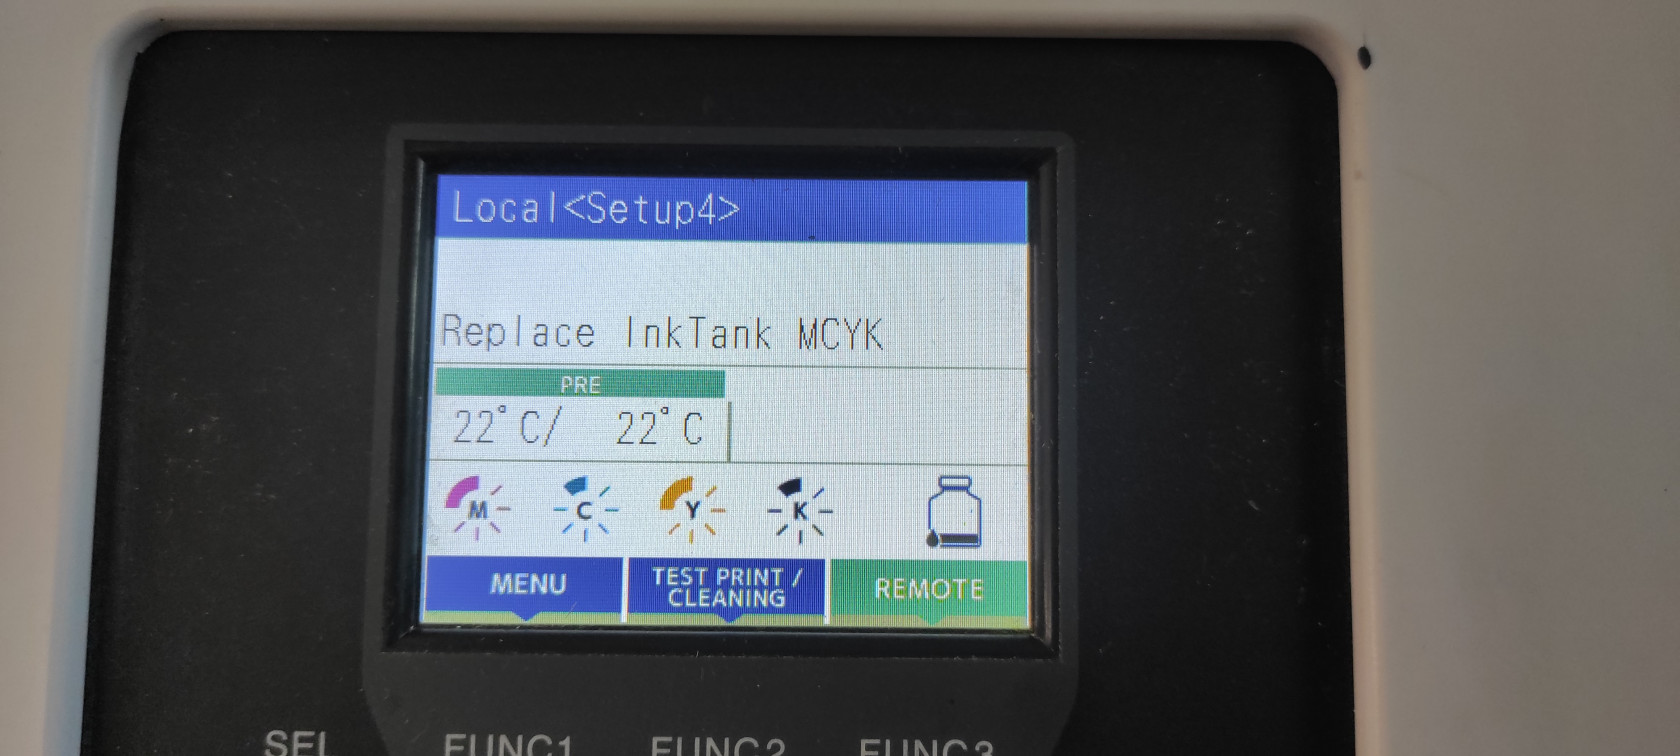
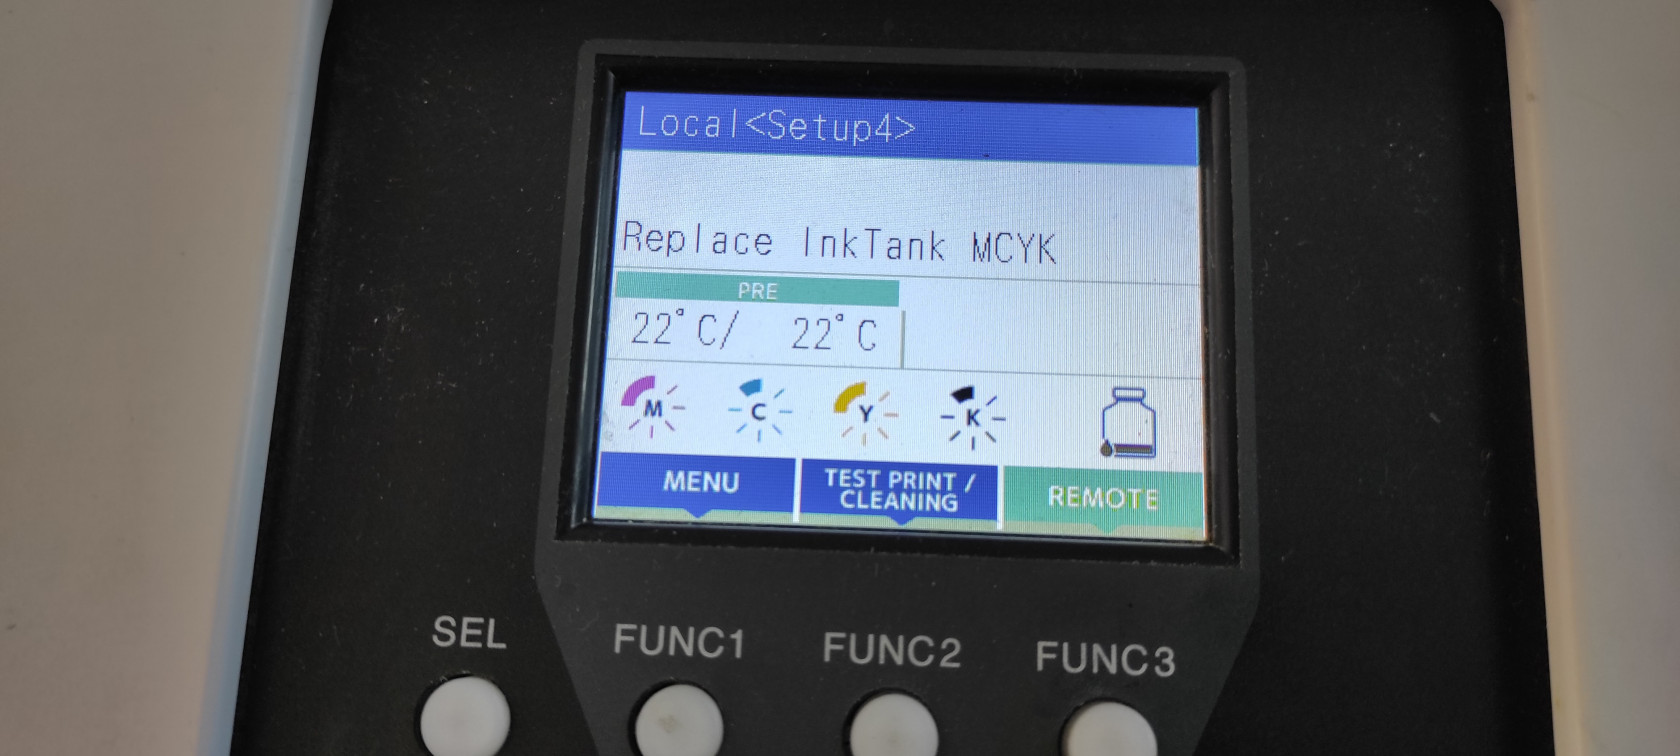
- Press the func1 (MENU) key in Local.
- Press down or up to select SETUP 1 to 4, and press the enter key.
- Setup menu appears.
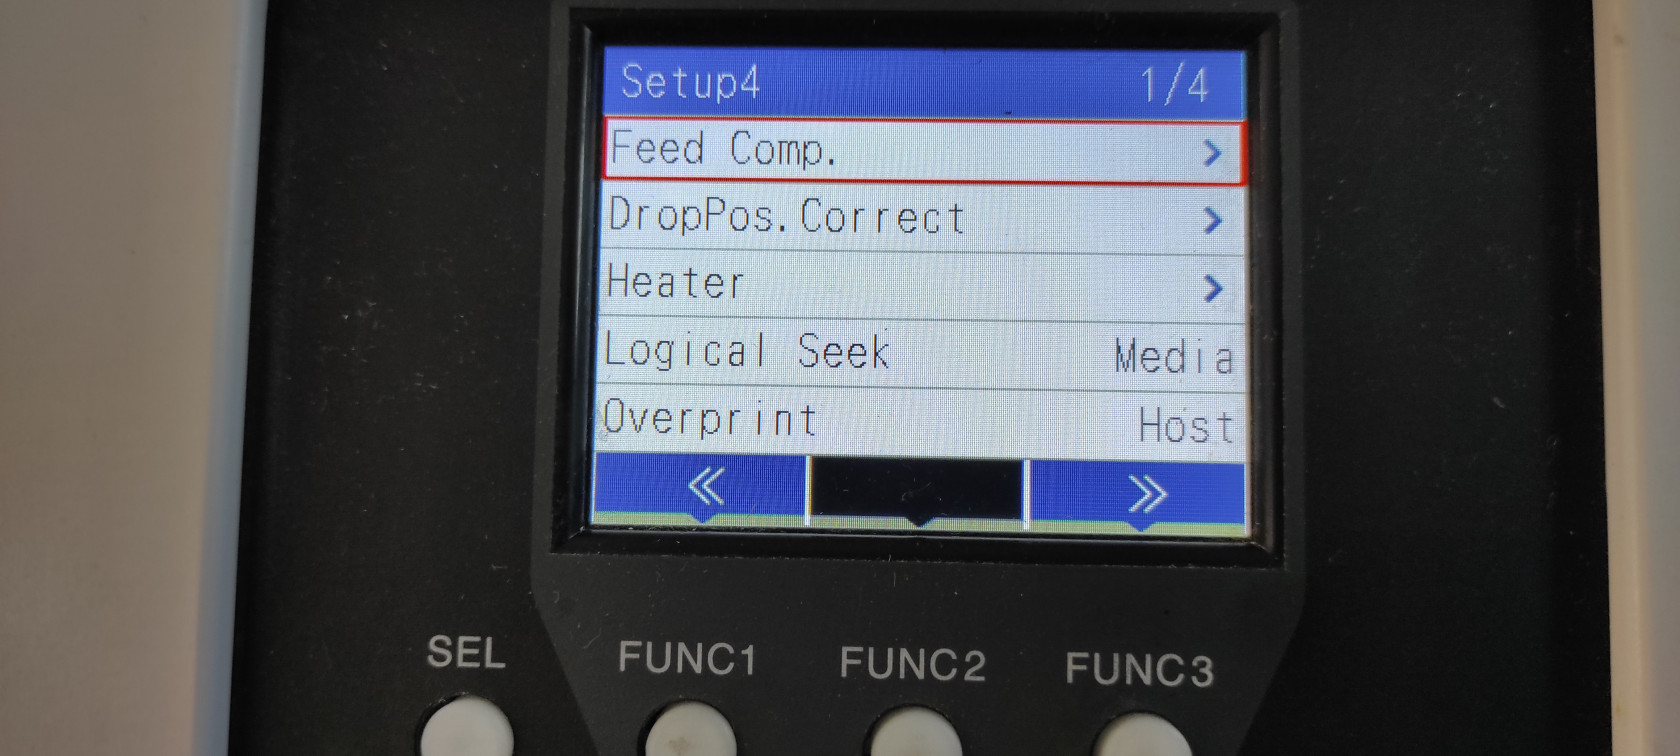
- Press down or up to select “Feed Comp.” and press the enter key.
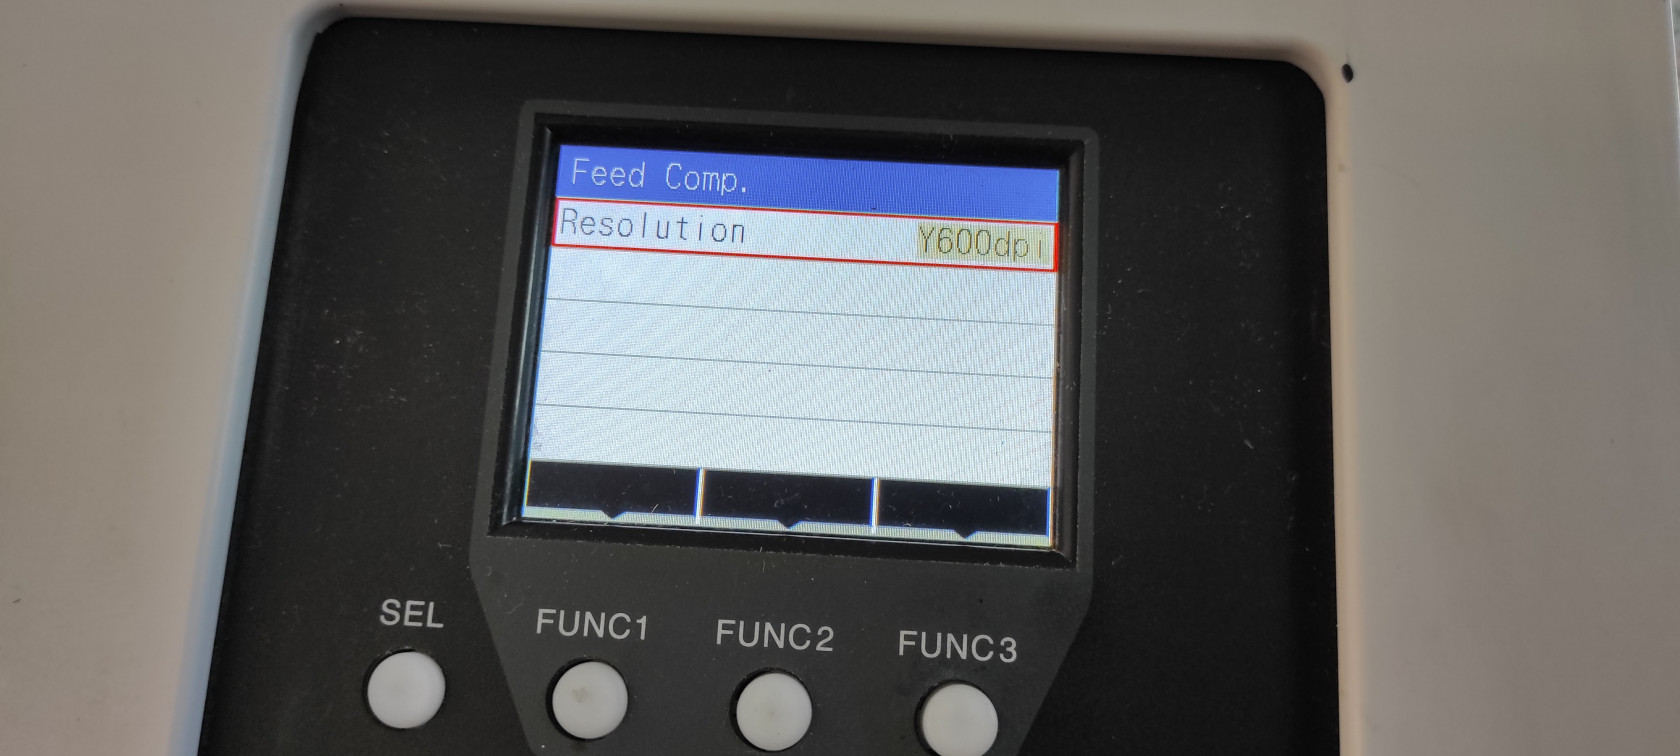
- Press down or up to enter resolution.
- Here enter the resolution in the scanning direction (Y direction) of the media.
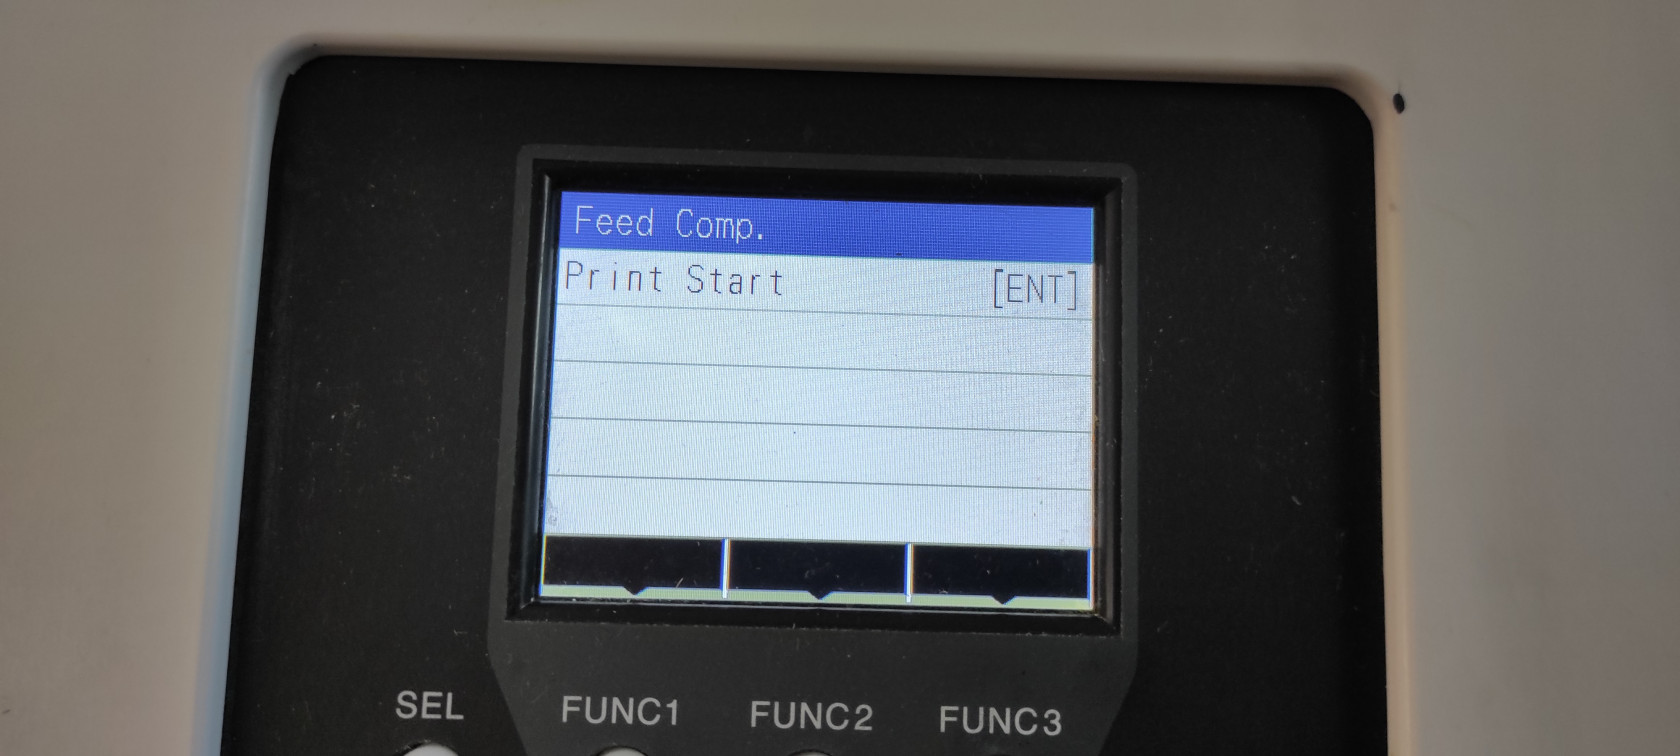
- Press enter key twice to print the correction pattern.
- Check the correction pattern and enter a correction value.
- A screen for entering the correction value appears.
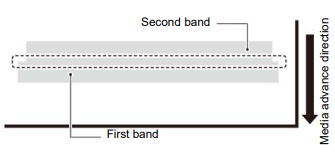
- Enter a correction value in "+": The boundary between the two bands is widened.
- Enter a correction value in "-": The boundary between the two bands is
narrowed. - When you change the correction value by "25", the width of the boundary changes by about 0.1mm.
- Press the enter key.
- Print a correction pattern again and check it.
- Press the end/power key several times to end the setting
- You can begin a test print before printing by selecting Test Print on the Operation panel.
- Once you've loaded your file on the RIP software, select Local - Menu
Select Setup
Select Feed Comp
Select Resolution
Select Print Start - Hit Enter


No Comments