THIS SOLUTION WILL ONLY WORK IF THERE IS A RECTANGLE AROUND THE PRINT
1. Locate the **PRINT FILE** 2. Open the **CUT FILE** in Zund Editor [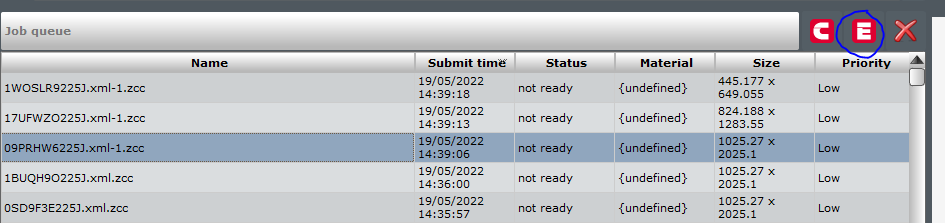](https://manual.maticmedia.co.uk/uploads/images/gallery/2022-05/image-1652974003364.png) 3. Go to **File > Add to Job** 4. Select the print file 5. Delete all the unnecessary data [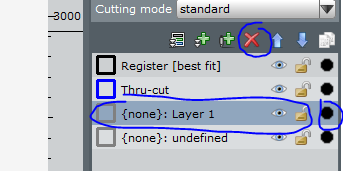](https://manual.maticmedia.co.uk/uploads/images/gallery/2022-05/image-1652974163151.png) 6. Rotate the print to match the same orientation [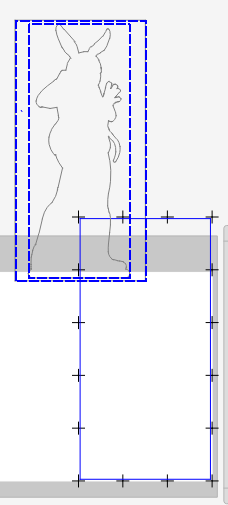](https://manual.maticmedia.co.uk/uploads/images/gallery/2022-05/image-1652974240429.png) 7. Find the offset of the original rectangle 1. Make sure the origin point is in the bottom right 2. Take note of the Pos X and Pox Y [](https://manual.maticmedia.co.uk/uploads/images/gallery/2022-05/image-1652974311137.png) 8. Select the new cut layer [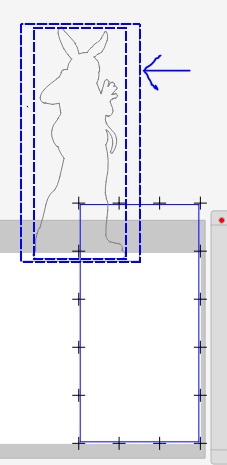](https://manual.maticmedia.co.uk/uploads/images/gallery/2022-05/image-1652974377162.png) 9. Change the Pos X and Pos `Y to match the Pos X and Pos Y from 7.1 1. [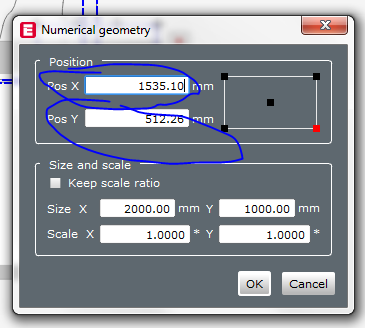](https://manual.maticmedia.co.uk/uploads/images/gallery/2022-05/image-1652974416089.png) 2. [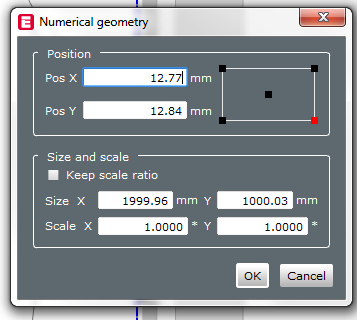](https://manual.maticmedia.co.uk/uploads/images/gallery/2022-05/image-1652974537506.png) 10. Preform an offset operation of 1mm (Tools > Offset Operation) # Access Onyx Thrive Cut Files in Zund Cut Center [**Sharing Zund Cut Center / Summa Cut Folder**](https://manual.maticmedia.co.uk/books/onyx-thrive-rip/page/sharing-zund-cut-center-summa-cut-folder "Sharing Zund Cut Center / Summa Cut Folder") # Step and Repeat ## How to copy a cutter/pattern repeatedly over the X and y axis in Zund Cut Center. If you're copying another layout and you want to go over it, measure the distance between the cut lines in the pattern you want to step over to. Select the object you want to step and repeat with the cursor. *(Put your cut line to the bottom right as the multiplier only goes positive on the axis.)* Press **Ctrl + D** to open the multiplier pop up window. [](https://manual.maticmedia.co.uk/uploads/images/gallery/2023-08/image-1691504529222.jpg) Use your measurements in the Distance X and Y axis to determine the gap between the cuts. Now add how many copies you need by entering in the Copy X and Copy Y boxes, these will multiply each other to give you a total amount. Hit OK to finish. # Setting Up Cutter Files ### Different Layer Types - Register - Thru-cut - Route - Engrave - Drill - Crease - V-Cut - Kiss-cut #### Register Represents the registration dots used for getting the position of the cut layers #### Thru-cut Represents anything to be cut using the drag knife tool (Universal Cutting Tool - UCT) or the Dragging Rotatory Tool (DRT) #### Route Represents anything to be routed using the Router on an inside or outside cut #### Engrave Represents anything to be engraved (i.e. Routed on the cut line) #### Drill Represents anything to be drilled using the Router tool, the Drill option is literally just an up and down motion using the Router tool. So the drill hole will be the size of the Router bit size. #### Crease Represents anything to creased using the creasing tool (Creasing Tool - CT1) #### V-Cut Represents anything to be cut using the V-Cut Tool (VCT) #### Kiss-cut Represents anything to be **Plotted** otherwise none as **Kiss Cut** with the (Kiss Cut Tool - KCT) ### Accepted File Types The Zund Cut Center accepts the following file types: - PDF - DXF - SVG #### Warning with PDF Files**Corel draw does not preserve PDF layers in a format that Zund Cut Center accepts, just avoid this file type for cut files.**
### Setting Up Cut Layers Examples below in InDesign, Illustrator and Corel Draw #### InDesign Example #### Illustrator Example #### Corel Draw Example # Troubleshooting # Zund Camera is not switching on Reboot the system. # Zund (Zund G3 XL1600CV) Air and Electricity Requirements [Electricity and Air Requirements.pdf](https://manual.maticmedia.co.uk/attachments/56)