Juki Sewing Machine
Pin Number - 8451
- Safety Considerations
- Thread Types
- Threading the sewing machine head
- Single Needle Operation
- Twin Needle Operation
- Tacking (Front and Back)
- Loading the Bobbin
- Parts & Consumables
- Sewing a Standard Hem (Double Fold)
- Sewing Pockets
- Sewing Reinforcement Tape
- Sewing a Feather Flag - Standard finish
- Sewing Elastic
- Sewing Velcro
- Sewing Kedar
- Troubleshooting
- Thread Keeps Snapping or Shredding
- Material is all bumped up after sewing
- End of the material keep getting stuck in material guide
- I can't sew in a straight line
- Support Procedure & Contacts
- Sewing a Barrier Jacket
- Juki Manual
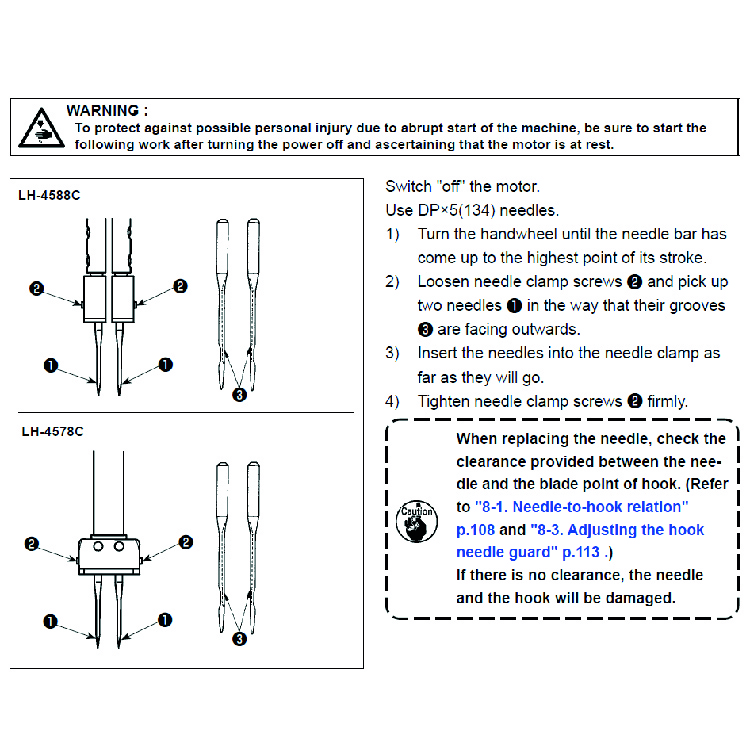
- Replacing the Needle
- Sewing a Rope and Flag
Safety Considerations
- When not in use - turn off and unplug
- Don’t put your fingers too close to the needle when you’re feeding the fabric through
- Declutter the table of sharp objects like scissors etc.
- Thread the machine properly
- Tie long hair back
- Pay attention when sewing
- Keep control of the fabric
Thread Types
- Monofilament - clear thread used for sewing elastic on to feather flags
- 60s bonded nylon white/black - a strong thread used for SEG systems, barrier jackets and tablecloths etc.
The sewing machine performs best using 60s bonded nylon for the machine head and monofilament for the bobbins
as this thread lasts much longer than 60s thread.
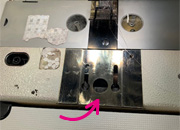
Threading the sewing machine head
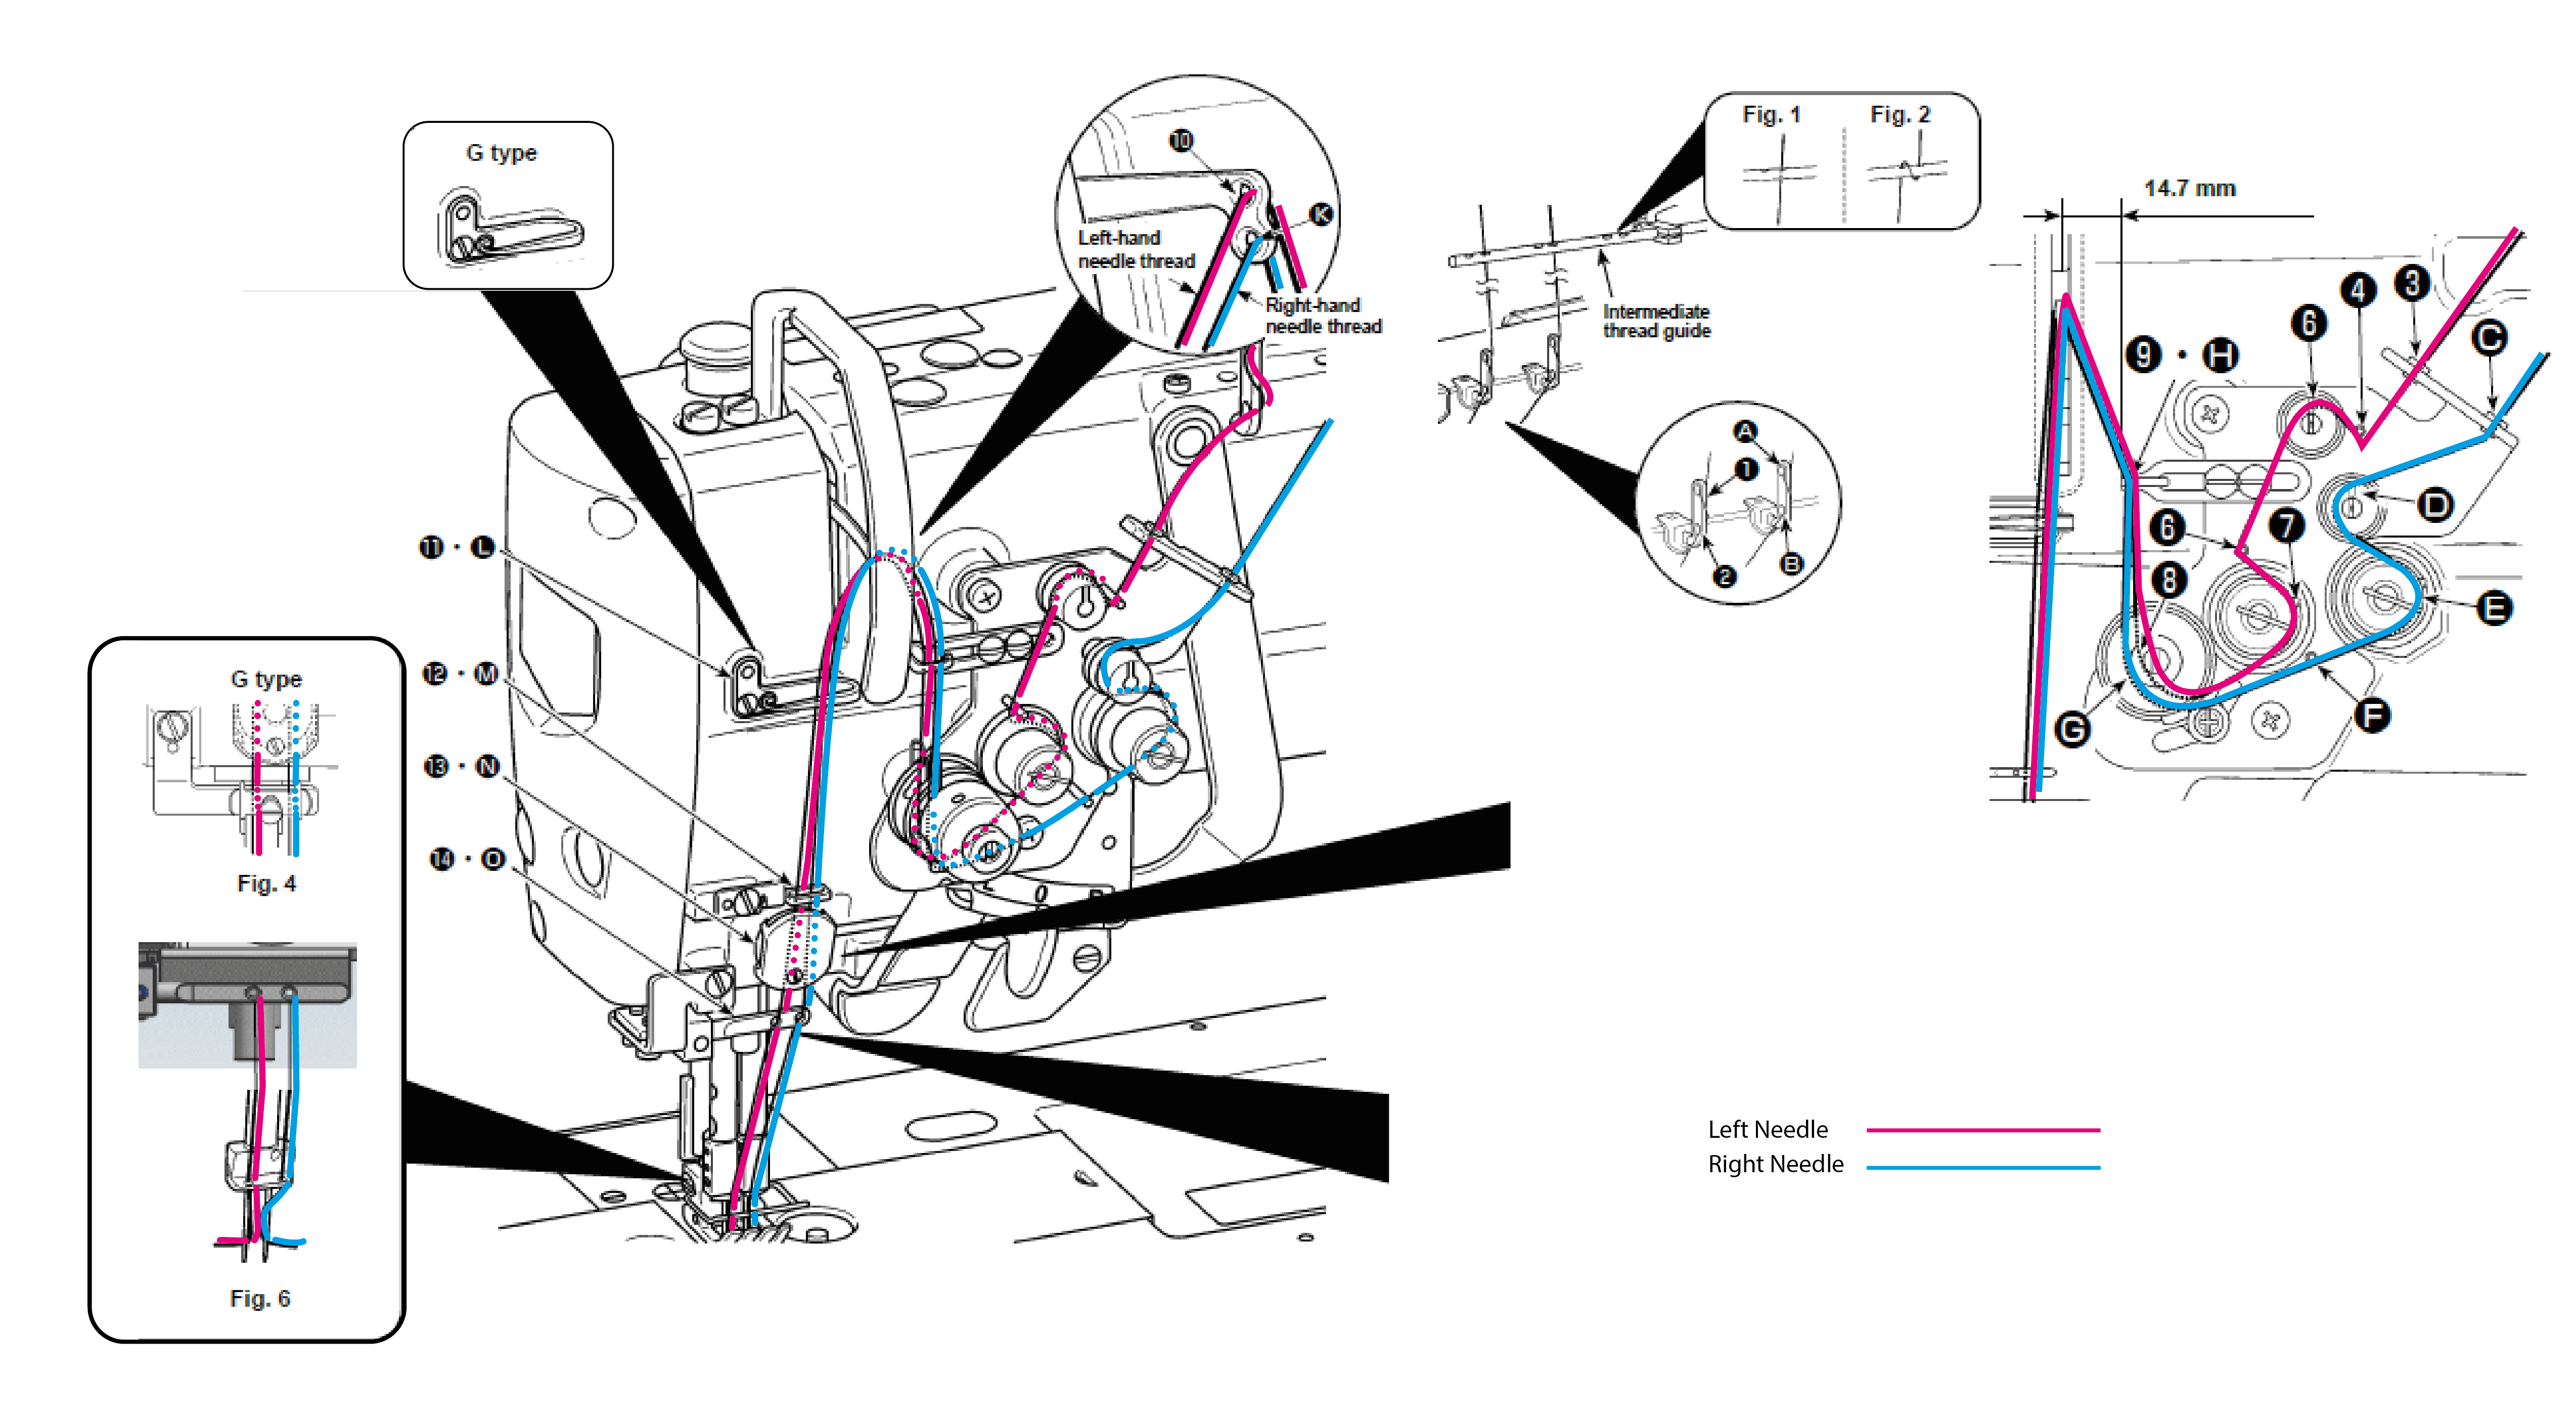
Follow the guide above using the colour coding: Left Needle Right Needle
Note; If using a single needle, you must use the right needle and remove the left one. Also, remove the left bobbin.
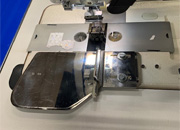
Single Needle Operation
When using a single needle make sure it's the right side needle.
Remove the left needle and bobbin and un-thread the left side of the machine before use.
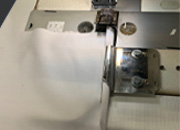
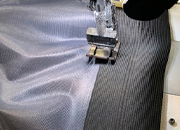
Twin Needle Operation
Used for barrier jackets, Heras fence banners and most other types of finishing.
The twin needle creates two parallel lines of straight stitches meaning the stitches are less likely to break giving longer life to the product.
Tacking (Front and Back)
Reverse feed stitching or back tacking is when the sewing machine makes a few reverse stitches at the beginning and end of the main stitch. This reinforces the stitching, reducing the likelihood of it coming undone from the ends.
You can achieve this in 2 ways;
- By pressing the sewing machine pedal back with your heel (it back tacks automatically)
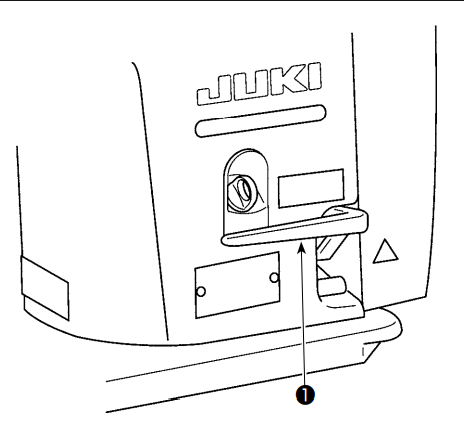
- By using the reverse feed lever 1. The stitch goes in reverse when pressed down and forward again when released.
Loading the Bobbin
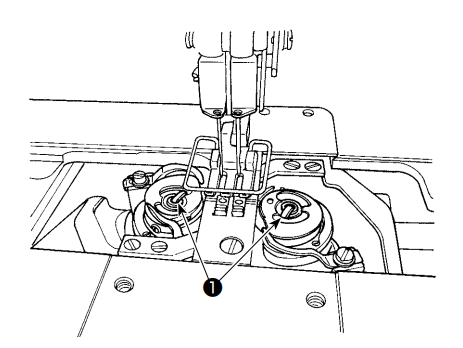
- Turn the power off before replacing the bobbin.
- Lift the latch 1 and take the bobbin out of its housing.
- Replace the empty bobbin and lower the latch.
Parts & Consumables
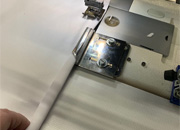
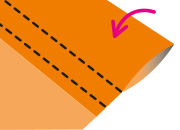
Sewing a Standard Hem (Double Fold)
 |
 |
 |
| 1. Use the 10mm hemming guide above. | 2. Insert the screw at the back of the guide into the hole and slide upwards | 3. Once it's in place you're now ready to start sewing. |
 |
 |
|
| 4. Insert the material going from left to right into the hem guide. Push the material until it starts to curl around the guide. | 5. Continue to curl the material as it goes through; this will help to make the hem. |
Sewing Pockets
1.
Lay the material out - with the wrong side facing up.

2.
Fold the material over so it fits the correct size of pole.
3.
Using the twin needle, stitch across the fabric.
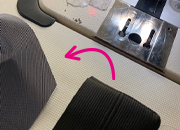
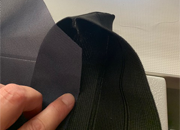
Sewing Reinforcement Tape
Sewing a Feather Flag - Standard finish
Our standard finish is unhemmed leaving just the raw edges - Intended for short use only
When the flag pole is inserted and fitted to the base... it should look like the image below.

You will require
Black 60s thread for the machine head
Monofilament thread for the bobbin
The printed flag
Elastic flag belt
Elastic bungee cord

Fold 130mm elastic banding in half lengthways Stitch across the top to secure, then turn inside out.
Lay the flag flat out - wrong side facing up. Flag and banding can now be put together.
Place flag material inside the banding and stitch from top to bottom following the curve of the flag.
Keep the edge of the banding in the middle of the foot and sew down to the bottom of the flag.
Stitch a loop of elastic bungee cord to the bottom of the flag. This will help secure the flag to the pole.
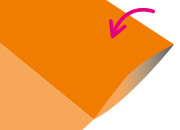
Sewing Elastic
Sewing Velcro
Sewing Kedar
Troubleshooting
Thread Keeps Snapping or Shredding
This is usually because the needle is blunt - Change the needle
Material is all bumped up after sewing
End of the material keep getting stuck in material guide
I can't sew in a straight line
Use some scraps of material and practice, you'll soon get the hang of it.
Support Procedure & Contacts
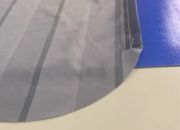
Sewing a Barrier Jacket
 |
 |
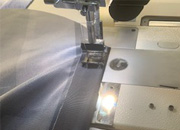 |
| The finished barrier jacket should look like this. | Spread the material out - with the wrong side facing up. | Fold the flaps over on each side and stitch them from top to bottom, |
 |
 |
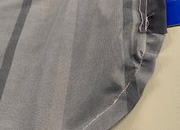 |
| Each side should look like this and you are now ready to sew the two sides together. | Put the 2 sides together with printed sides facing each other. | Start sewing at the right side of the jacket following the curve until you get to the opposite side. |
Juki Manual
The instruction manual can be found here - Z:\Training\Sewing Machine
Or you can access it online - https://www.manuals.co.uk/juki/lh-4500c/manual?p=9
Replacing the Needle
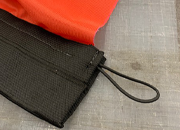
Sewing a Rope and Flag
Double-sided flag used with tall flag poles
When the flag is finished it should look like the image below

YOU WILL REQUIRE
- Black 60s thread for the machine head
- Monofilament thread for the bobbin
- The printed flag
- White reinforcement tape
- 2 Hooks with tape