VPN
Adding Users
- Go to https://192.168.0.1:81/
- Log in use the root user details in the Vault
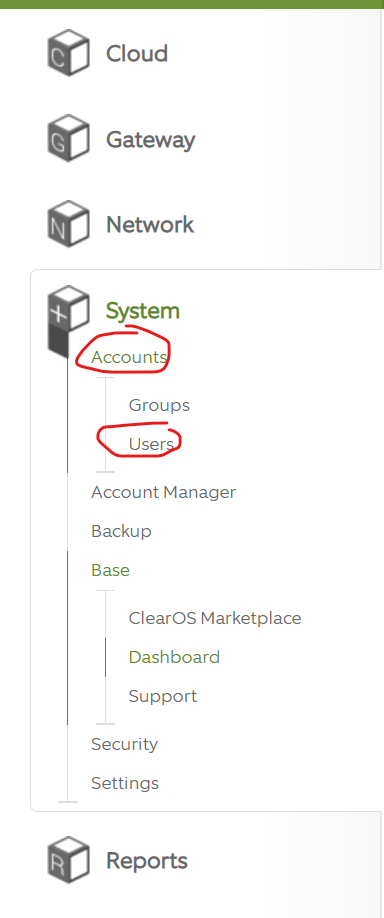
- Click Accounts > Users from the left hand menu

- Click Add

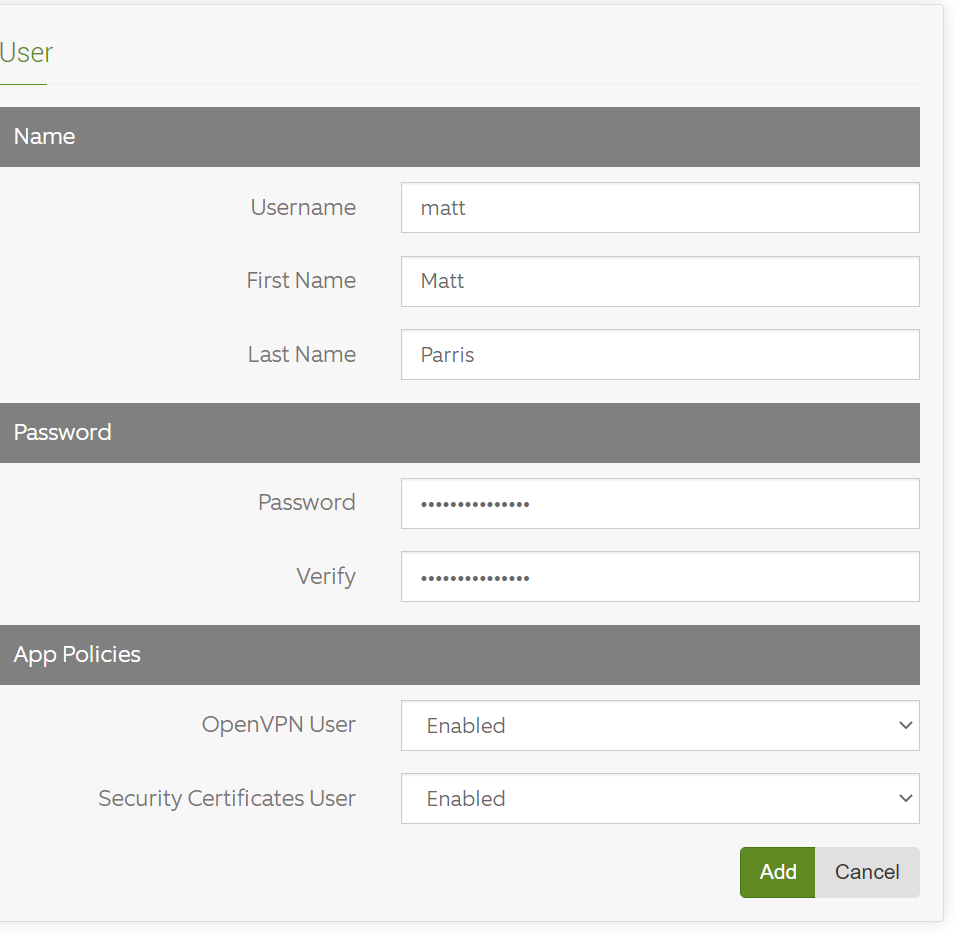
- Enter the following
Username the user name Forename the users firstname Surname the users surname Password The password to login to the VPN OpenVPN User Yes Security Certificates User Yes 
- Then click "Add"


Setting Up Client
The client allows a computer to connect to the VPN.
- Go to the OpenVPN website and down the Connect Client available here: OpenVPN Client Connect For Windows | OpenVPN
- Install the OpenVPN Client
- Setup a new user using the instructions here
- Log in to the router at https://192.168.0.1:81 using the new user's information.
You will have to accept the unknown certificate
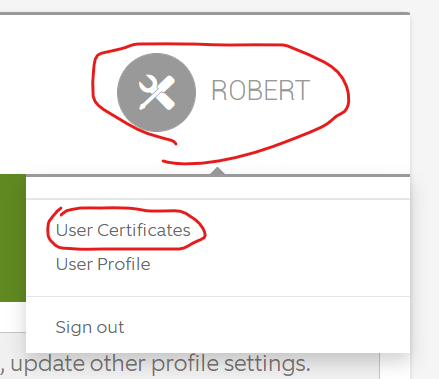
- Click on the user name on the top right of the screen and the select "User Certificates"

- Download the following
- Certificate
- Certificate Authority
- Private Key
- Windows Configuration File
- As below

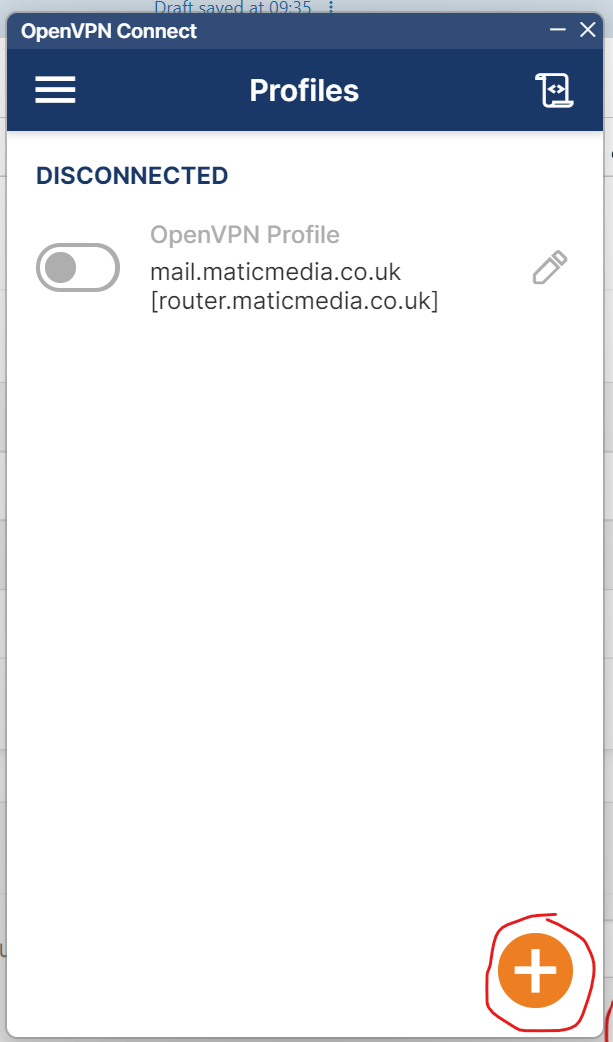
- From the OpenVPN Connect client click the plus symbol

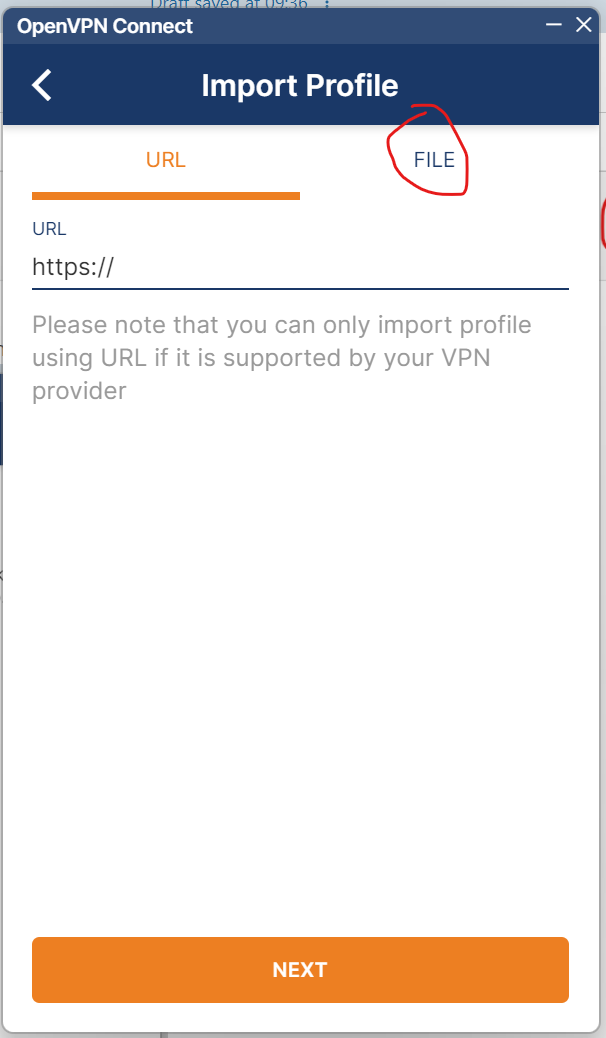
- Click File

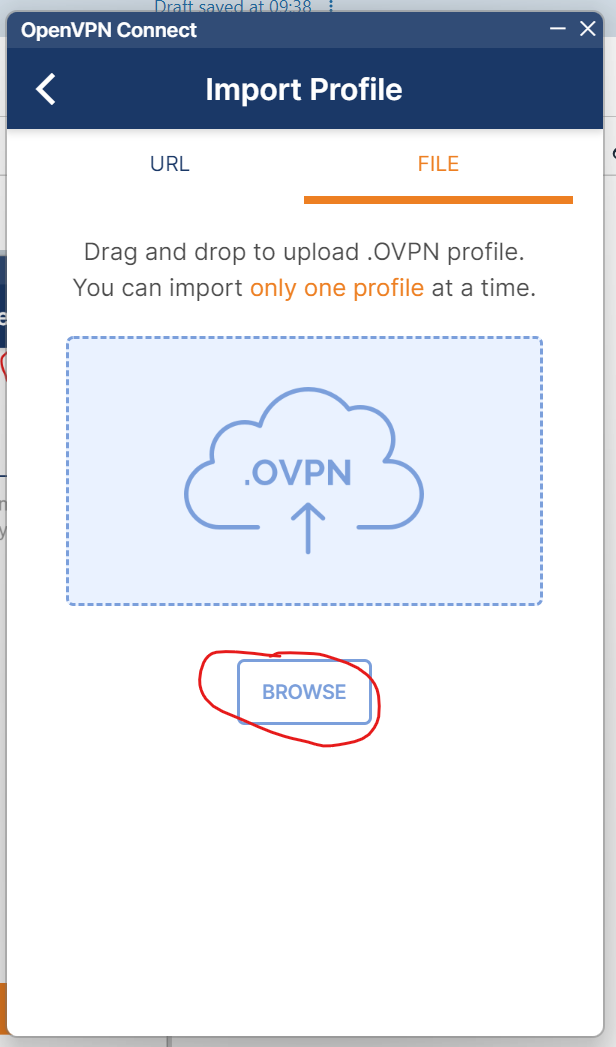
- Select the File from the Downloads folder (the downloads from step 7 must all be in the same folder)

- Enter the username and password of the new user from step 3
The VPN will not connect within the building, you can test the settings by adding a server override to 192.168.0.1.
YOU MUST TURN OFF SERVER OVERRIDE TO BLANK WHEN OUTSIDE THE BUILDING NETWORK.