NOTE THIS IS FROM FACTORY AND OUR PRINTER IS DIFFERENT
The following shows the locations and media dimensions associated with the factory-set metric vacuum zones. The name of the zone indicates which vacuum handle controls that zone (except 1 as that zone is always on). • Vacuum zone 1 = 600 x 800 mm • Vacuum zone 2 = 700 x 1000 mm • Vacuum zone 3 = 800 x 1200 mm • Vacuum zone 4 = 1000 x 1400 mm • Vacuum zone 5 = 1000 x 2100mm • Vacuum zone 6 = 1250 x 2500mm The metric configuration is designed such that zone 6 can be reconfigured by a service representative from the 2.5m x 1.25m area size to 4'x8'. # Measuring the Head Height To measure the thickness of the material choose the guage from the shadow board. [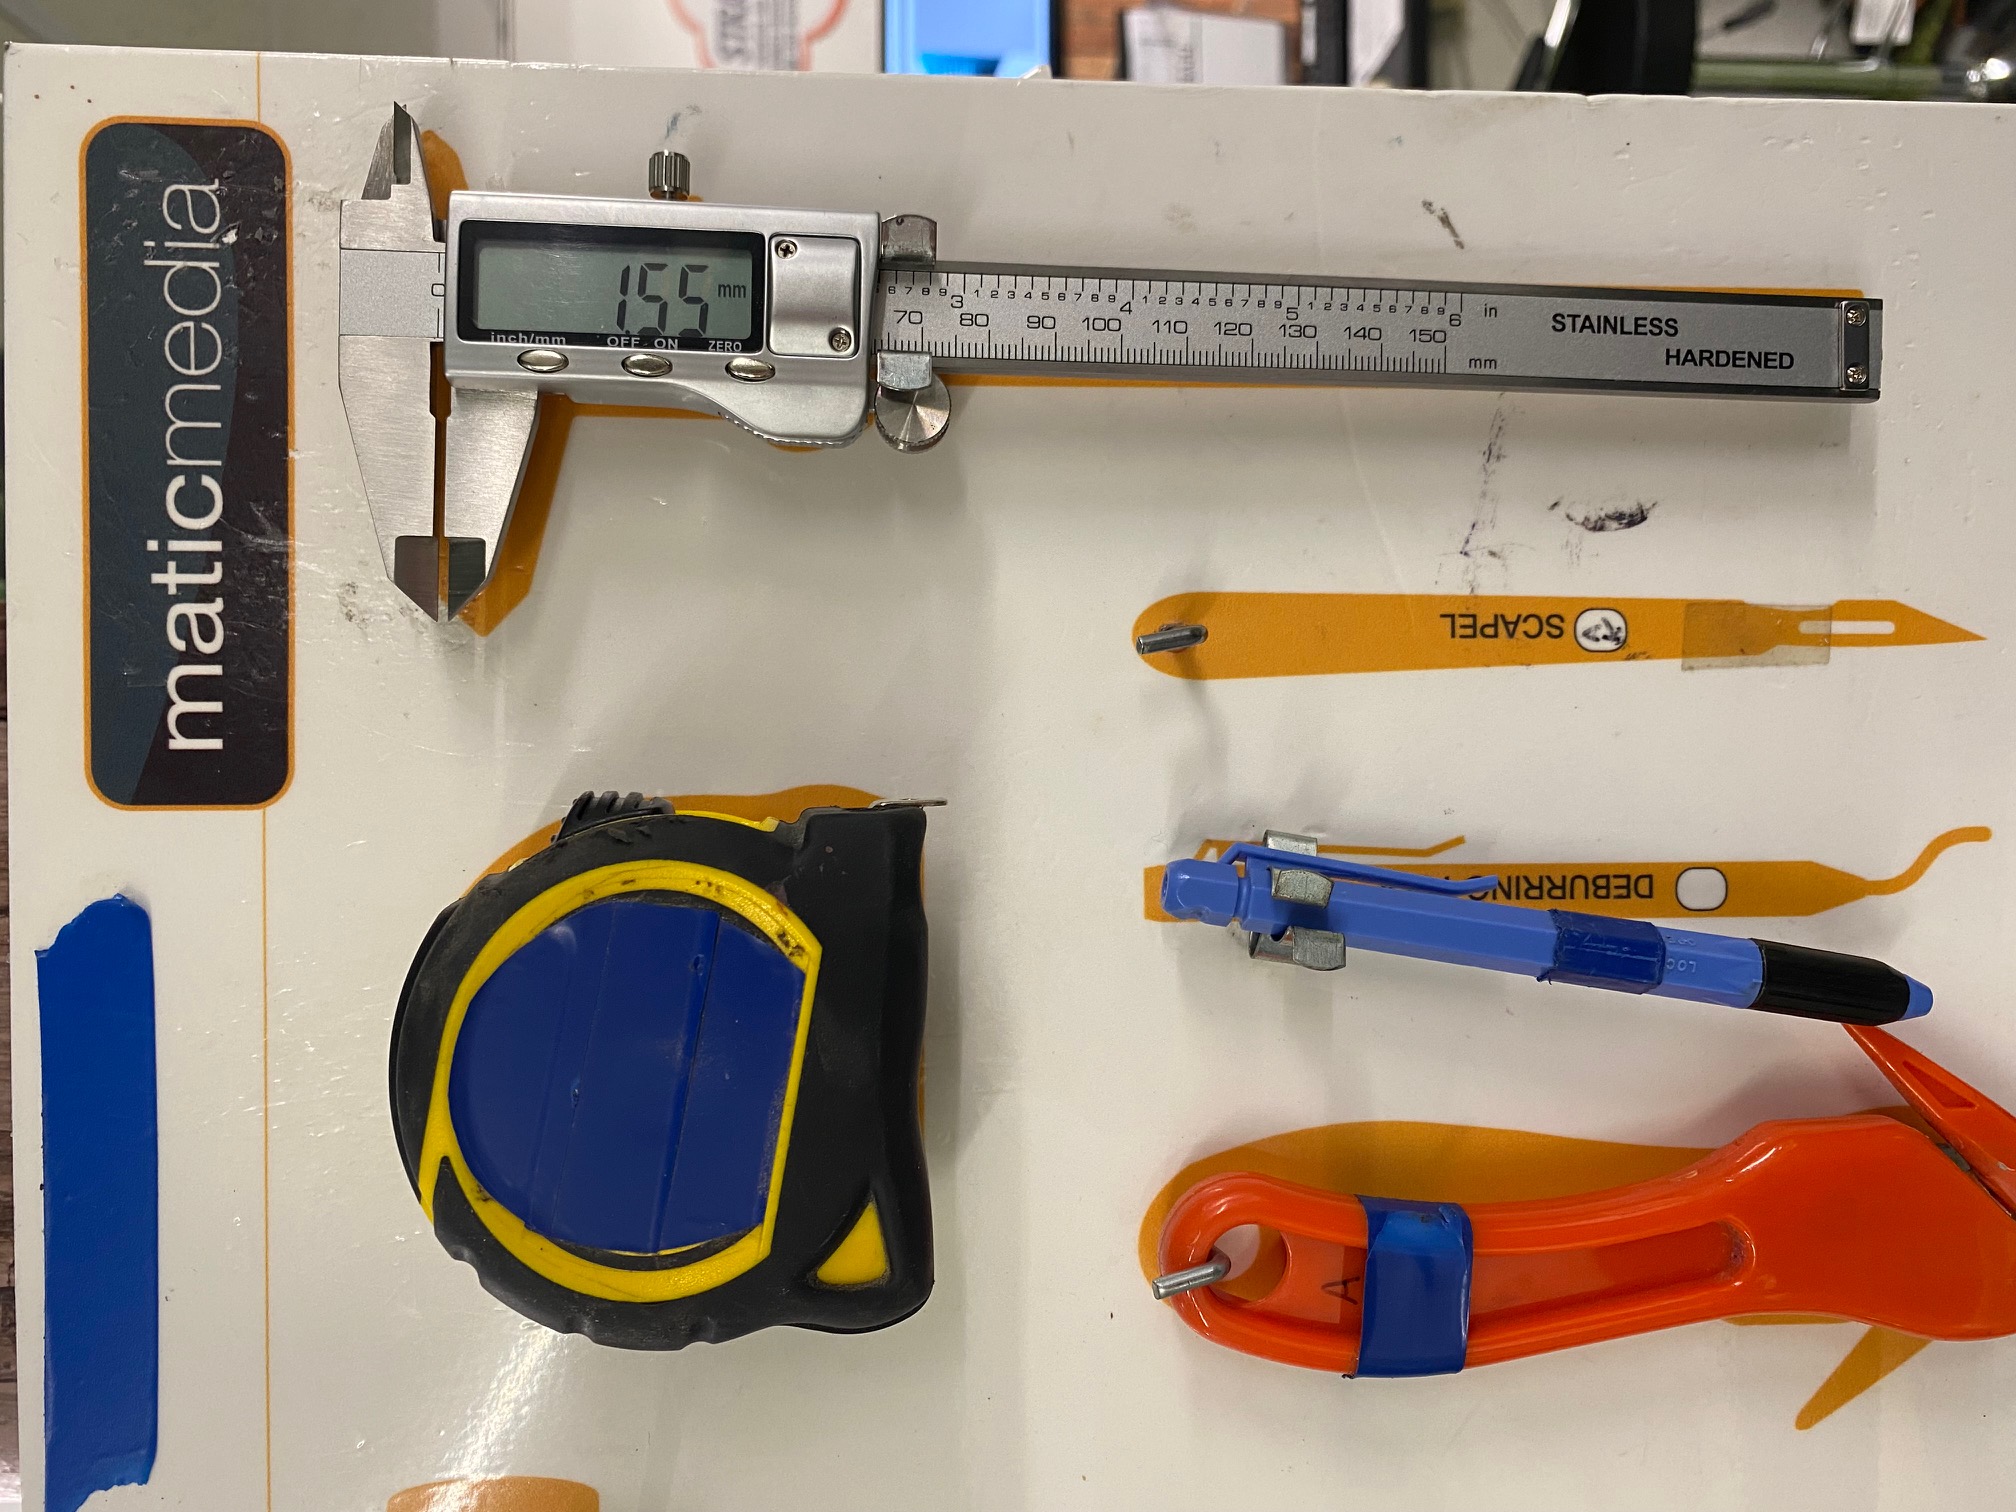](https://manual.maticmedia.co.uk/uploads/images/gallery/2022-10/image-1664805095857.jpg) Take it to the material, and press **ON**. Twist the cog on top to loosen the gauge slider. Fit the material into the gauge and the screen will display the thickness in millimetres. [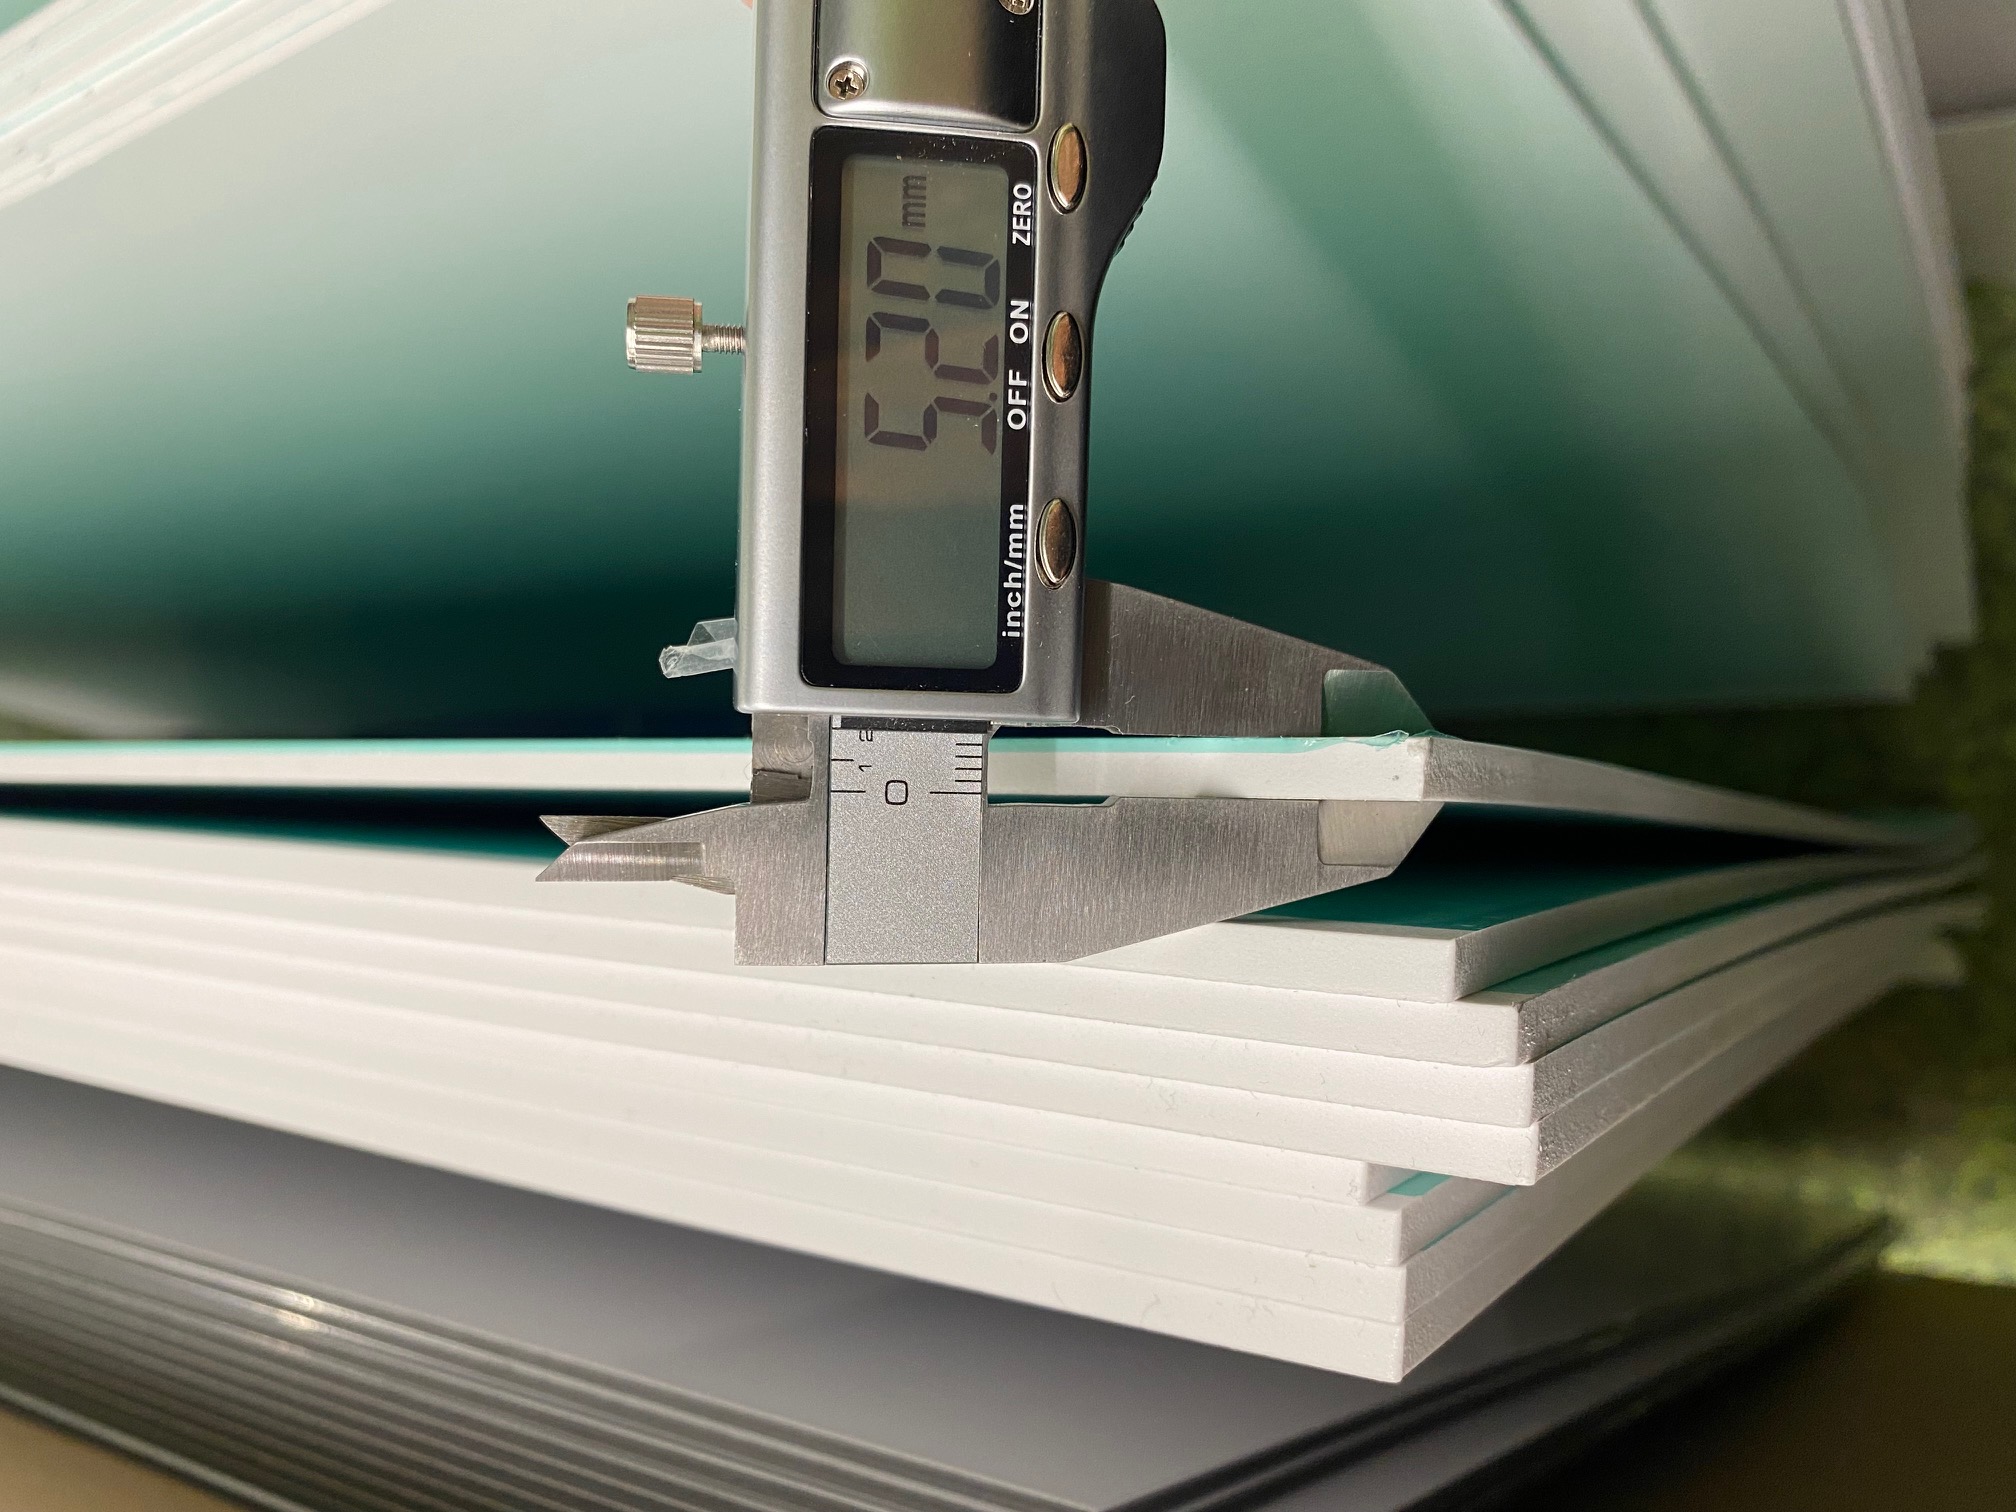](https://manual.maticmedia.co.uk/uploads/images/gallery/2022-10/image-1664805086879.jpg) Once you select to print a job, the pop-up screen will appear with the option to input your head height. Depending on the material, the normal height should be 0.5mm higher than the thickness of the material. The higher the head the print will have a lower quality of print finish. # Printing a Nozzle Check To begin a nozzle check on the flat bed, pick your material and size (big enough for the test size 1100x110mm). Choose nozzle test on the top right of the screen. Choose the flatbed option on job parameters 'type' so it looks like below. [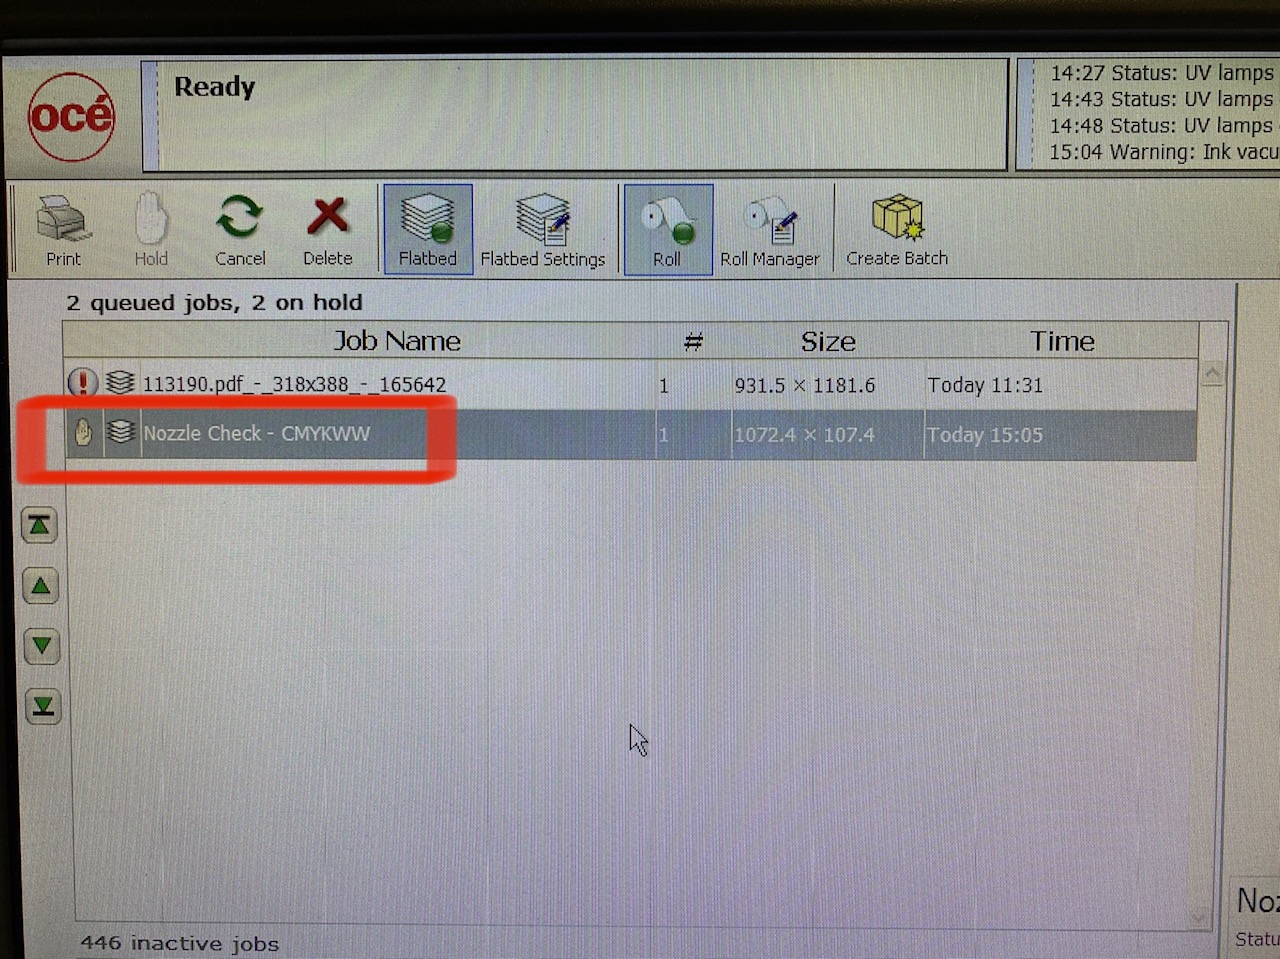](https://manual.maticmedia.co.uk/uploads/images/gallery/2022-10/image-1664806369291.jpg) Once your material is secure on the bed, hit print and start. # Printing Rulers # Operating Panel - General Usage ### Viewing Jobs When selecting a job in Active Jobs List (6) or Inactive jobs (8) it will display the artwork in the job Placement Preview (7) [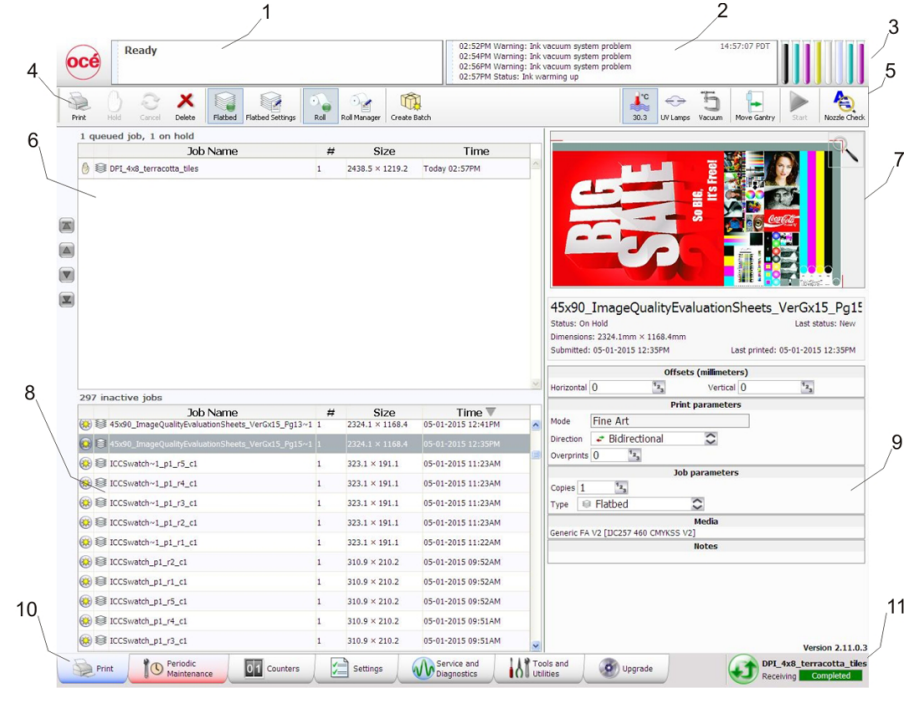](https://manual.maticmedia.co.uk/uploads/images/gallery/2022-10/image-1664875592621.png) ### Viewing Print Layers ### Position Jobs To position a job- use the offsets panel on the right-hand side under the preview. [](https://manual.maticmedia.co.uk/uploads/images/gallery/2022-10/image-1664899399398.png) Starting from the bottom left of the artwork you can select the horizontal and vertical offset. This is based on setting a board on the bed at 0x0mm based on the ruler position printed on the bed.Tip: Print your job closest to the print head in case of print issues you can save the rest of the board
### Creating Batch Jobs #### Sequential #### Collated ### Printing a Nozzle Check Select Nozzle Check at the top right of the page (5) [](https://manual.maticmedia.co.uk/uploads/images/gallery/2022-10/image-1664902066794.png) This loads the pattern to print a nozzle check. Select if you'd like to print on the roll or on the bed (9) and then hit print. ### Pausing Jobs Select Hold to pause a job. (4) [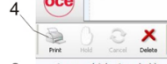](https://manual.maticmedia.co.uk/uploads/images/gallery/2022-10/image-1664902288563.png) ### Cancelling Jobs Select Cancel (4) ### Deleting Jobs Select Delete (4) # Operating Panel - Administrative Usage ### Setting Network Address ### Bulk Deleting Jobs ### Outputting Maintenance Logs ### Accessing Special Print Files ### Accessing Usage Counters # Double Sided Printing # Maintenance ### Changing Ink Bags ### White Ink Agitation ### Head Cleaning ### Ink Filter Changing ### Print Head Filter Changing ### Changing the Lamps ### Daily Maintenance Procedure ### Weekly Maintenance Procedure # Troubleshooting