Flatbed Operation
- Loading Material
- Vacuum Areas
- Measuring the Head Height
- Printing a Nozzle Check
- Printing Rulers
- Operating Panel - General Usage
- Operating Panel - Administrative Usage
- Double Sided Printing
- Maintenance
- Troubleshooting
Loading Material
Loading Material
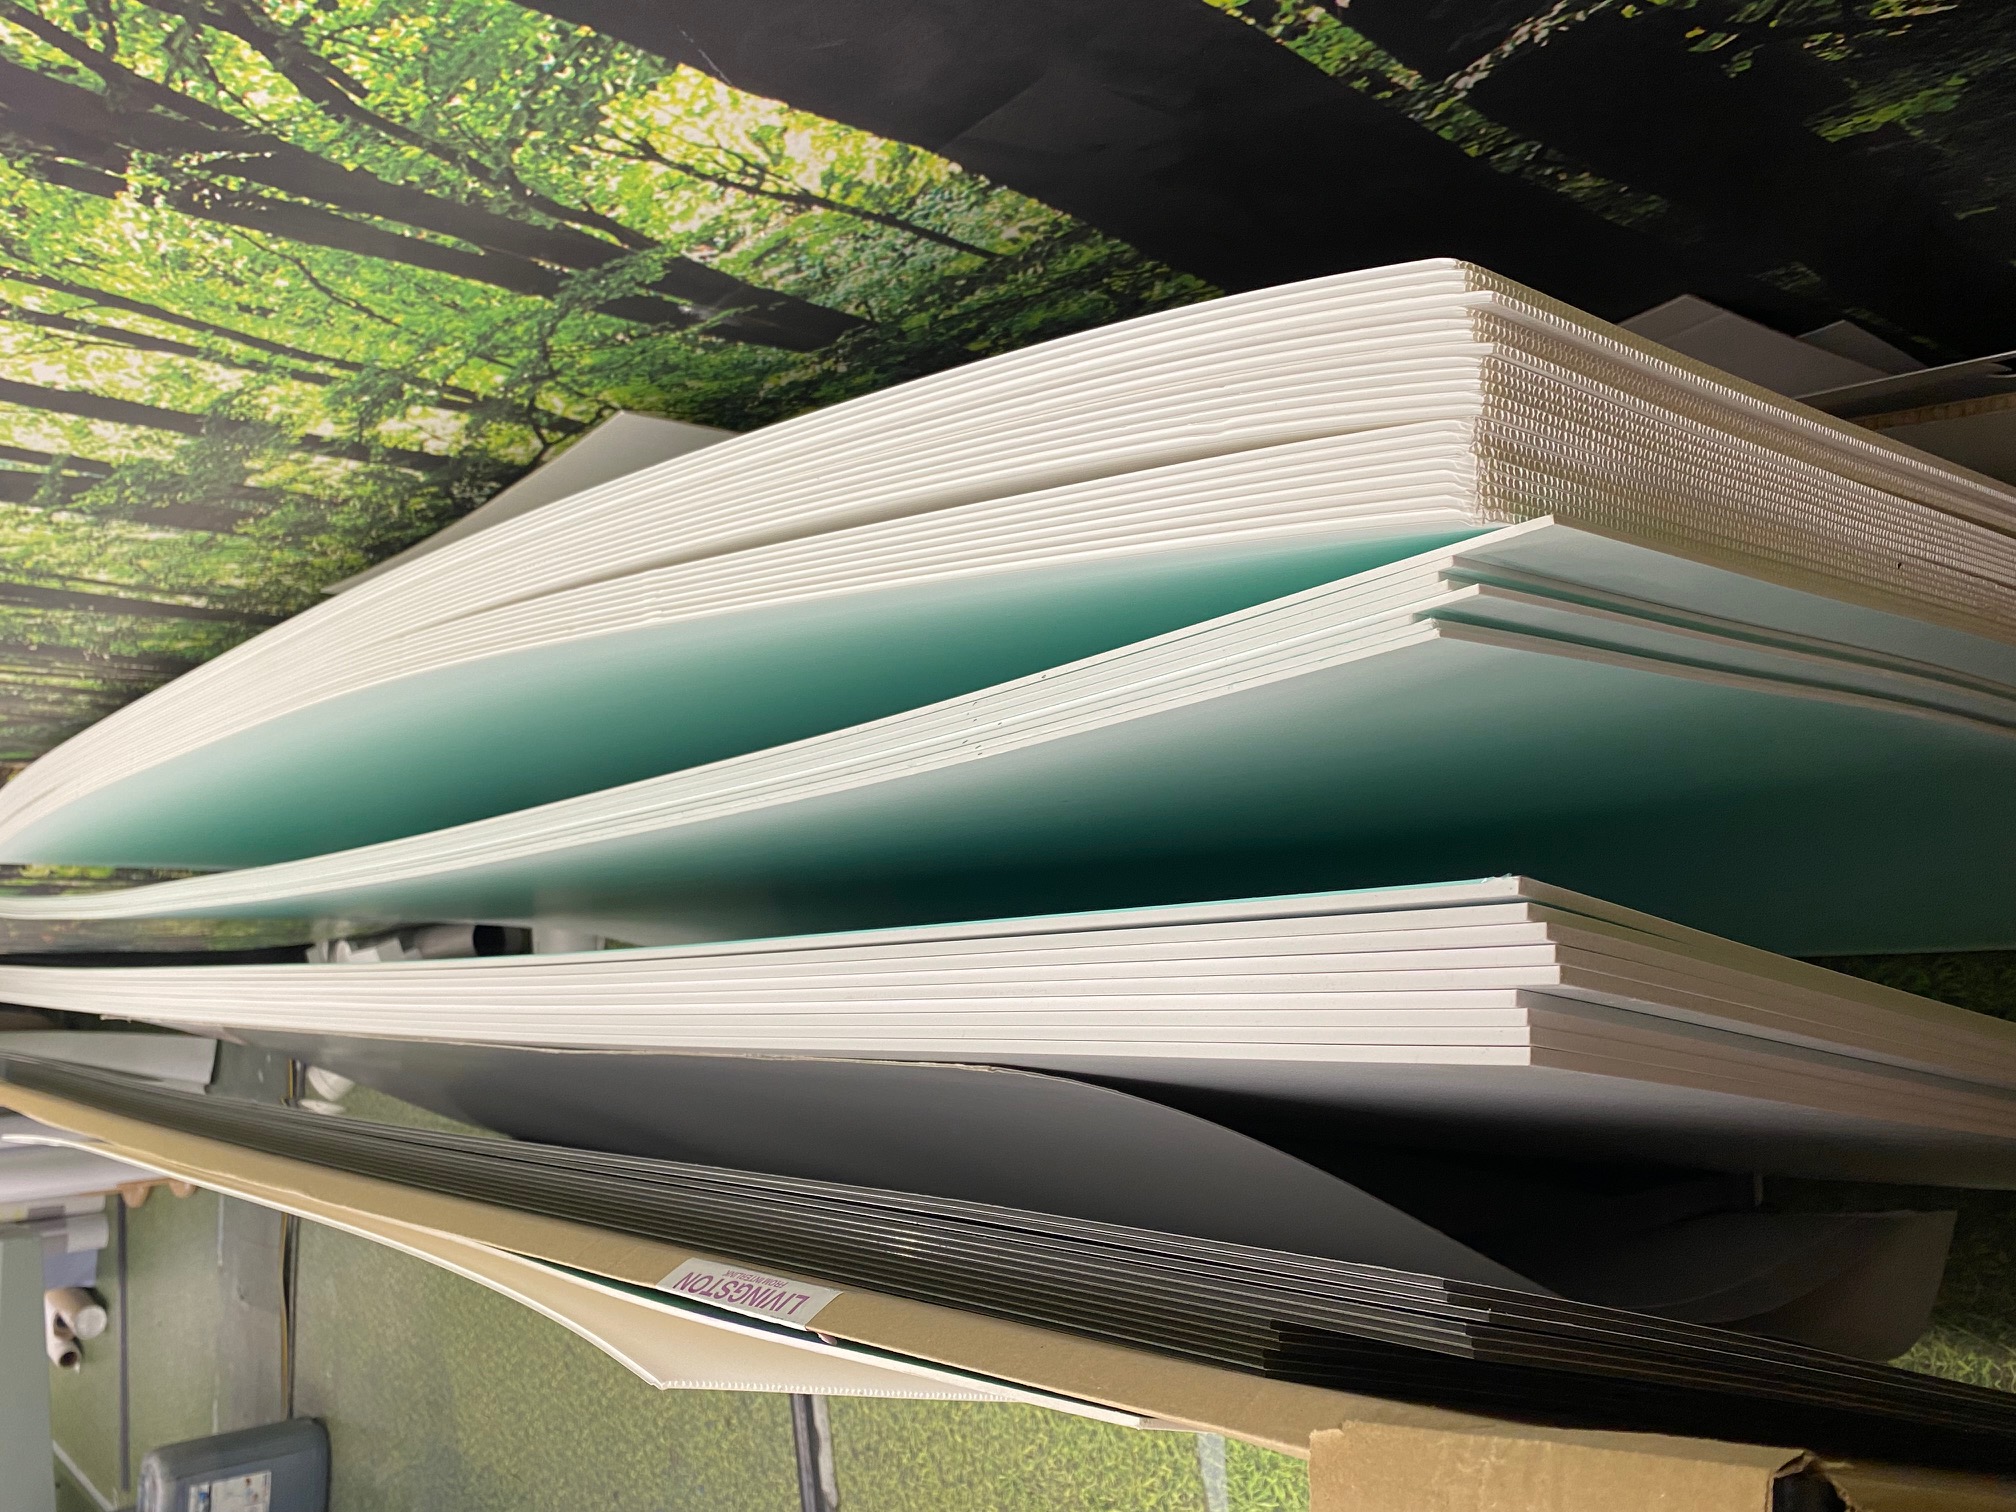
Select the material from the rack behind the Arizona (Other materials are found in the storage through the door).
Wearing gloves (to stop any finger marks from appearing). Pull the board over your head if possible and place it on to the print bed.
Masking Areas
Masking areas of the vacuum holes are useful to keep the pressure of the vacuum on the board.
We also use masking tape to help the board stay flat on the bed.
If you only need to use a small section of the material, you can leave the film on partially. Simply score the film off of the section you'd like to print on. This helps keep your remaining section of material clean of any dust and marks.
Vacuum Areas
Introduction
The overlay sheet on the printer table creates a vacuum field, which is divided into zones by
magnetic strips on the underside. When the printer is shipped, the vacuum zones are configured
to support common metric or imperial media sizes. The zones are installed at the factory,
according to operator preference when the printer is ordered. The purpose of the vacuum zones
is to reduce the preprint setup time by reducing the need to mask the open area on the vacuum
table when printing on the most common-size media. The printer ships with a vacuum field
configured to support either metric or imperial size media.
For the Océ Arizona 600 Series GT vacuum control valve handles are used to manage these
zones. The printer has five control valves that determine the zones that are active when the table
vacuum pump is on. Zone 1 area is always active, and the five valves control zones 2 through 6.
The vacuum zones are open when the valve handles are vertical.
Purpose
The vacuum system holds the media in place. The zones described in this section are arranged to
accommodate common media dimensions.
Metric Vacuum Zones
NOTE THIS IS FROM FACTORY AND OUR PRINTER IS DIFFERENT
The following shows the locations and media dimensions associated with the factory-set metric
vacuum zones. The name of the zone indicates which vacuum handle controls that zone (except 1
as that zone is always on).
• Vacuum zone 1 = 600 x 800 mm
• Vacuum zone 2 = 700 x 1000 mm
• Vacuum zone 3 = 800 x 1200 mm
• Vacuum zone 4 = 1000 x 1400 mm
• Vacuum zone 5 = 1000 x 2100mm
• Vacuum zone 6 = 1250 x 2500mm
The metric configuration is designed such that zone 6 can be reconfigured by a service
representative from the 2.5m x 1.25m area size to 4'x8'.
Measuring the Head Height
To measure the thickness of the material choose the guage from the shadow board.
Take it to the material, and press ON.
Twist the cog on top to loosen the gauge slider.
Fit the material into the gauge and the screen will display the thickness in millimetres.
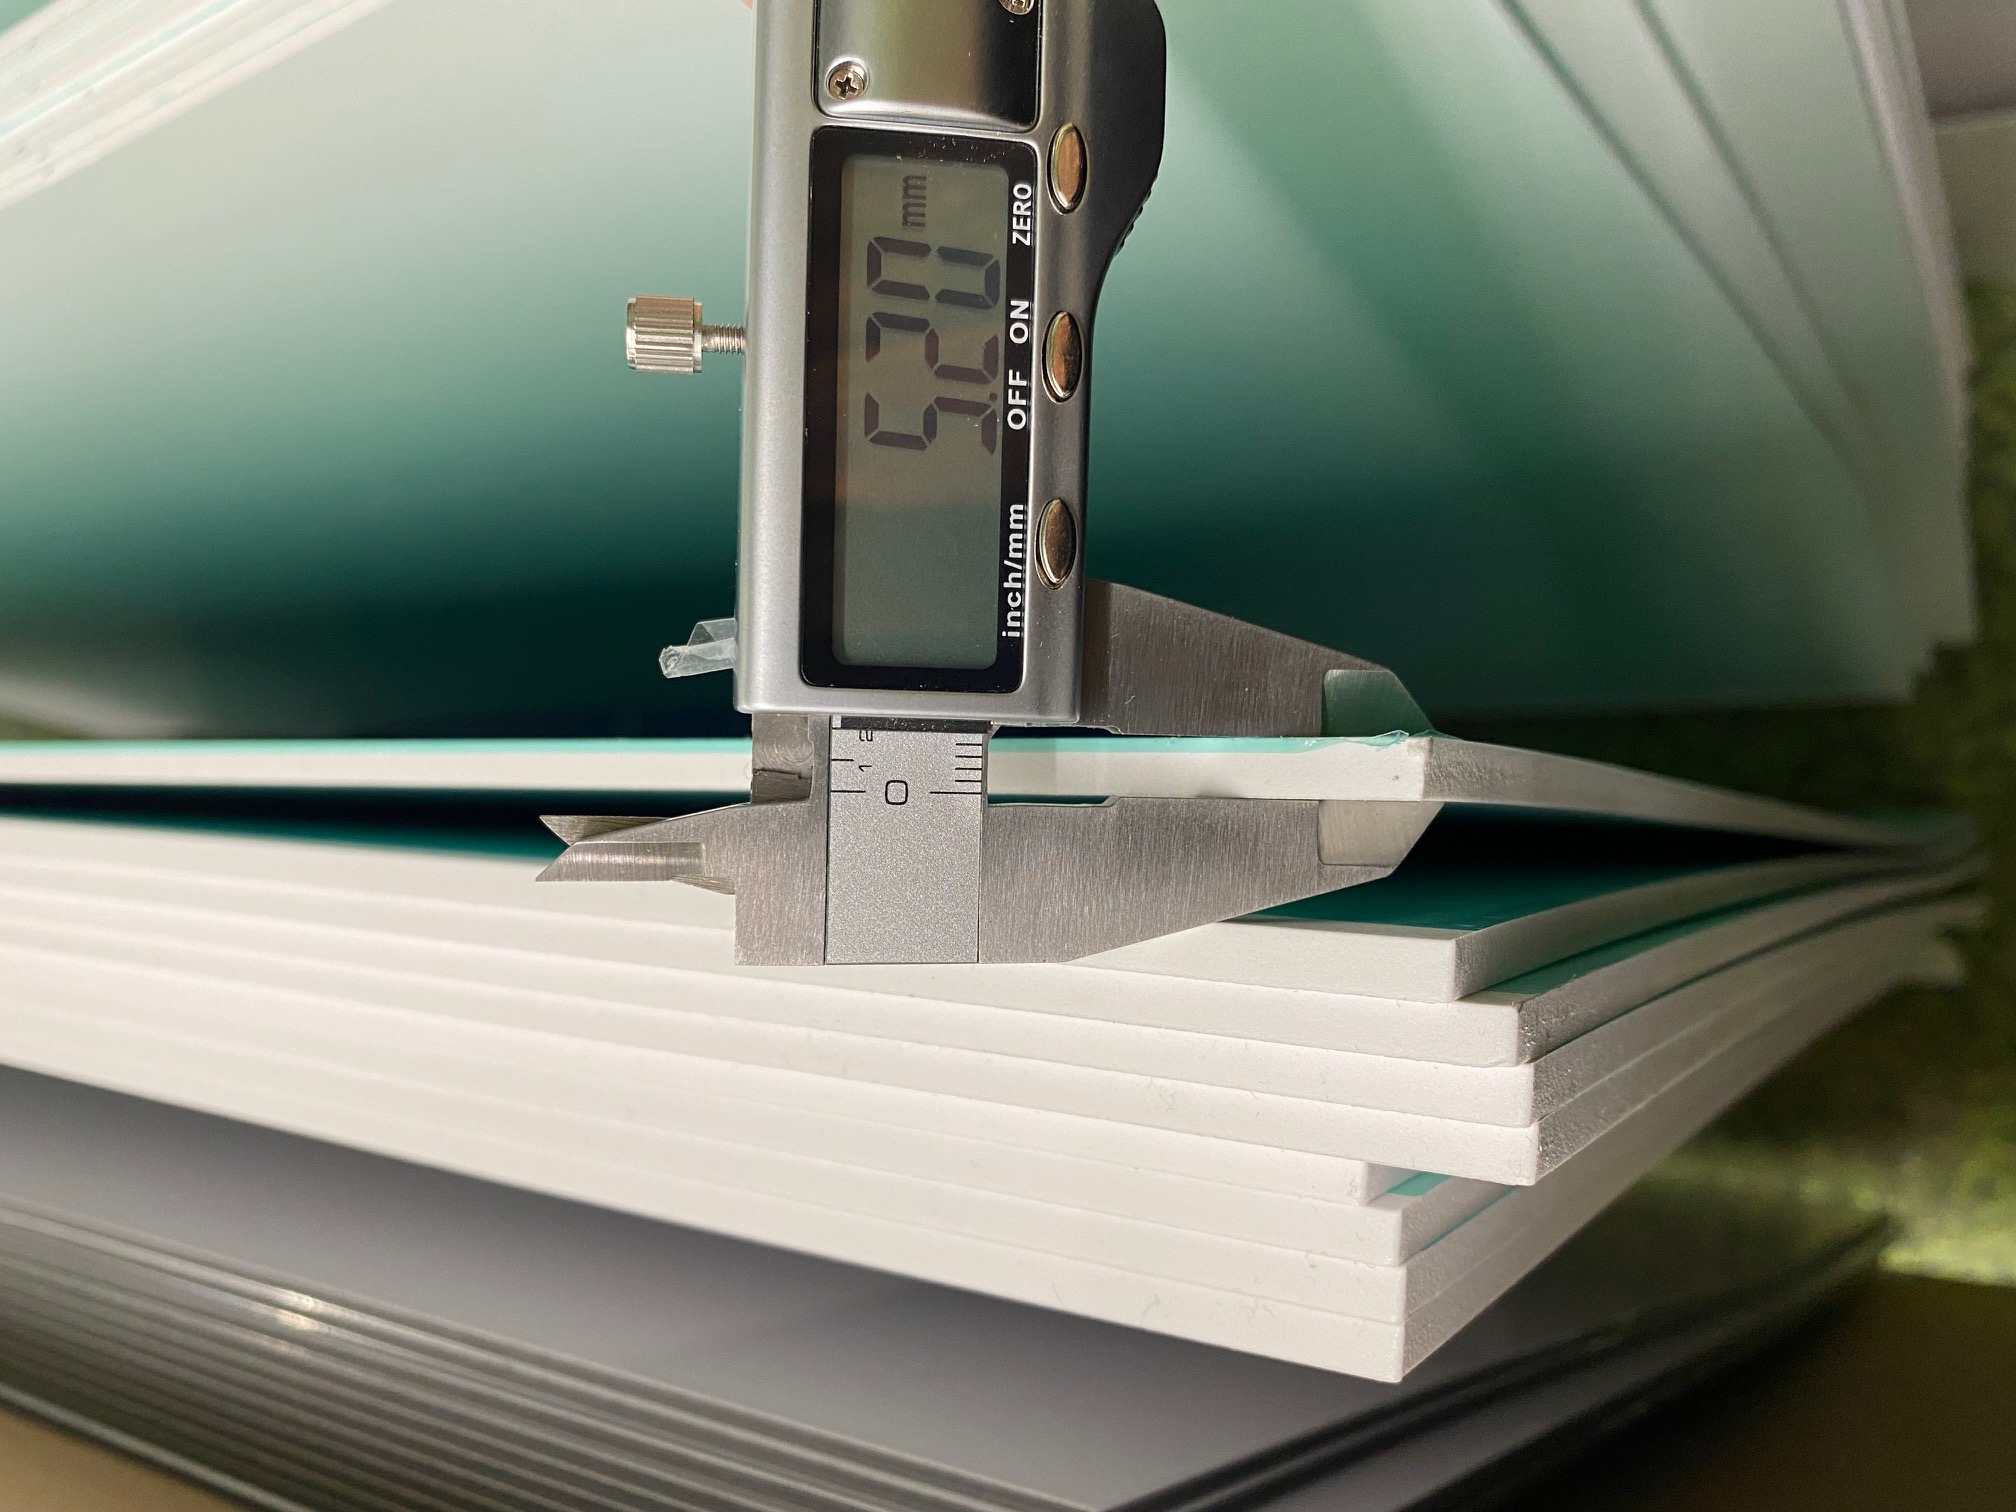
Once you select to print a job, the pop-up screen will appear with the option to input your head height.
Depending on the material, the normal height should be 0.5mm higher than the thickness of the material.
The higher the head the print will have a lower quality of print finish.
Printing a Nozzle Check
To begin a nozzle check on the flat bed, pick your material and size (big enough for the test size 1100x110mm).
Choose nozzle test on the top right of the screen.
Choose the flatbed option on job parameters 'type' so it looks like below.
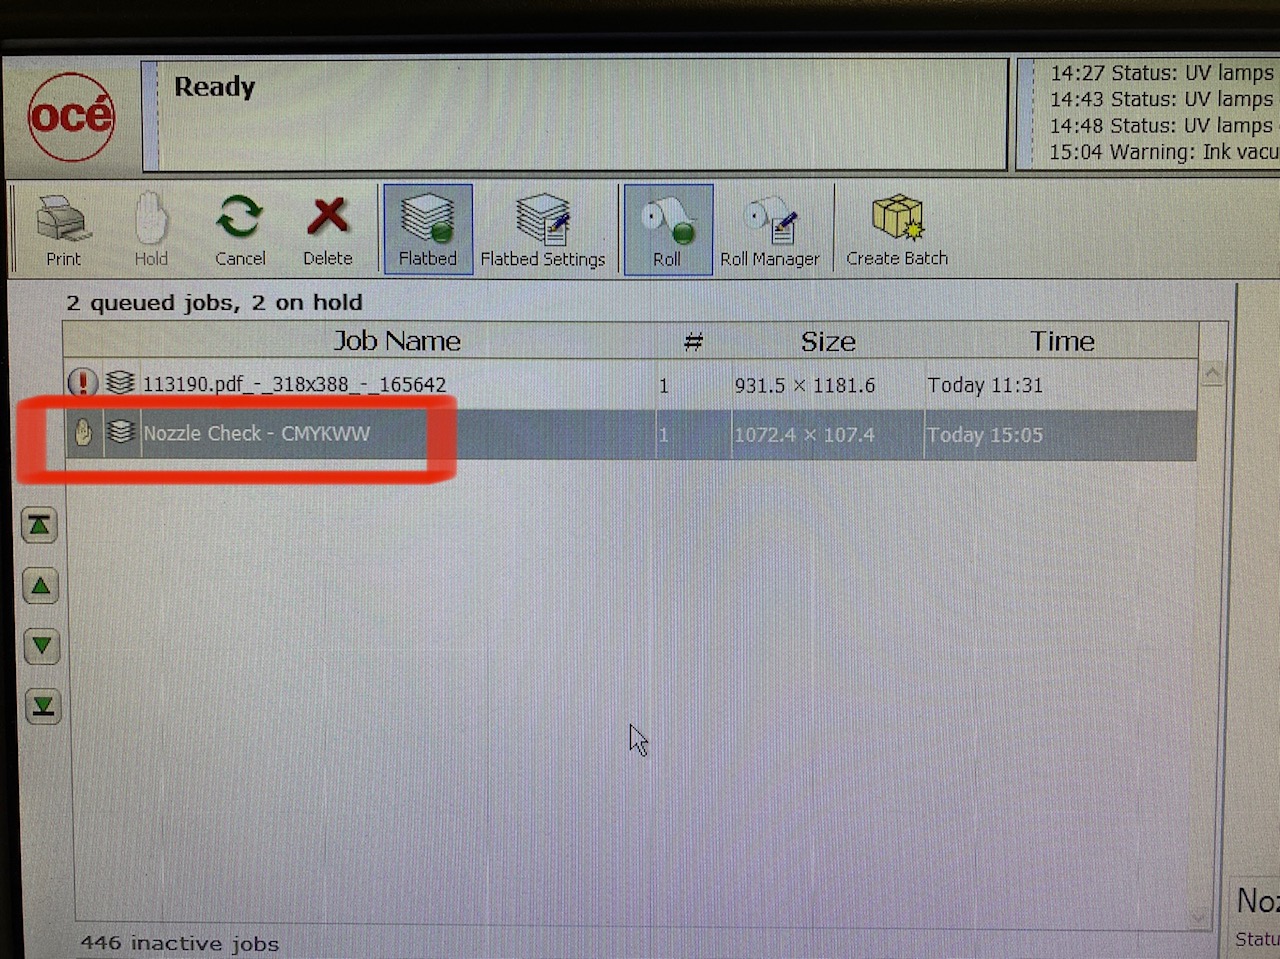
Once your material is secure on the bed, hit print and start.
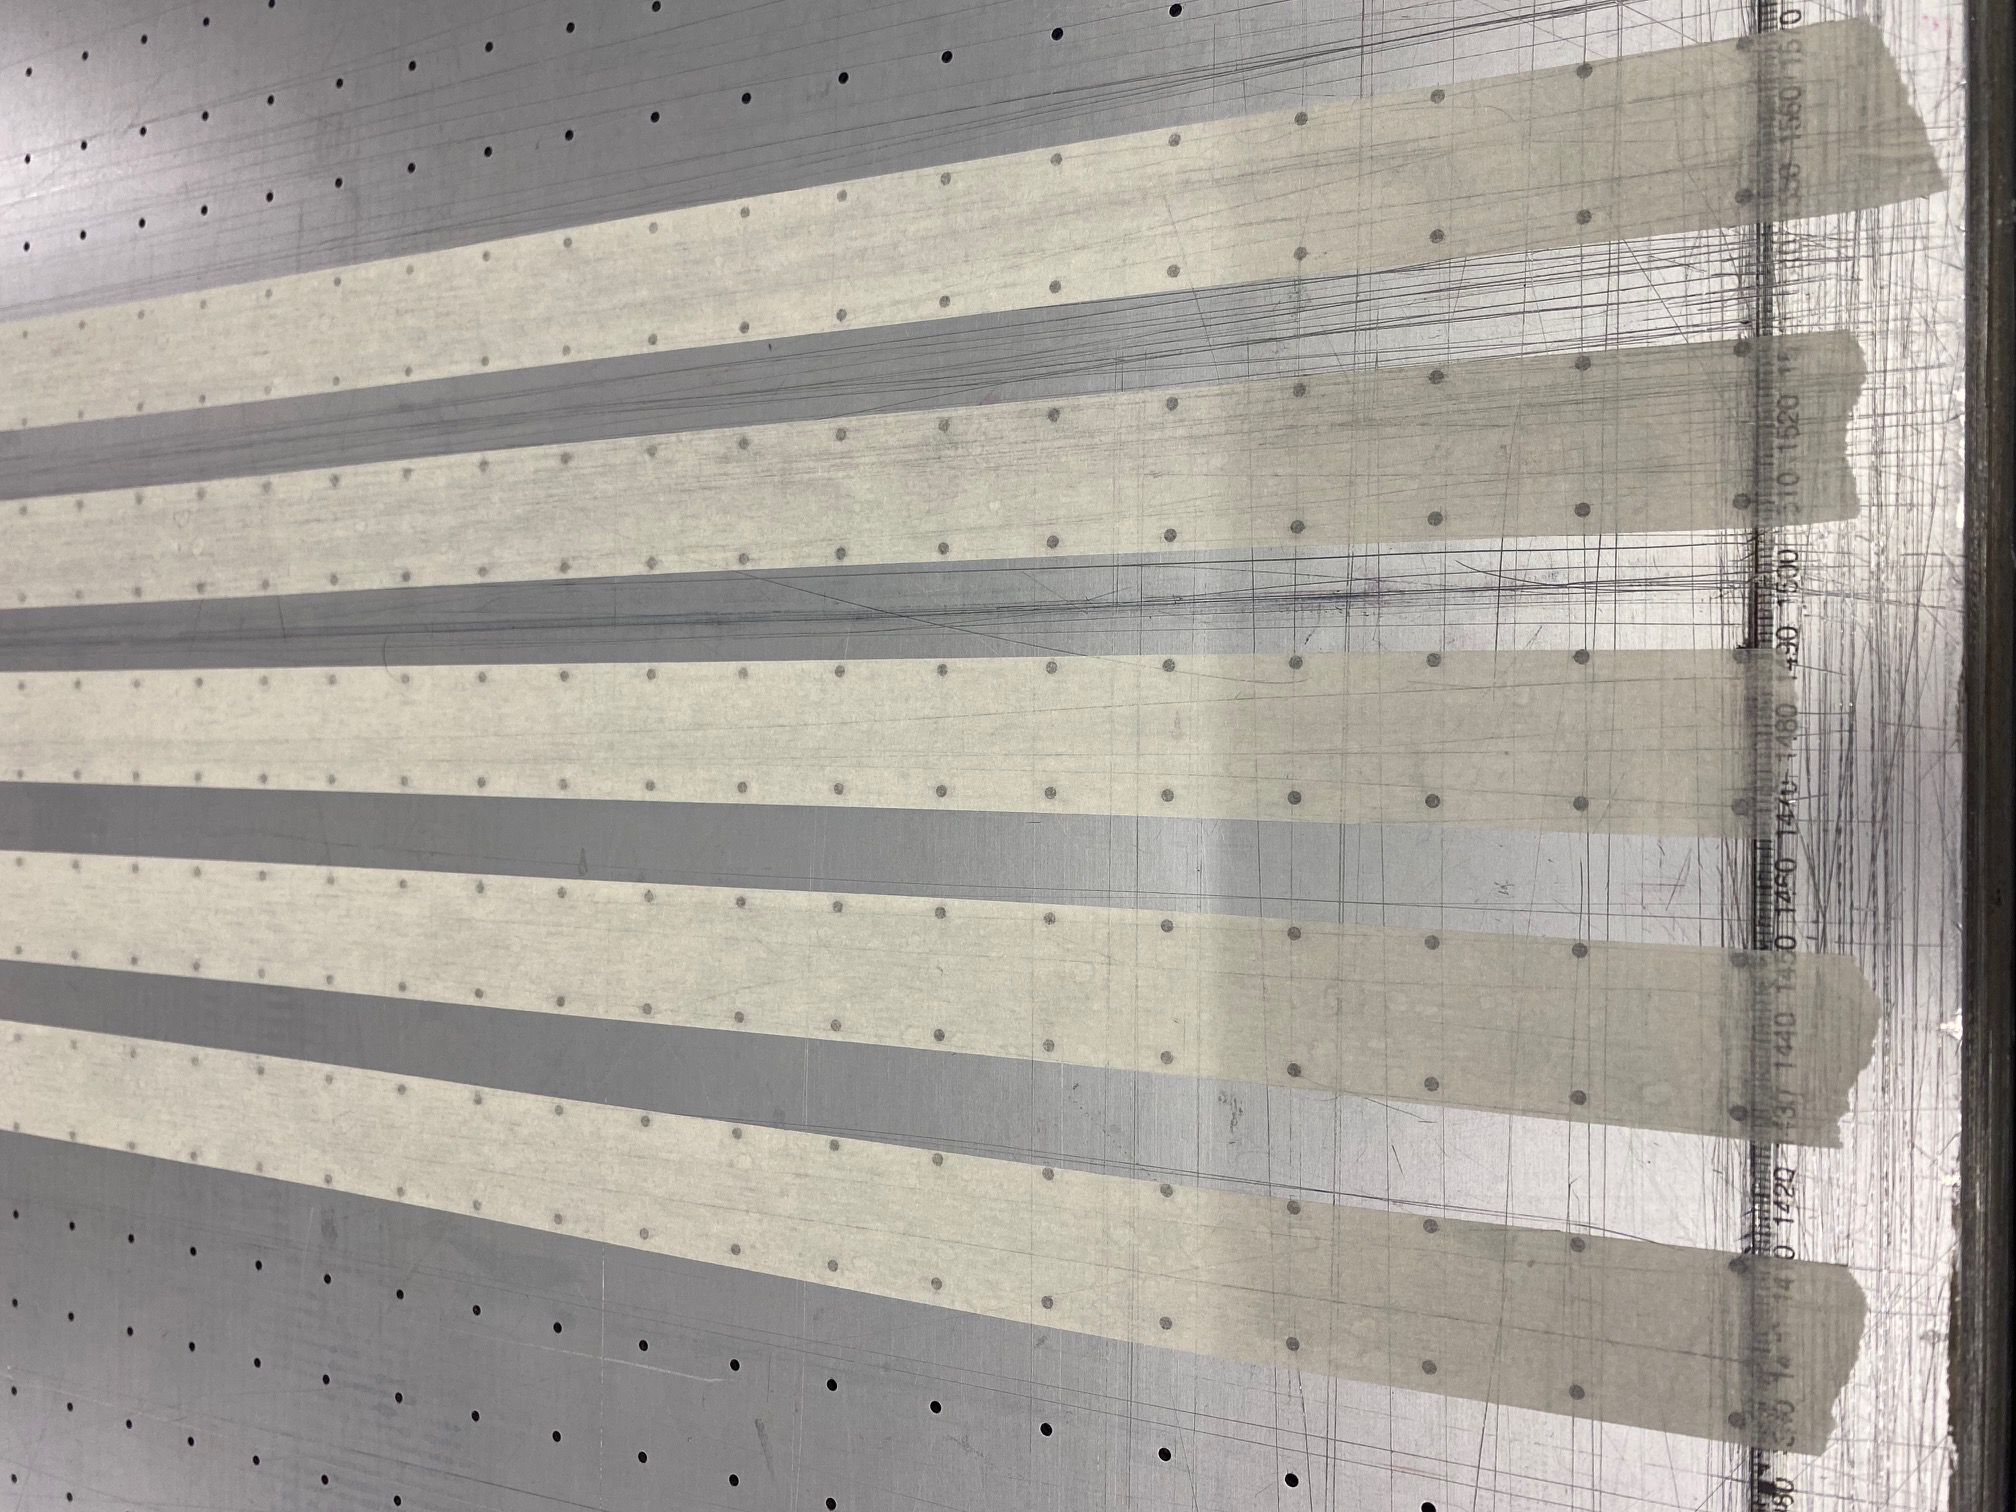
Printing Rulers
Operating Panel - General Usage
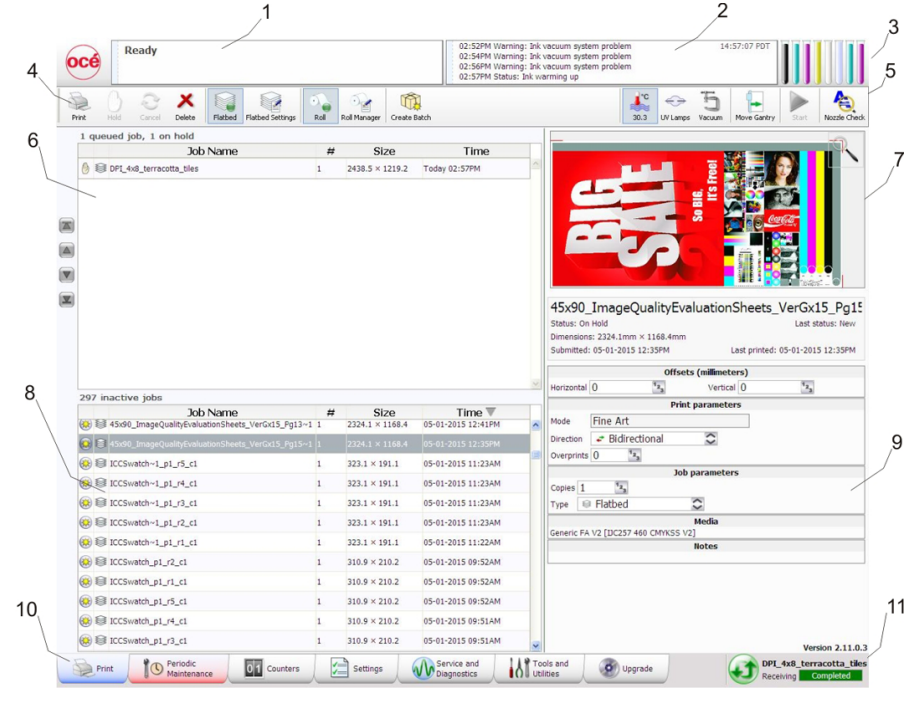
Viewing Jobs
When selecting a job in Active Jobs List (6) or Inactive jobs (8) it will display the artwork in the job Placement Preview (7)
Viewing Print Layers
Position Jobs
To position a job- use the offsets panel on the right-hand side under the preview.

Starting from the bottom left of the artwork you can select the horizontal and vertical offset. This is based on setting a board on the bed at 0x0mm based on the ruler position printed on the bed.
Tip: Print your job closest to the print head in case of print issues you can save the rest of the board
Creating Batch Jobs
Sequential
Collated
Printing a Nozzle Check
Select Nozzle Check at the top right of the page (5)

This loads the pattern to print a nozzle check. Select if you'd like to print on the roll or on the bed (9) and then hit print.
Pausing Jobs
Select Hold to pause a job. (4)

Cancelling Jobs
Select Cancel (4)
Deleting Jobs
Select Delete (4)